Add Images to Menu Items in the Menu Builder
Last updated: Jul 9, 2026, 10:05 AM
| Menu Builder will be retired on September 1, 2026. To continue managing your menus, start using Menu Manager today. Menu Manager includes all the functionality available in Menu Builder, along with new tools that make menu updates easier. Learn more about Menu Manager. |
Menu Item Image Overview
Remember the old saying "A picture is worth a thousand words"? Well, that can certainly be true with respect to your Toast menu!
Adding images of your freshly prepared dishes to your menu items will carry over to your Toast online ordering website -- showing customers just how tasty the dish they're considering purchasing really is.
Images must be in .jpg or .png format, and no larger than 5 MB. For menu item images, we recommend a rectangle 750 px by 450 px. If you need to resize your image to upload it to Toast Web, there are plenty of free image resizing tools available on the web, like this one from Adobe (external link). If you're trying to upload pictures to your menu and you see a message that says "Please fix the errors below", it may be due to your image size. Scroll down the menu item page to see the specifics of the error message. Note: Even at the recommended 750 px by 450 px, images may be cropped or zoomed to fit certain POS displays because the POS applies its own aspect-ratio framing. Center the key content of the image so it remains visible after cropping.
Add Images to Menu Items
To add images to your menu items, follow these steps:
- In Toast Web, navigate to the Menu builder by selecting Menus > Menu management > Menu builder, or by selecting Menu builder from the Quick actions section of your Toast Web homepage.
- Select the name of the menu or menu group that has the item you wish to update from the left-hand side of the menu builder screen.
- Select the name of the menu item you wish to edit. This will open the item details page.
- In the General info section, scroll down below the POS button color setting and select the + Add item image button.
- Find your desired image file, and then select Open.
- When your image is finished uploading, you'll see a small version of it appear on the General info page. Save and publish your changes when you're done.
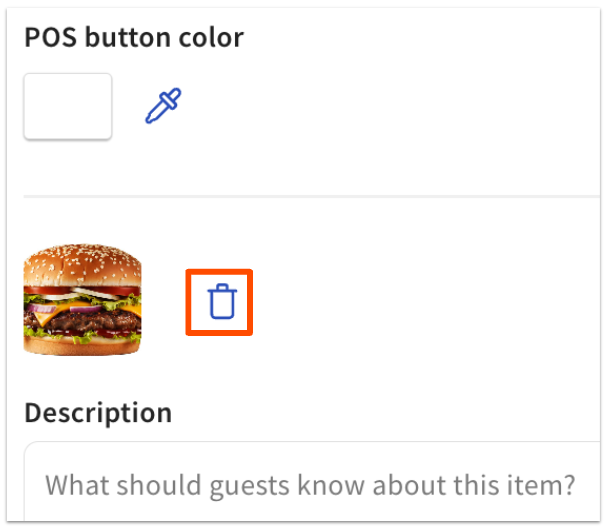
Replace a Menu Item Image
To remove the image you uploaded for your menu item and replace it with a different one, select the trash can icon next to the image and select a new photo from your files to re-upload.
With your new image uploaded, select Save to lock in the menu item and its image. If you are ready for guests and employees to see these menu changes, publish your changes.
Back to top