Set Up Your V400m Card Reader
Last updated: Dec 17, 2025, 10:18 AM
Learn how to install and set up your V400m card reader.
- V400m Device Setup
- Pair the V400m to Your Toast Device
- V400m Device Information
- V400m Network Settings
V400m Device Setup
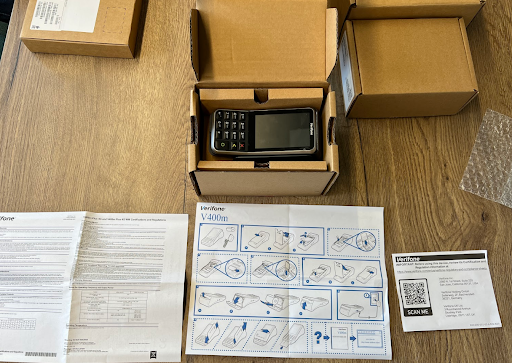
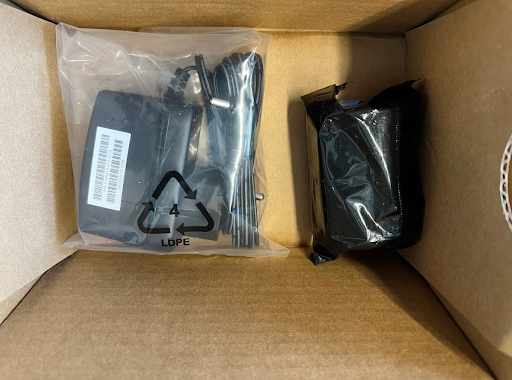
- Unbox the device and remove the V400m reader and power supply. The paper roll may be discarded or reused as the reader's built-in printer will not be used.
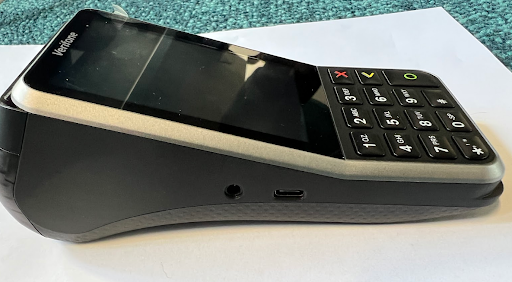
- Connect the power supply to the side of the device.
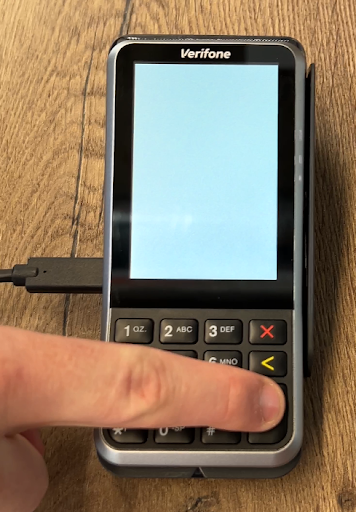
- If the device does not immediately turn on when connected to power, press the green circle button (power-on process can take 1-2 minutes).
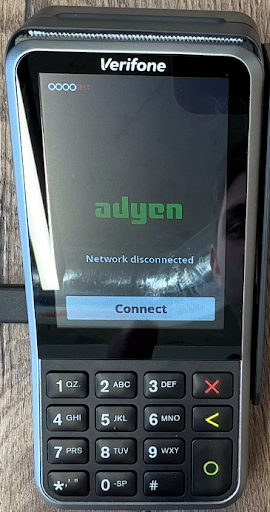
- Once the card reader powers on, it will prompt you to connect to a network; select Connect.
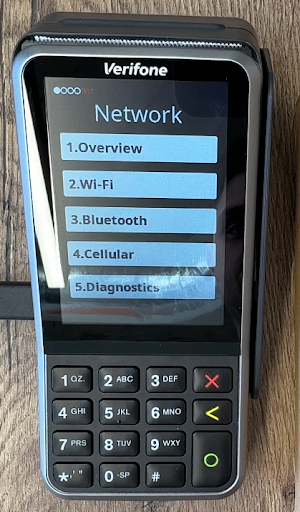
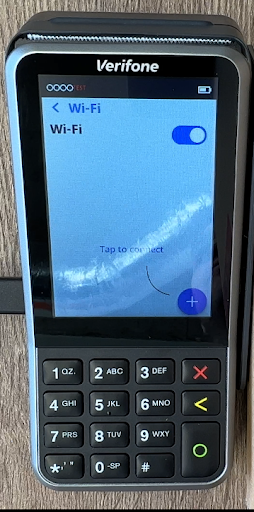
- You’ll then be taken to a network page; select Wi-Fi.
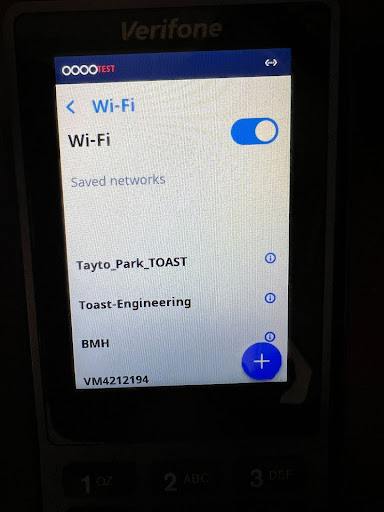
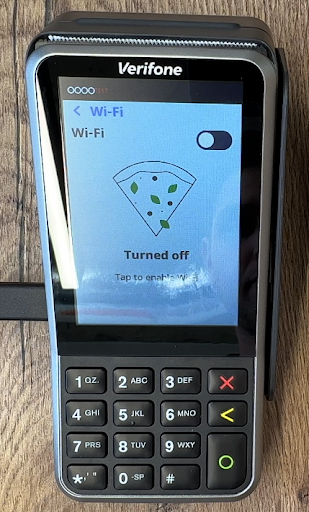
- Toggle Wi-Fi to enable (this process can take 30+ seconds).
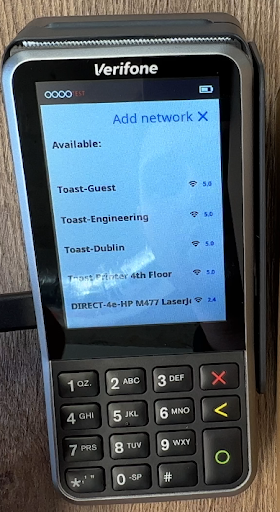
- Select the blue + button in the bottom right to search for available SSIDs.
- Once the device is done searching, select the Toast-provided SSID.
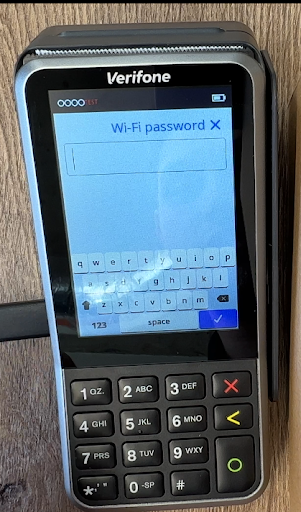
- Use the onscreen keyboard to input the password for the SSID, and select the blue checkmark on the screen.
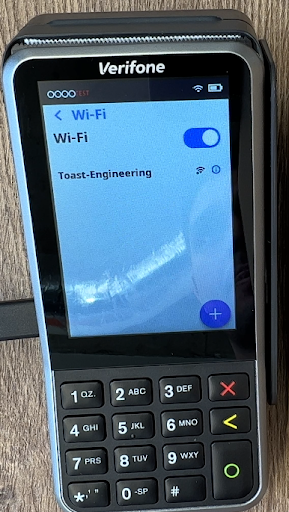
- Once successfully connected, you will see the SSID on the Wi-Fi screen as well as a Wi-Fi logo in the top right of the screen.
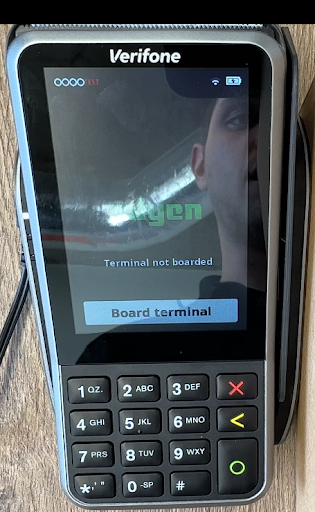
- Navigate to the home screen of the card reader by selecting the red X button on the keyboard.
- Select Board terminal to finish the boarding process (this can take a few minutes to 45 minutes to complete).
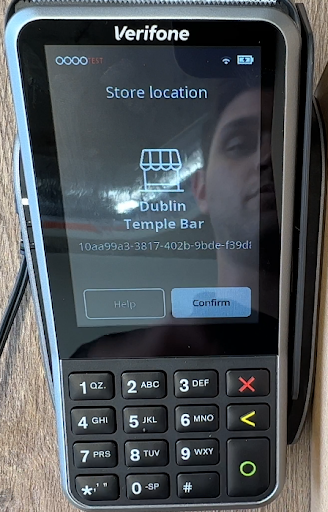
- Once the boarding process starts, you will be prompted to confirm that it is syncing with the correct store; select Confirm if everything is correct.
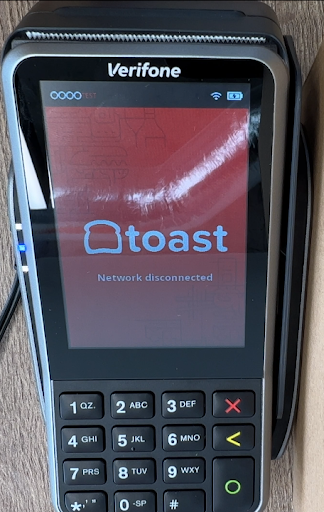
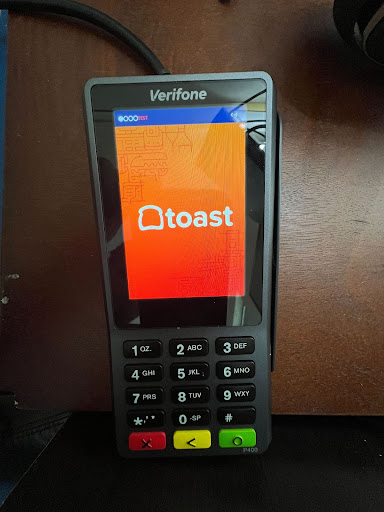
- Once the device has successfully completed the boarding process, it will show the Toast logo and have a Wi-Fi logo in the top right of the screen.
- The card reader is now ready to pair with a Toast device. Select the 5 button and then the green circle button on the card reader to pull up the device info page and then head to your Toast device to finish the pairing.
- IF SCAN TO SYNC DOESN'T WORK, SKIP DOWN TO MANUALLY SYNCING
- IF SCAN TO SYNC DOESN'T WORK, SKIP DOWN TO MANUALLY SYNCING
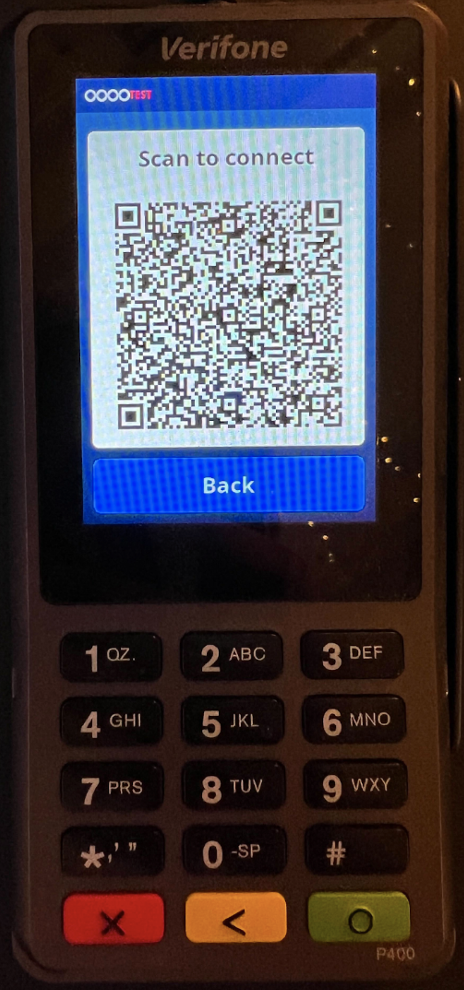
- On the V400, select the QR code logo in the bottom right.
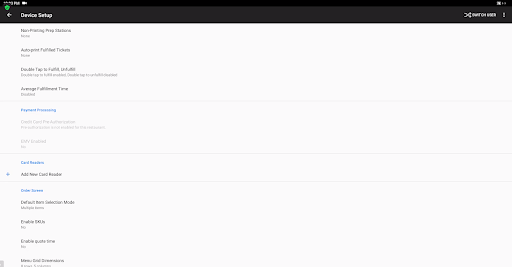
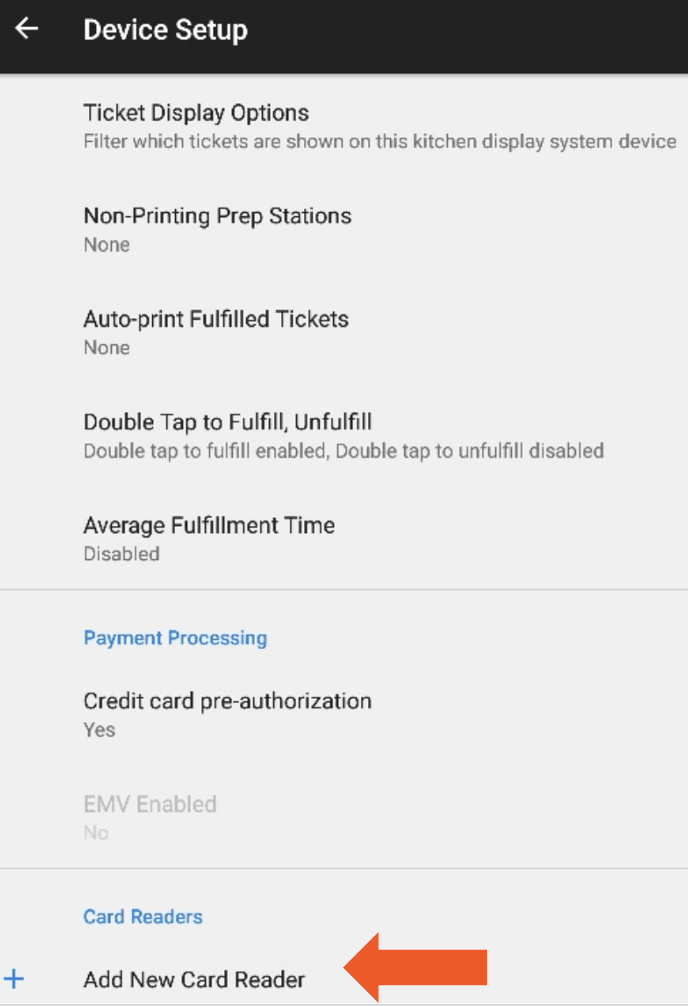
- On your Toast device, within the Toast app, navigate to Device Setup and scroll down to select Add New Card Reader.
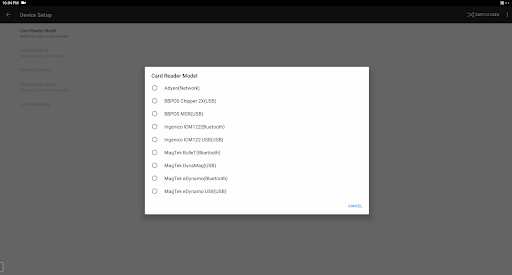
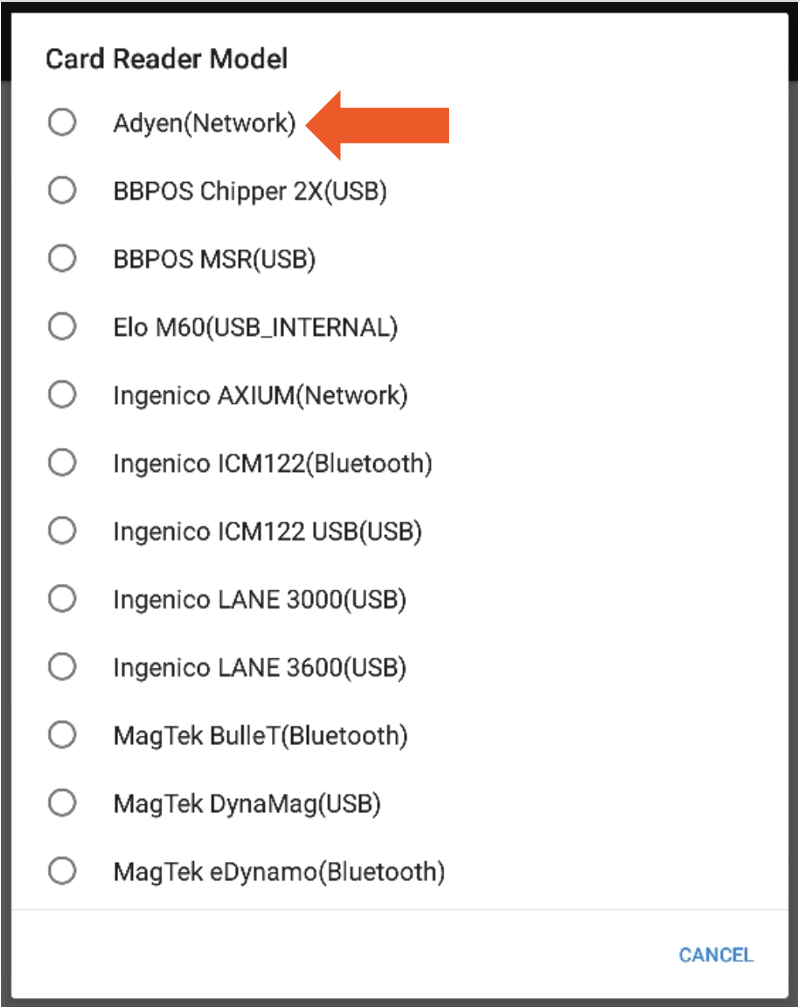
- Select Card Reader Model > Adyen(Network).
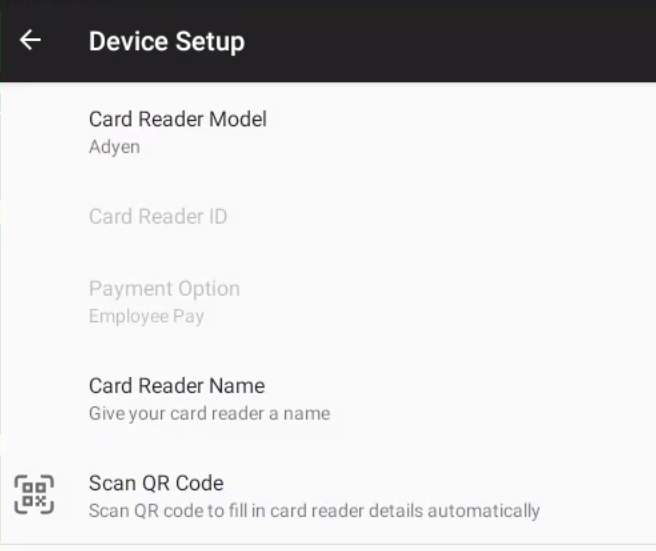
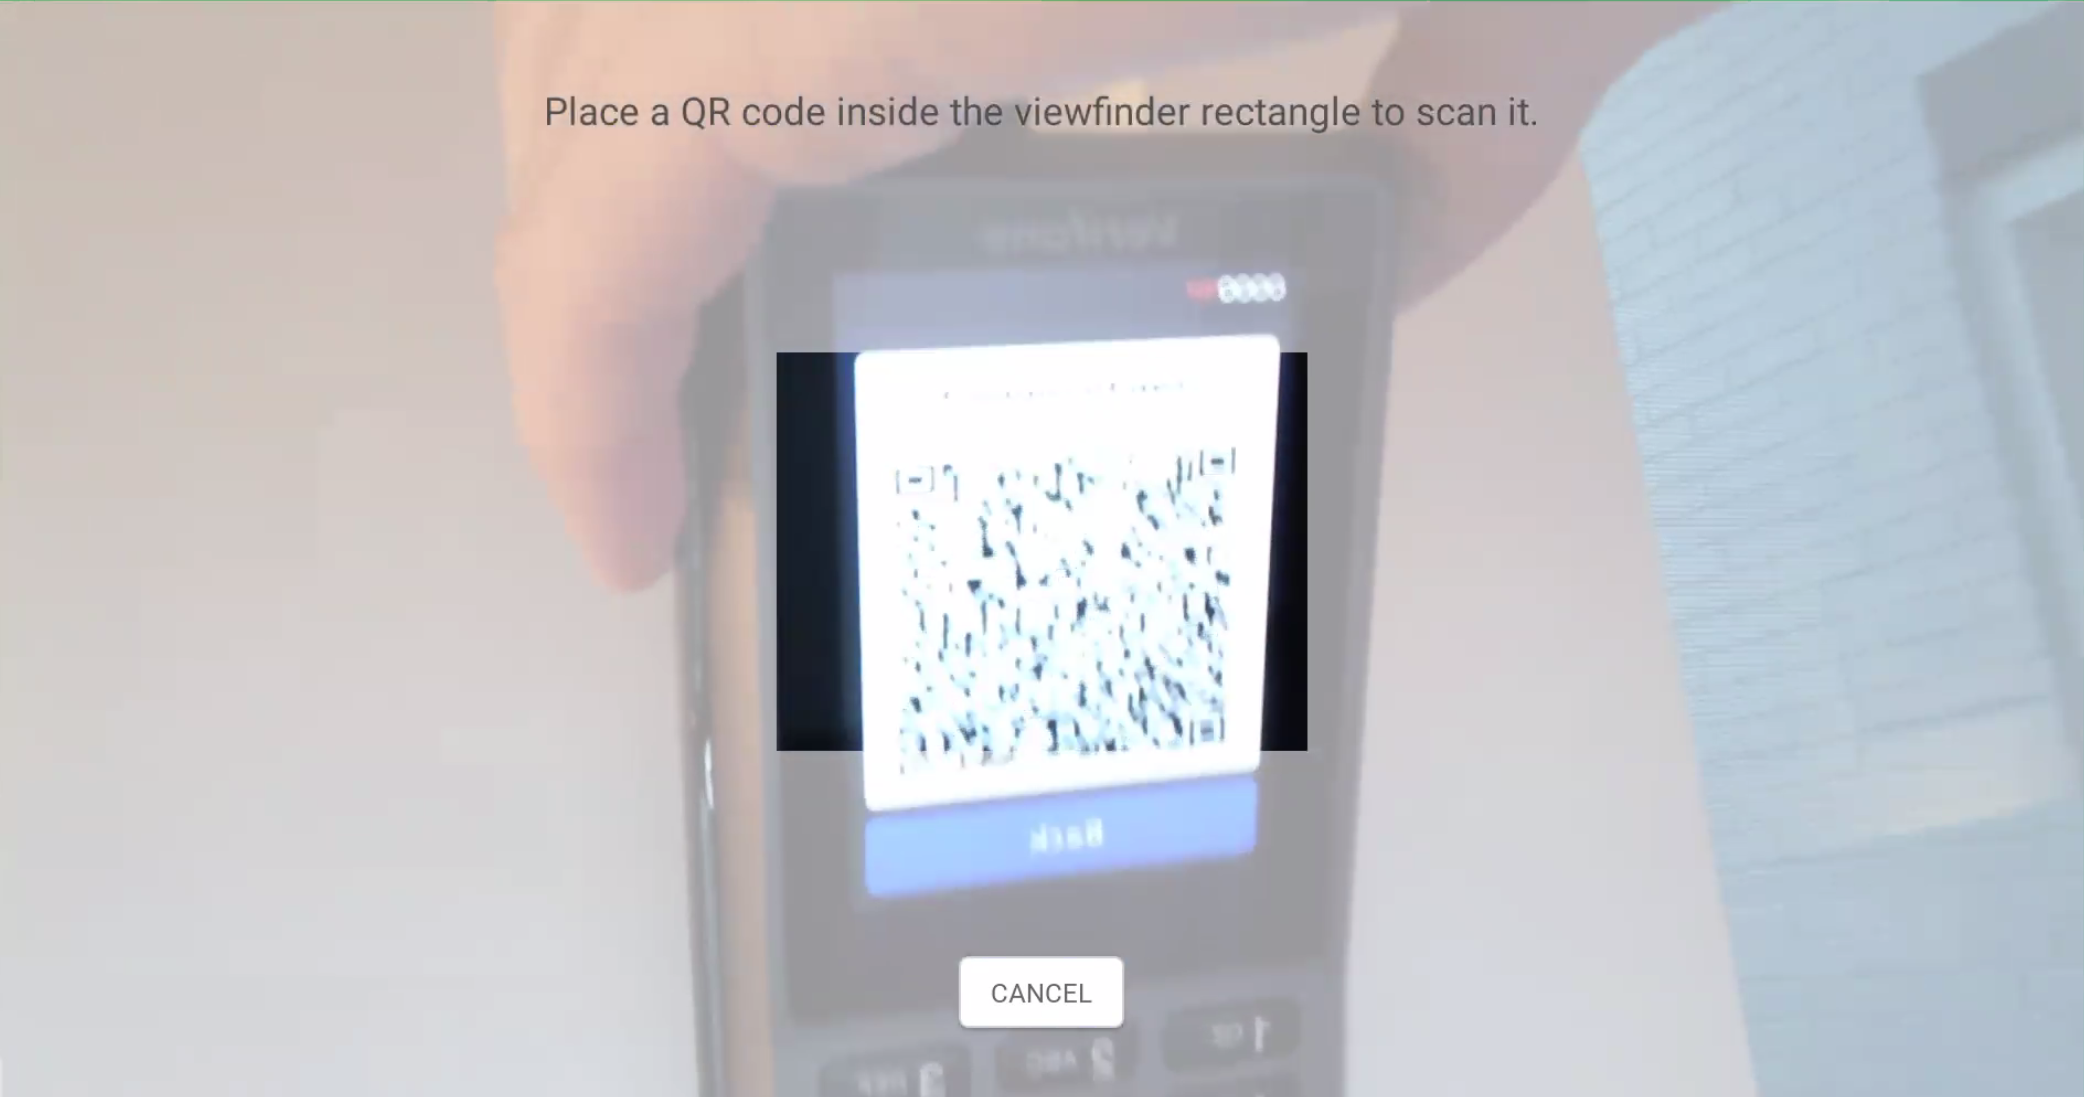
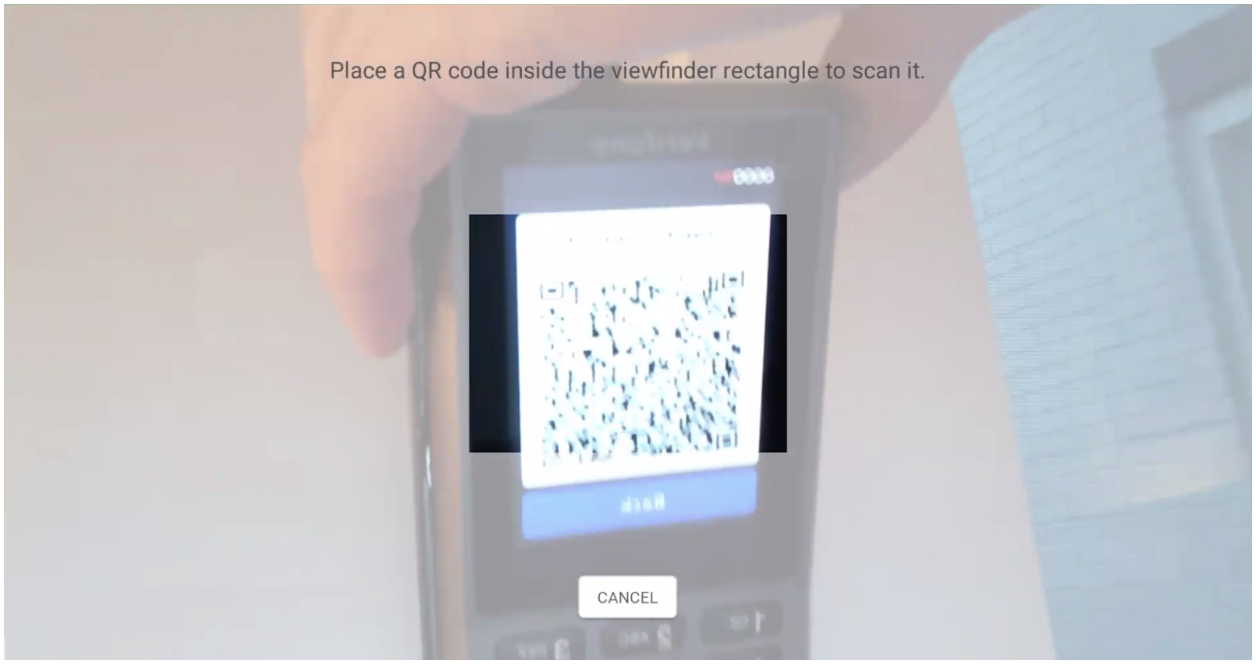
- Now select Scan QR Code and place the device in front of the QR code box on the screen.
- The device has been successfully paired!
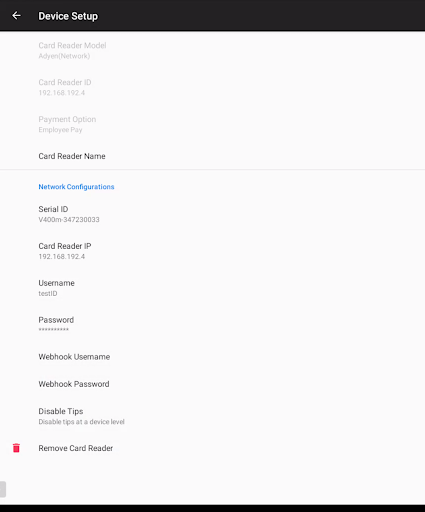
- USE THIS STEP IF SCAN TO SYNC DOESN'T WORK. We’ll now use the information from the device info page on the card reader. Fill in the following information found on the card readers device information page:
- Serial ID: (Model-SN) V400m-347230033
- Card Reader IP: xxx.xxx.xxx.xxx
- Username: toastID
- Password: The passphrase can be found by following the steps in this article: Adyen Passphrase/Password for International Devices. Then provide the passphrase to the customer.
- Disable Tips: Decide if you want the device to prompt for tipping or not
- Select Complete Setup at the bottom of the page.
- Your device is now successfully added. Make sure digital receipts are enabled as well as EMV, or the card reader will not communicate with the Toast device.
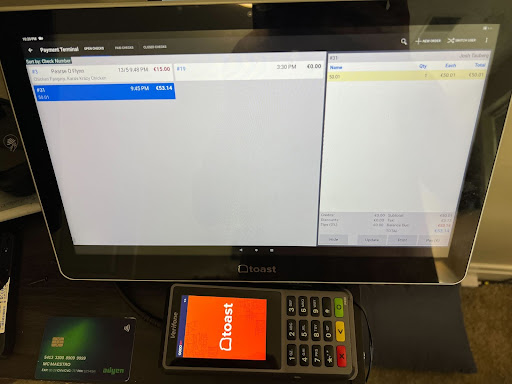
- To test that everything works, navigate back to the home page on the card reader by selecting the red X button. Navigate to the payment screen to test the device.
- Upon selecting Credit on the payment screen, the workflow will then move over to the card reader. Select the tip amount if applicable and provide payment via tap, dip, or swiping the card.

Pair the V400m to Your Toast Device
- After completing the steps above to board the card reader, we still need to pair it to your Toast terminal. On the physical keyboard, select 5 and then the green circle button to arrive on the Device info page.
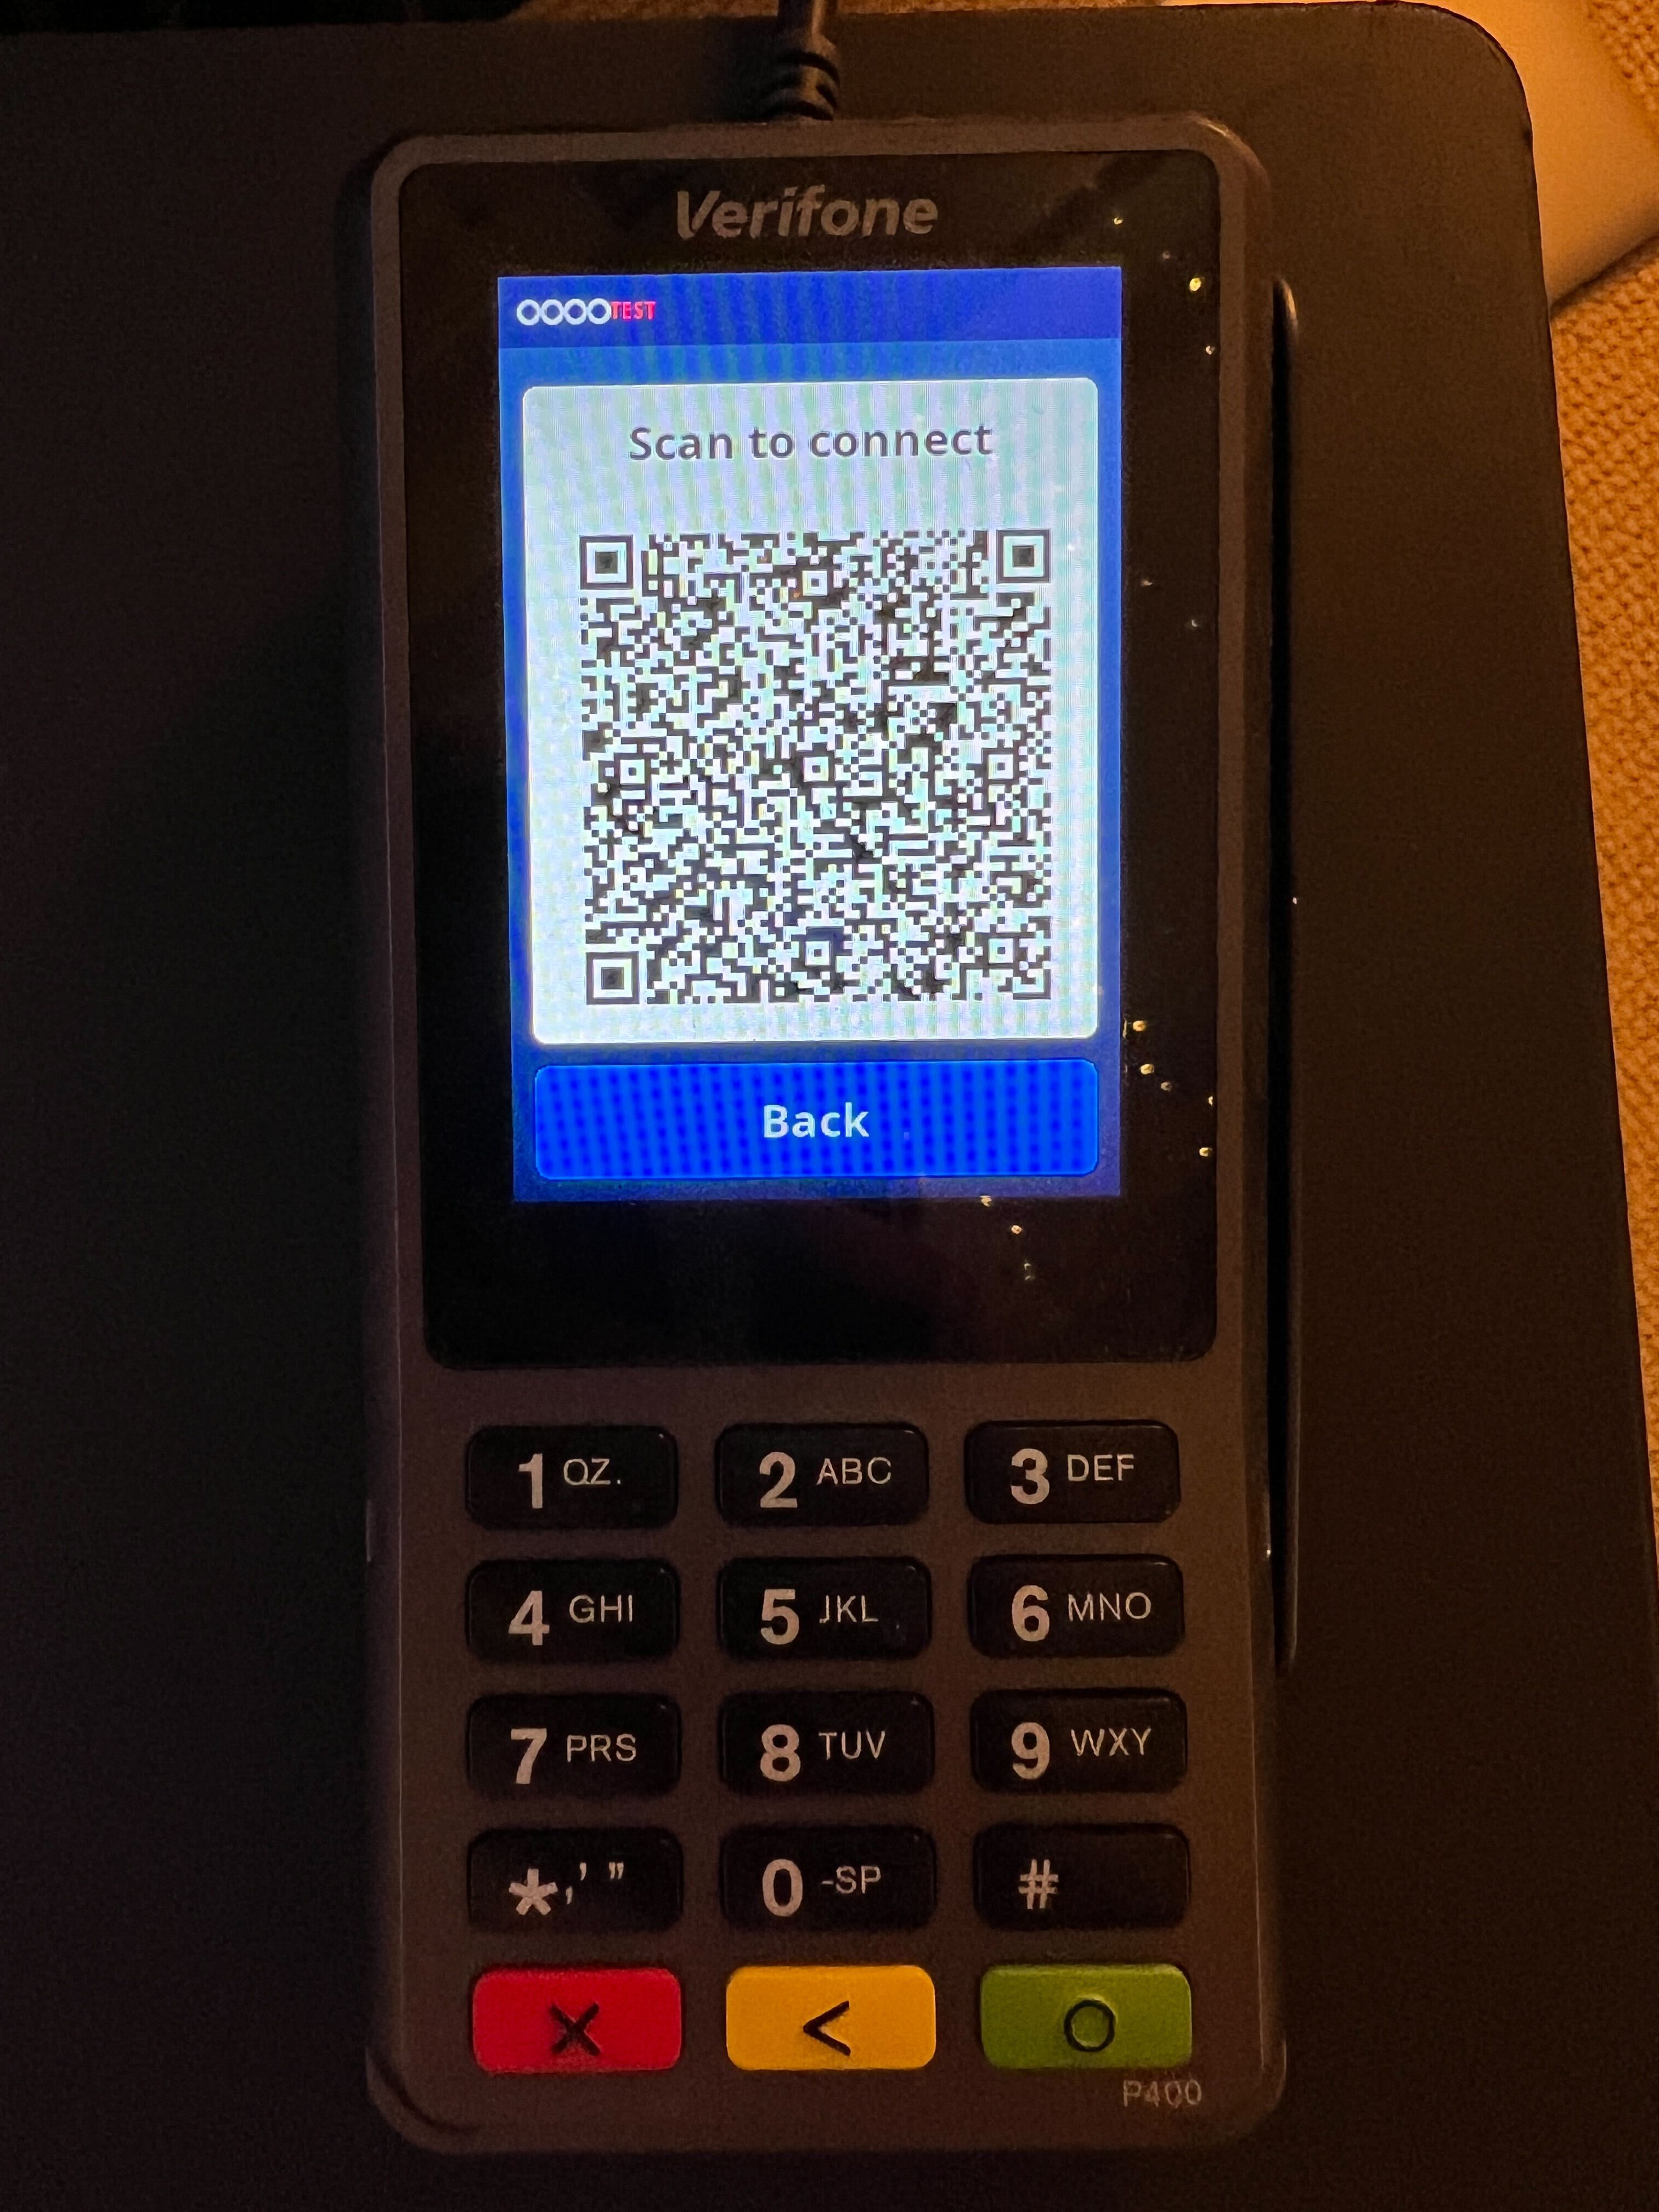
- Select the QR code button in the bottom-left corner to pull up a Scan to connect QR code.
- Now, head over to the Toast terminal you want to connect this card reader to. After logging in, select the arrow in the upper-left corner until you get to the main menu. Select Device Setup and select Add New Card Reader.
- Select Card Reader Model and then choose Ayden (Network).
- Now select Scan QR Code and place the V400m card reader in front of the QR code box on the screen.
- Once complete, the device is successfully paired. Select Complete Setup at the bottom of the page.
- Before leaving the Device Setup menu, enable two settings to ensure the card reader can communicate with the Toast terminal:
- EMV Enabled - Yes
- Digital Receipts - Yes
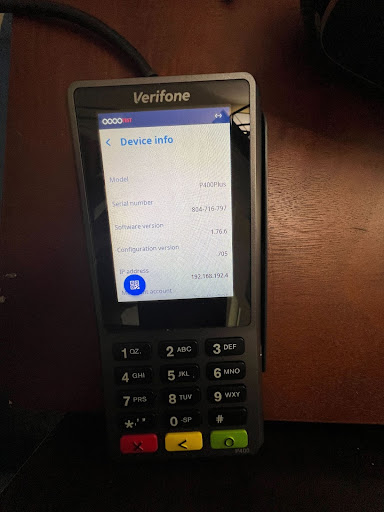
V400m Device Information
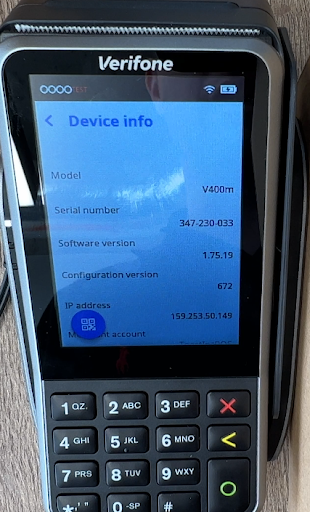
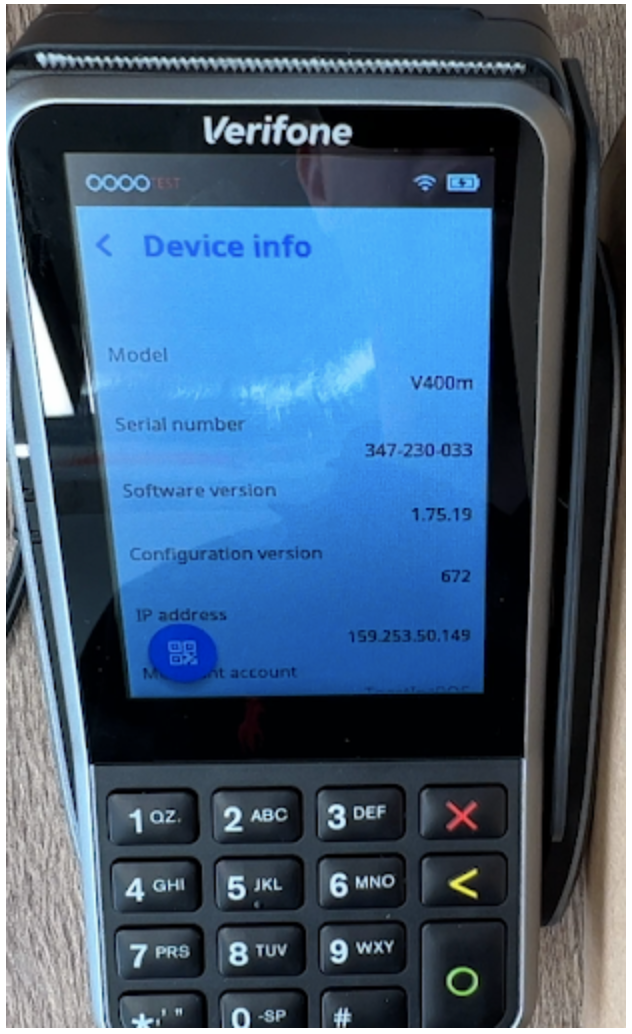
- On the home screen of the card reader, select the 5 button and then the green circle button.
- On the next page, you’ll see device information such as
- Model
- Serial Number
- Software Version
- Config Version
- IP Address
- Merchant Account
- Store ID
V400m Network Settings
- On the home screen of the card reader, select the 9 button and then the green circle button.
- You may be prompted for a password; if so, enter 8678 (TOST). You should provide this to the customer.
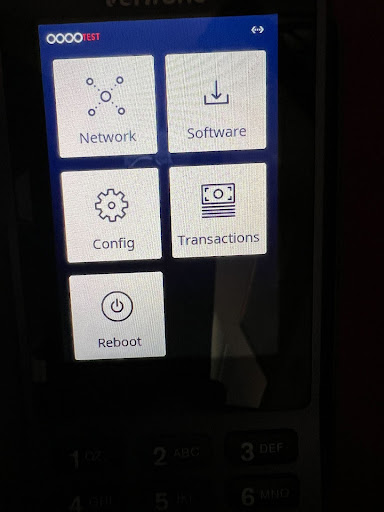
- The next page will prompt you with a list of options; for network settings, select Network.
- Network: Network information for both Ethernet and Wi-Fi
- Software: Update device software
- Config: View current, Update, and Remove config (requires reboarding)
- Transactions: Recent Transactions page
- Power Options: Reboot and power off options
- Within Network, you’ll see the following five options. Select Ethernet to adjust settings to network or IP information. Select Wi-Fi to connect or adjust network settings for wireless networks.
- Overview: Connected Network Information
- Wi-Fi: Wi-Fi settings, default off but can be used
- Bluetooth: NOT USED
- Cellular: NOT USED
- Diagnostics: Connection testing
- In the Wi-Fi section, you’ll see a list of previously connected networks. If you need to connect to an SSID, select the + button in the bottom right of the screen. Then select the correct SSID and enter the password.
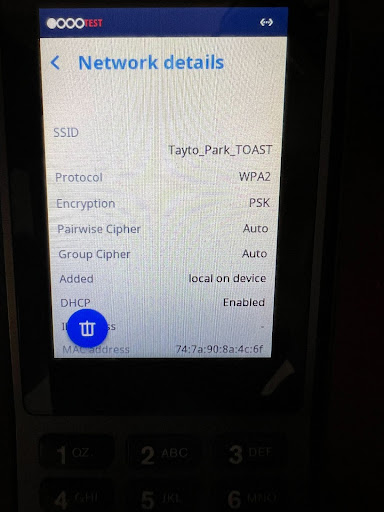
- If you need to adjust or update IP information, select the i icon next to the SSID
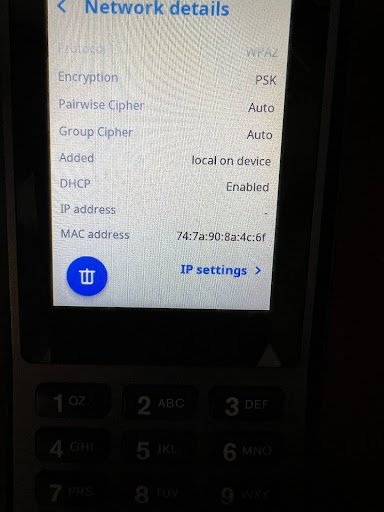
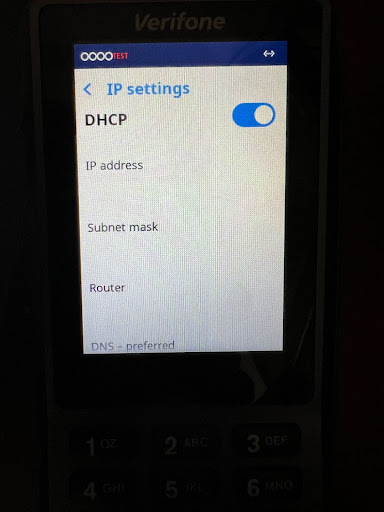
- Scroll to the bottom of the page and select IP settings. You will then see a list of network information
- To manually adjust the IP information, uncheck DHCP and you’ll be able to enter IP information. If adjusting IP information, the following is required:
- IP address
- Subnet mask
- Router IP
- DNS - Preferred
- DNS - Alternate