xtraCHEF: Vendor Statement Reconciliation
Last updated: Jan 27, 2026, 5:00 PM
- Vendor Statements Overview
- Upload Statements
- Review Your Statement
- Submit/Reconcile Your Statement
- Statements Tips
Vendor Statements Overview
Vendor Statements are documents you may receive periodically from your suppliers that list all unpaid invoices or other uncleared items like credit notes and payments.
If you take these statements at face value, you may end up overpaying due to vendor oversight or technical glitches. xtraCHEF can help save you money by cross-checking and reconciling your vendor statements with the data you've already uploaded. We'll cover how to upload your vendor statements to xtraCHEF, as well as how to reconcile any discrepancies with just a few clicks.
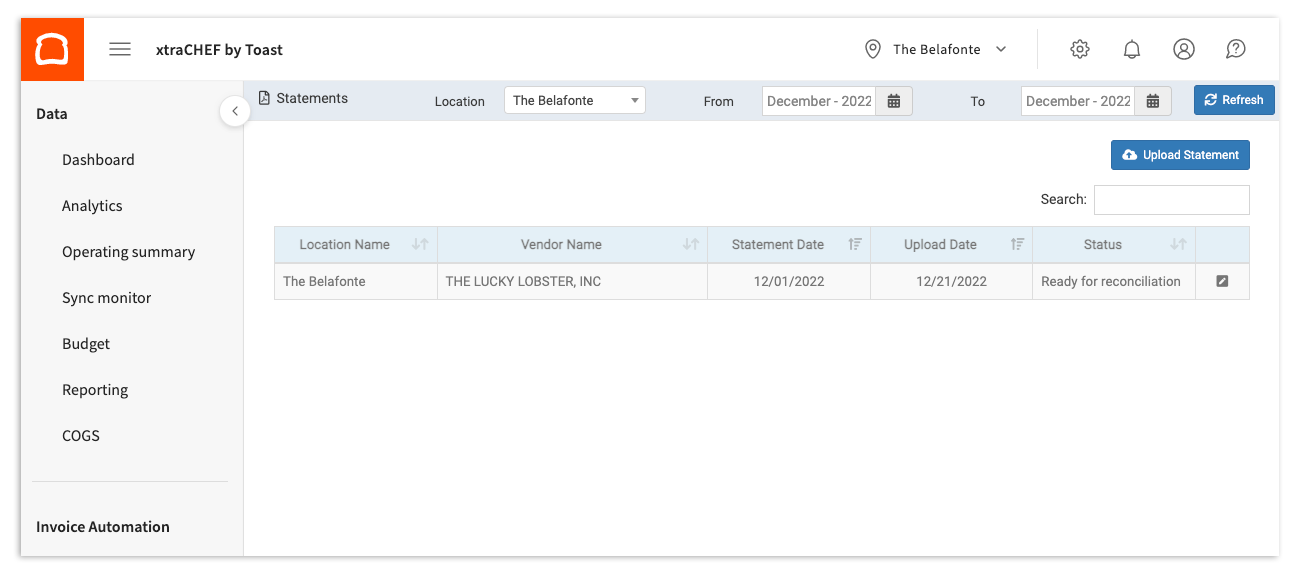
To get started, navigate to the Statements page on the left-side navigation of your xtraCHEF account. Here, you can review any uploaded vendor statements, reconcile vendor statements, or, upload vendor statements for reconciliation. Note: If you do not see Statements in the navigation panel, contact support@xtrachef.com.
Upload Statements
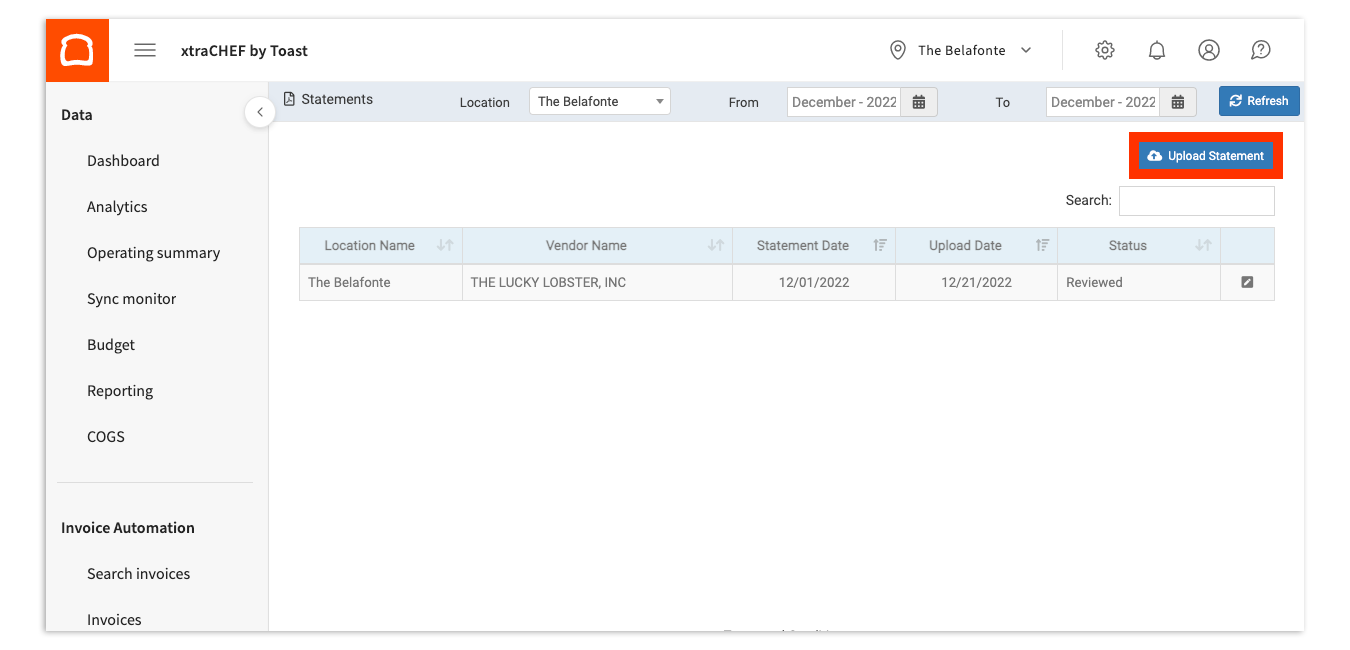
To start uploading your statements, select the Upload Statement button in the top right corner.
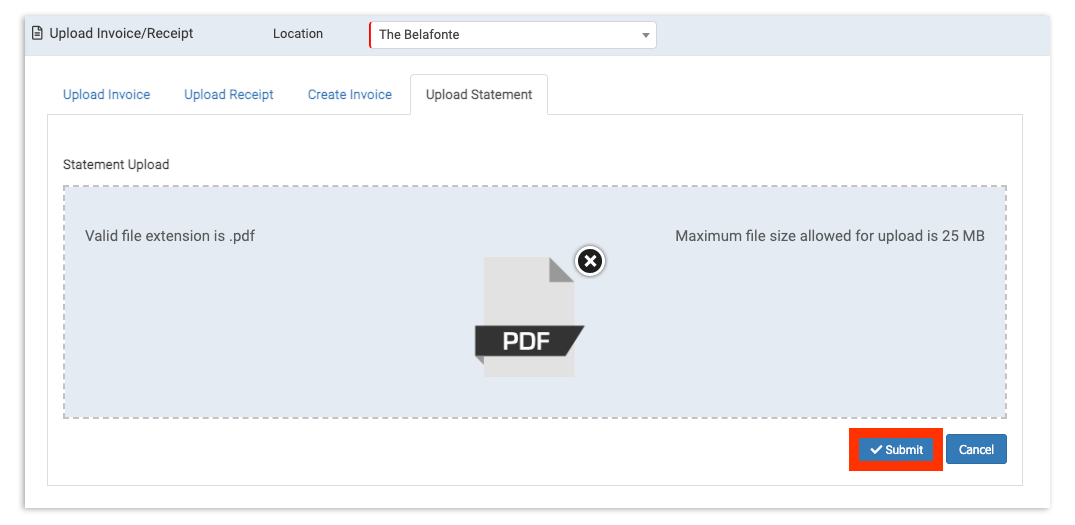
This will take you to the Upload Invoice/Receipt screen. Here, you have the option to either drop the file directly into xtraCHEF or upload it from your device. Then, select the location that you wish to upload to. When you're ready, select Submit to upload your statement. Once submitted, your statement will be uploaded and pending xtraCHEF review.
Note: Vendor statements must be in PDF format and no more than 25 MB per file.
Review Your Statements
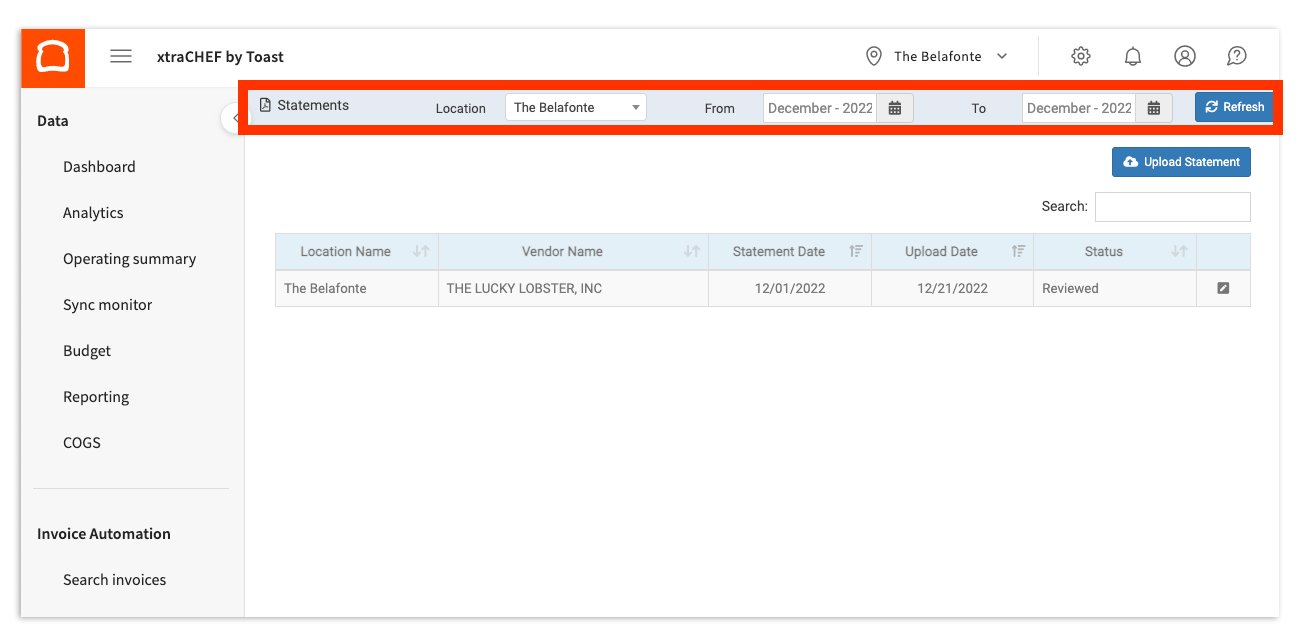
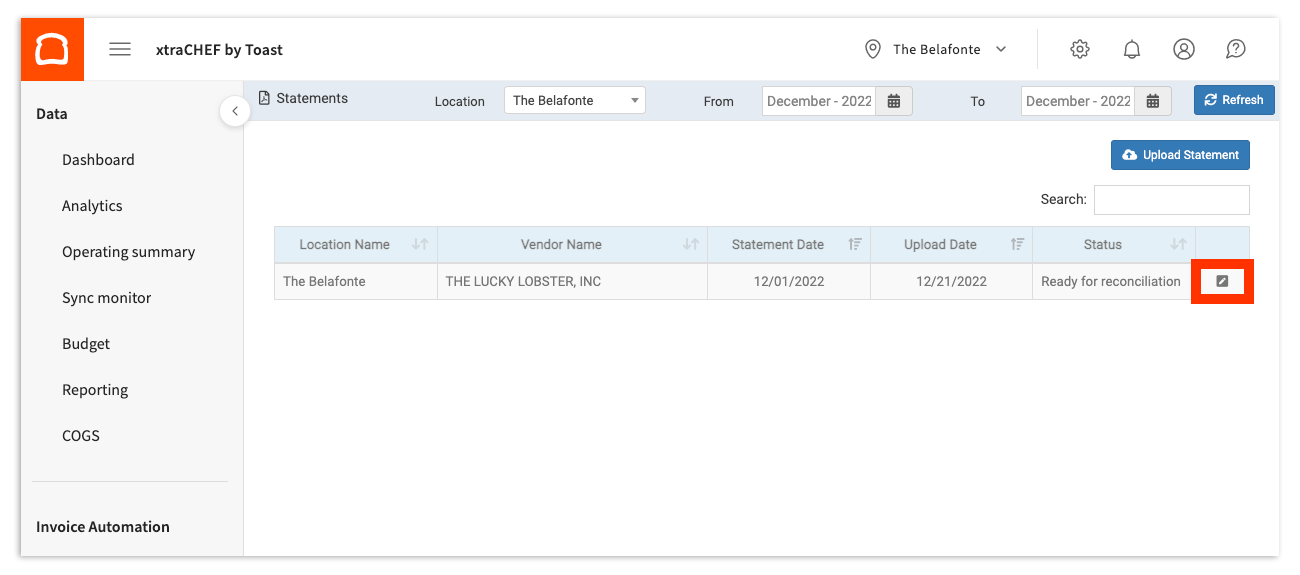
To reconcile previously uploaded invoices, return to your Statements page. Here, you will see any existing statements that meet your default location and date range (current month). To review statements from previous months or different locations, adjust your criteria using the filters at the top.
To open the statement to review details and reconcile, select the pencil icon in the right-hand column. You'll only see the pencil icon when a statement's status is either Reviewed or Ready for Reconciliation. If the invoice status shows an eye icon, it was Rejected and can only be viewed.
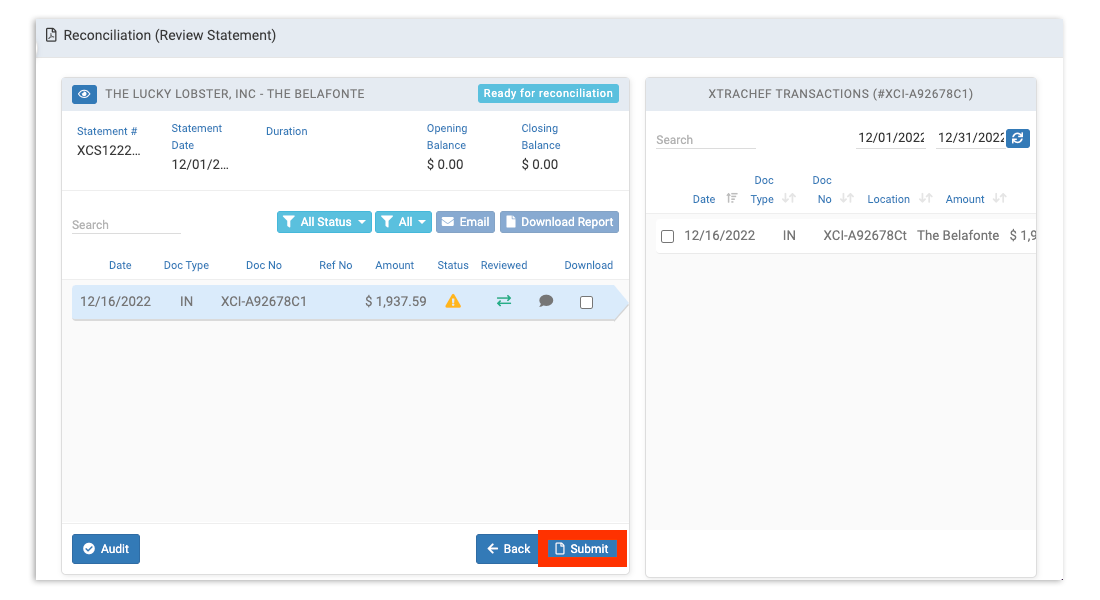
After selecting the pencil icon, you will be redirected to the statement details and an Invoice column for cross-examination. You can view and even edit the details in these invoices.
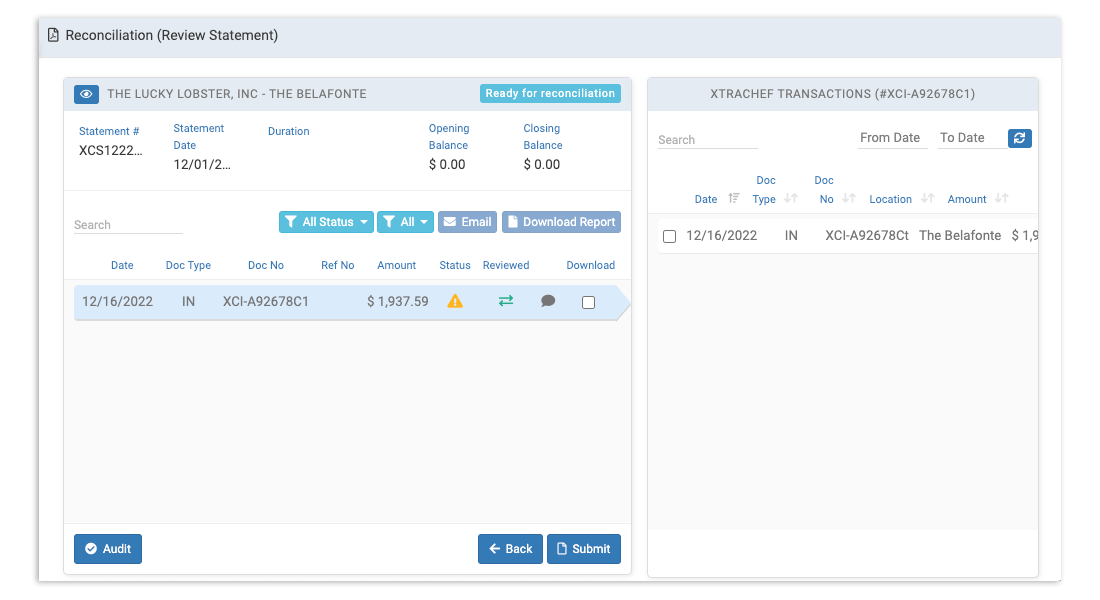
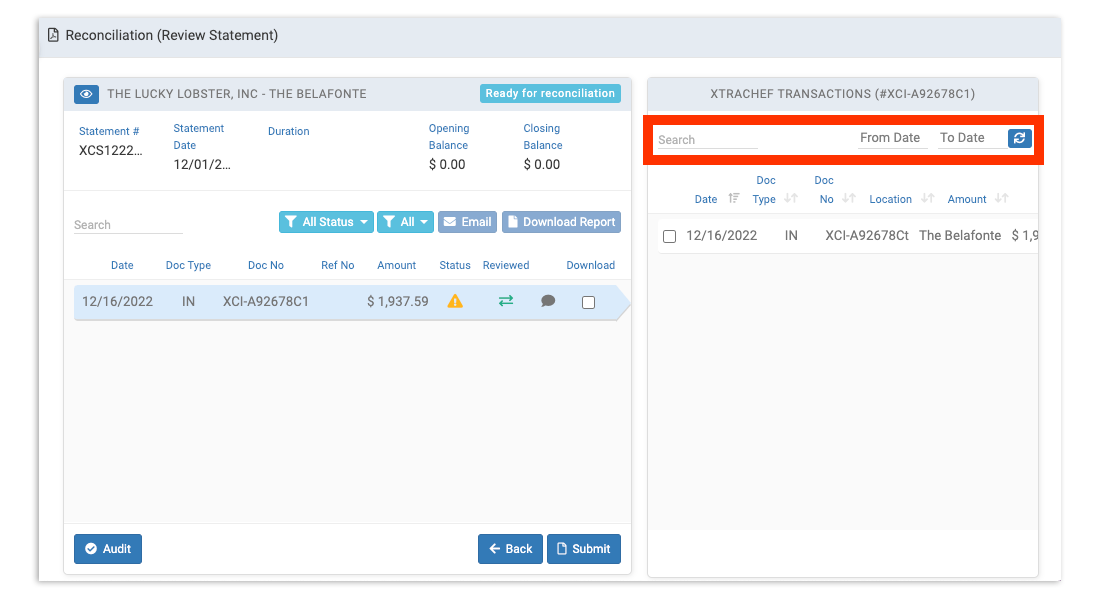
By default, any invoices with invoice numbers matching those included on your uploaded statements will appear on the right hand side. If no invoices appear, you can search or filter for them using the Search and From/To Date fields.
On the statement side of the page, invoice details such as Date, Document Type, Document Number (Invoice Number), Reference Number, and Amount will populate.
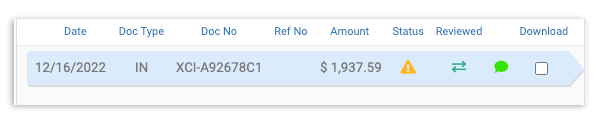
Additional details such as Status, Reviewed, and the Comment field will help you review and reconcile your statements.
Invoice Status
An invoice's status will indicate the invoice's current status (i.e., whether it automatically matched with an uploaded Invoice in xtraCHEF or not). If an invoice included on your statement does not match any transaction recorded by xtraCHEF, then it will be shown as Unmatched with the corresponding caution icon.

Similarly, you may see a blue caution icon. This typically means that xtraCHEF was able to find a match for an uploaded Invoice, but that there is a mismatch between the invoice and statement amounts.
Unmatched line items indicate a need for review. This can be done using the filters mentioned in the previous sections to find a match in the system.
Note: If no match exists after searching, it may indicate that an invoice was never received, never uploaded, or rejected by the system and should be re-uploaded.
Reviewed
If an unmatched or matched line item has been reviewed, and a corresponding invoice does exist, selecting the review icon pictured below will mark it as such.

Tip: Combining the use of the Reviewed button with the Comment field will help leave context on invoices with previously unmatched line items.
A Reviewed status is green and indicates that the line has been reviewed. You can also mark it as not reviewed by selecting the icon again.
Comment
By selecting the comment icon you can leave context on invoices where a match may have otherwise been difficult to find.

This will prompt you to leave notes. To do this, type in any notes or comments. Then select Save.
Submit/Reconcile Your Statement
With matches found for all line items on your statement line items, select Submit or Reconcile.
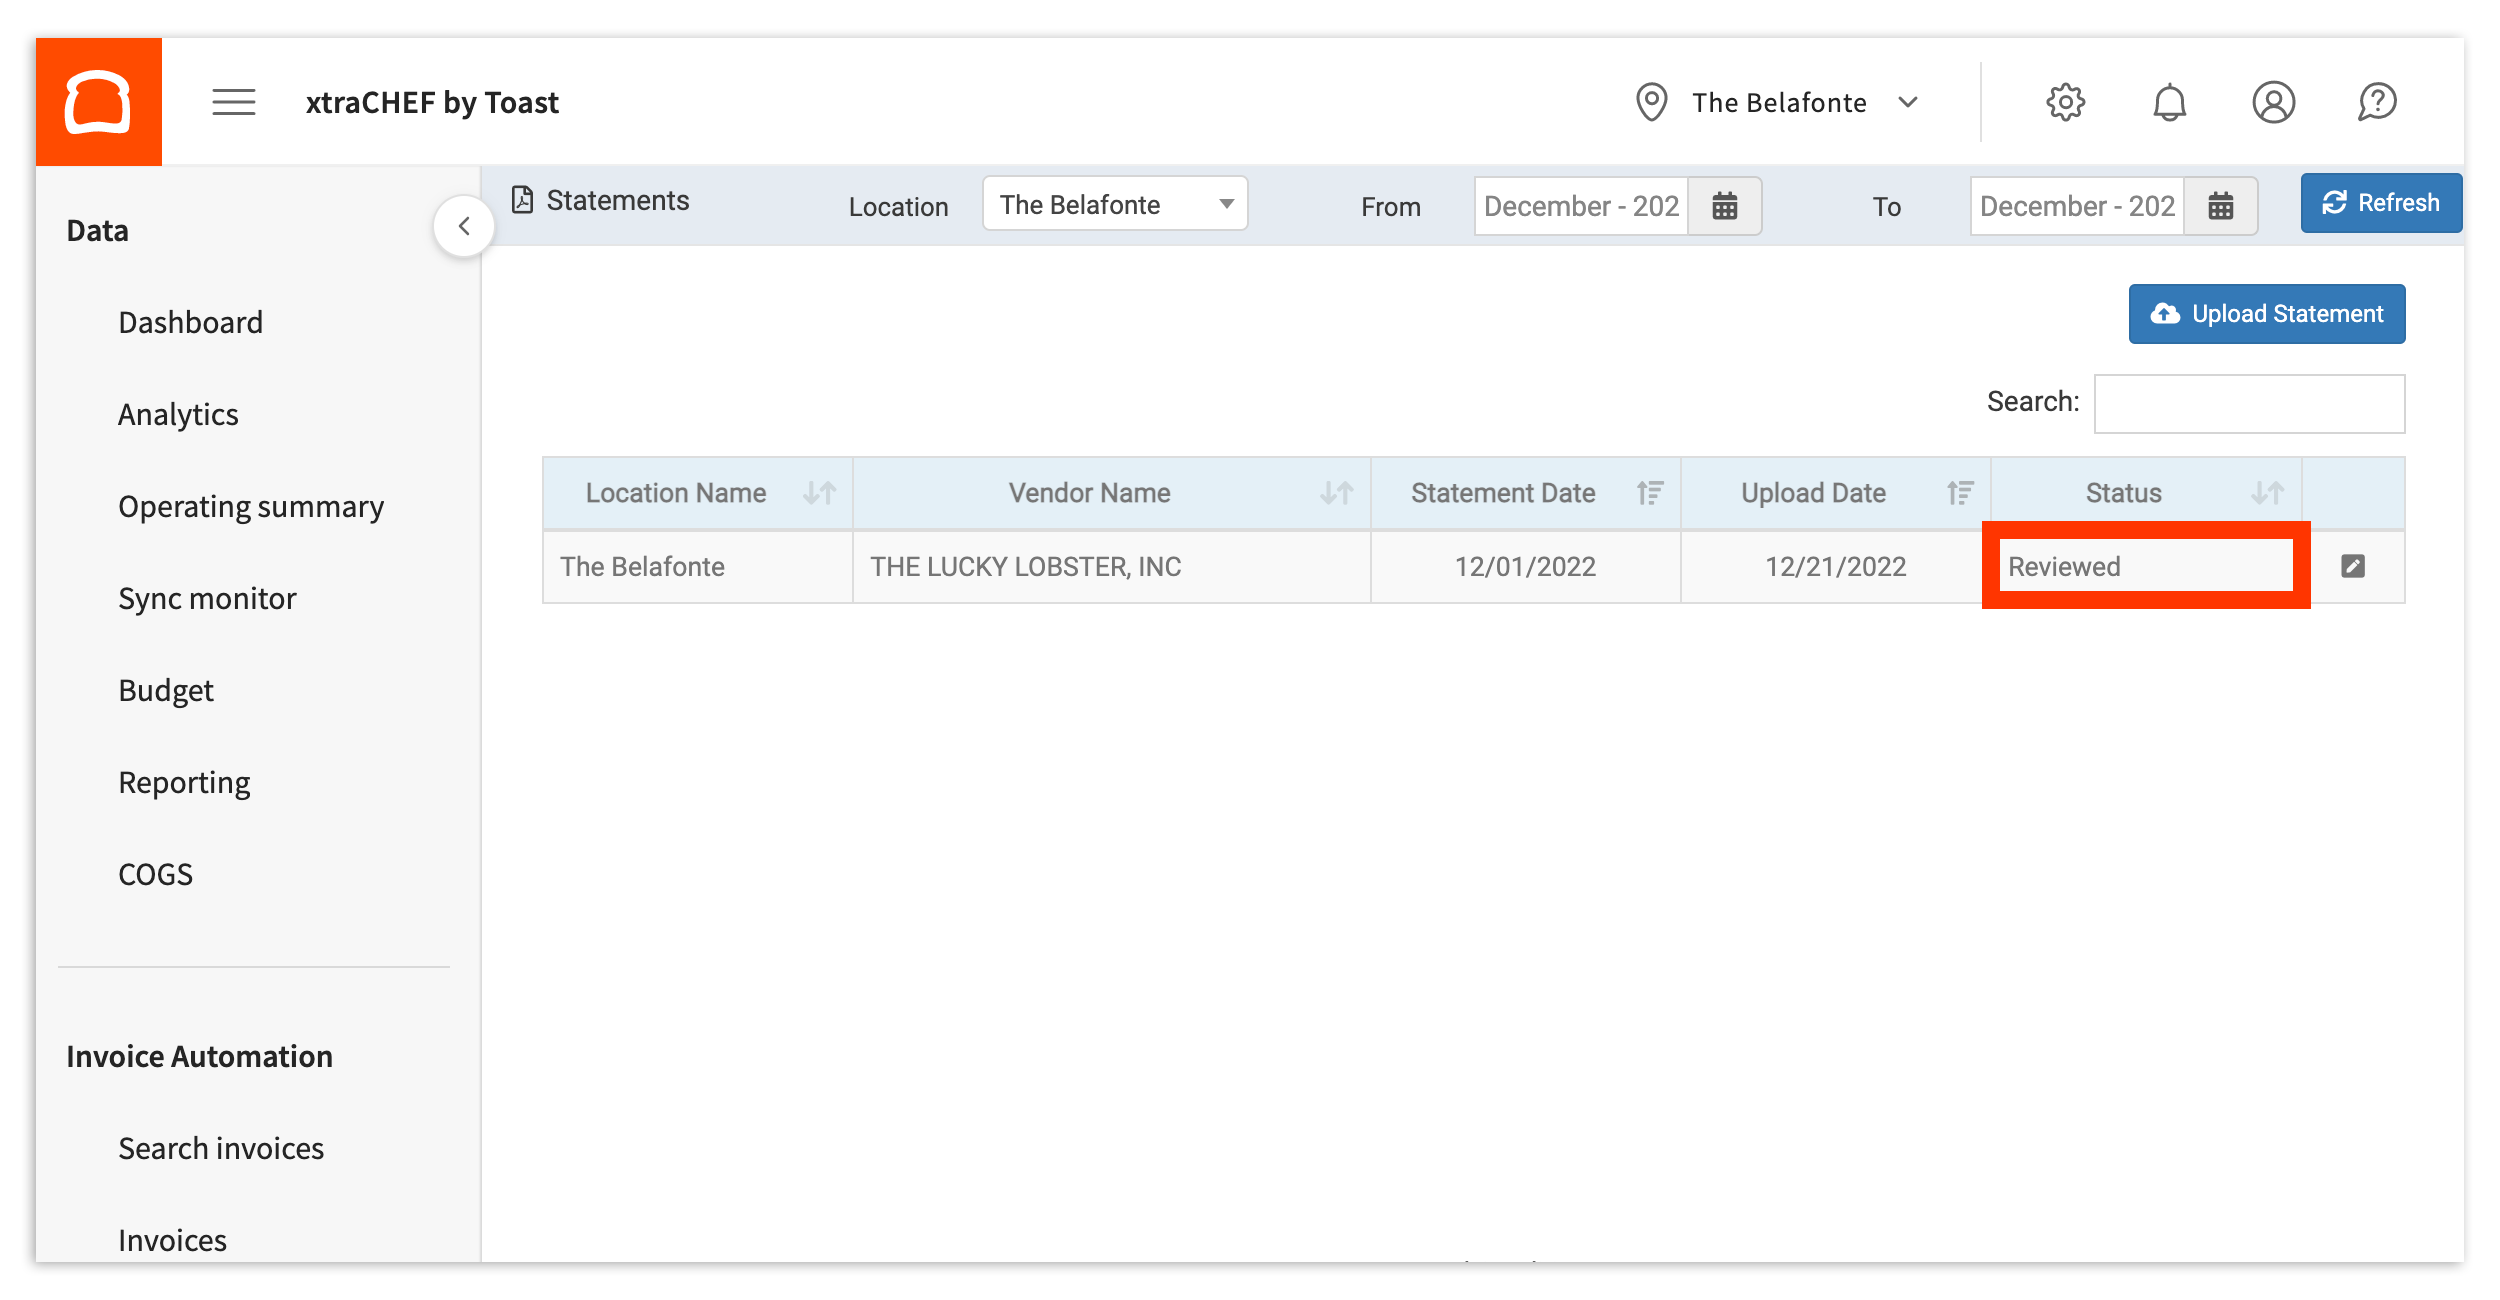
You will then see your statement marked as reviewed under the statement Status column.
Statements Tips
- Want to review the original Statement or Invoice? Select the eye icon
to review the initially uploaded document.
- You have the option to select Download Report
to generate a report of statement reconciliation for desired transactions. This can be helpful in internal tracking.
- All the changes done on the statement are recorded in the backend. You can select the Audit button
to see the activities on the statement. This can be very helpful when working in teams. You can even have the option to search through the audit records.