Manage Vendors in Bill Pay
Última actualización: 23 jun 2026, 1:58 p.m.
Manage the vendors you pay through Bill Pay in Toast Web—add, view, edit, and delete vendors, and set up ACH or check payment details.
Note: Bill Pay within Toast Checking is a separate tool from xtraCHEF's Toast Bill Pay feature. See xtraCHEF: Get Started With Toast Bill Pay for more information.
- Before You Begin
- View Your Vendor List
- Add a Vendor
- Edit a Vendor
- Set Up Vendor Payment Details
- Delete a Vendor
- Related Articles
Before You Begin
Applies to: Toast Web, Bill Pay (Toast Checking)
Permissions needed:
- 8.1 Financial Accounts
What you'll accomplish: Add and manage the vendors you pay through Bill Pay, including their contact details and payment information.
View Your Vendor List
The Vendors tab in Bill Pay is where you manage all of your vendors in one place. You can see each vendor's name, address, and saved payment details from this view.
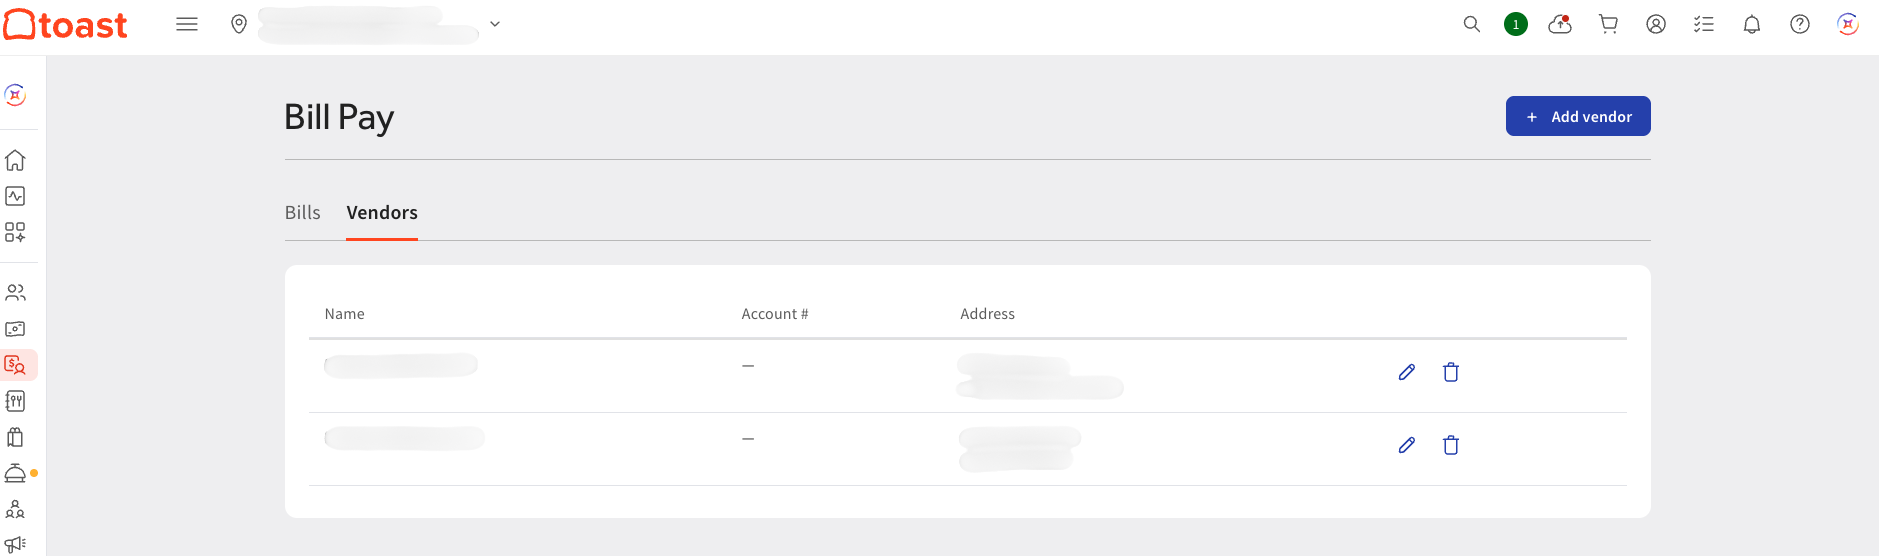
To access the Vendors tab, navigate to Toast Web > Bill Pay > Vendors.
Add a Vendor
Adding a vendor to your list makes them available to select when you submit a payment. You can also add a new vendor directly when submitting a payment—see Use Bill Pay With Toast Checking for those steps.
Otherwise, to add a vendor from the Vendors tab:
- Navigate to Toast Web > Bill Pay > Vendors.
- Select Add vendor.
- Enter the following details:
- Vendor name (required)
- Address (required)
- Customer account number (optional)
- Vendor remittance email (optional)
- Select Save.
Your new vendor appears in your vendor list and is available to select when submitting a payment.
Note: You can also add or update the customer account number when submitting a payment, not only from the Vendors tab.
Edit a Vendor
You can update a vendor's name, address, or contact details at any time.
To edit a vendor:
- Navigate to Toast Web > Bill Pay > Vendors.
- Find the vendor you want to update and select the pencil icon next to their name.
- Update the vendor's details.
- Select Save.
Your changes are saved and reflected the next time you submit a payment to that vendor.
Note: The account Owner receives an email notification whenever a vendor's payment information is updated. This is a security measure to help protect against unauthorized changes.
Set Up Vendor Payment Details
You can save ACH bank details or a check remittance address for each vendor. Having payment details saved in advance means you do not need to re-enter them each time you submit a payment.
Set Up ACH Payment Details
- Navigate to Toast Web > Bill Pay > Vendors.
- Select the vendor's name to open their detail view.
- Select Add bank details or Edit bank details.
- Enter the following:
- Bank account number
- Routing number
- Account type (checking or savings)
- Select Save.
Set Up a Check Remittance Address
- Navigate to Toast Web > Bill Pay > Vendors.
- Select the vendor's name to open their detail view.
- Select Add remittance address or Edit remittance address.
- Enter the vendor's mailing address.
- Select Save.
If a vendor has both ACH details and a remittance address saved, you can choose which method to use when submitting a payment.
Delete a Vendor
Deleting a vendor removes them from your vendor list. This action cannot be undone.
To delete a vendor:
- Navigate to Toast Web > Bill Pay > Vendors.
- Find the vendor you want to remove and select the trashcan icon next to their name.
- Confirm the deletion when prompted.
The vendor is removed from your list and is no longer available to select when submitting a payment.
Related Articles