xtraCHEF: Approvals
Last updated: Apr 28, 2026, 4:20 PM
Approval Rules Overview
The great thing about restaurants is that no two are alike - even locations from the same concept or chain will have different needs, customers, and priorities. The tricky thing about restaurants is that there's no way to take a one-size-fits-all approach to just about anything.
You've most likely already configured everything you need to automatically scan and process invoices through xtraCHEF. But what about vendors, supplies, and edge cases that require an extra set of eyes? In this article, we'll cover how to set approval rules for your invoices, as well as how to manage your approvals queue.
Create Approval Rules
If you have Tenant Admin privileges in your xtraCHEF account, you can create Approval rules by navigating to the gear icon in the top-right corner and selecting Approval rules. On this page, you can choose from a number of approval scenarios.
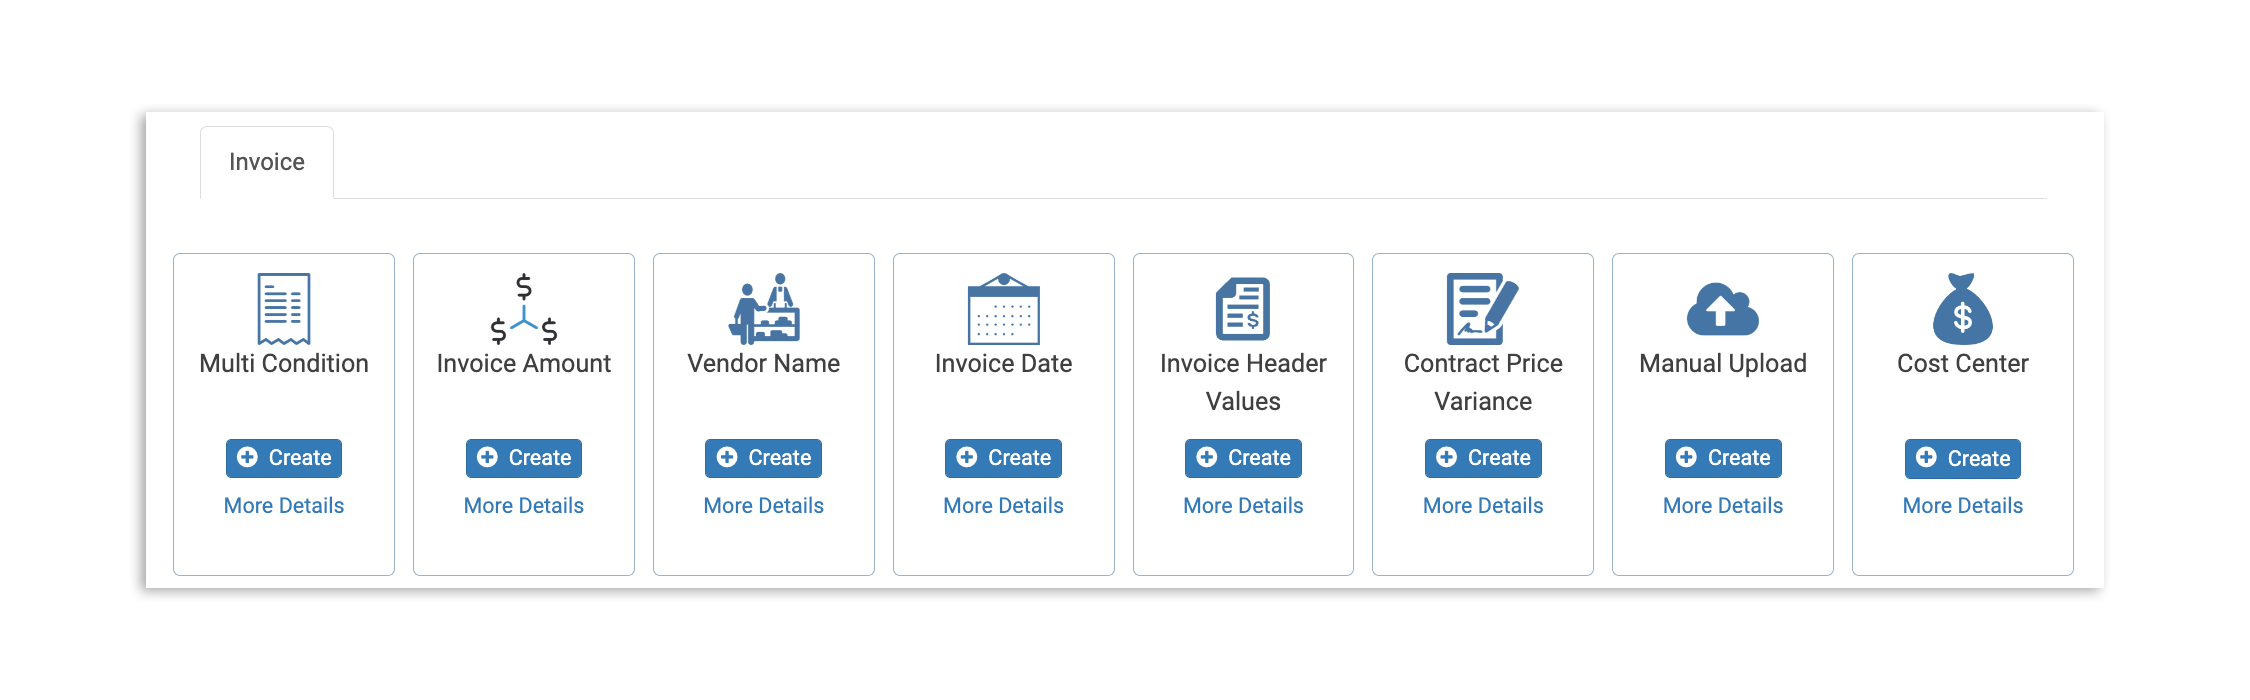
- Multi Condition: Configure invoice routing for approval based on the combination of vendor, location, invoice items, and invoice fields like amount, freight etc.
- Invoice Amount: This rule allows you to configure invoice routing for approval based on the Invoice Amount
- Vendor Name: This rule allows you to configure invoice routing for approval based on Vendor Name
- Invoice Date: Expecting a special holiday order or hosting a big event? This rule allows you to configure invoice routing for approval based on the Invoice Date
- Invoice Header Values: This rule allows you to configure invoice routing for approval based on Invoice Header Values (shipping fees, discount codes, etc).
- Contract Price Variance: Specify if you'd like to flag invoices when the cost of goods is above your agreed contract price, or choose to be notified of all price fluctuations.
- Manual Upload: Require manual review/approval when an employee enters invoice details instead of scanning a document.
- Cost Center: Flag expenses brought in by your organization's various Cost Centers. When selecting Cost Center as your approval rule, those will be listed separately under the Cost Center Rule tab.
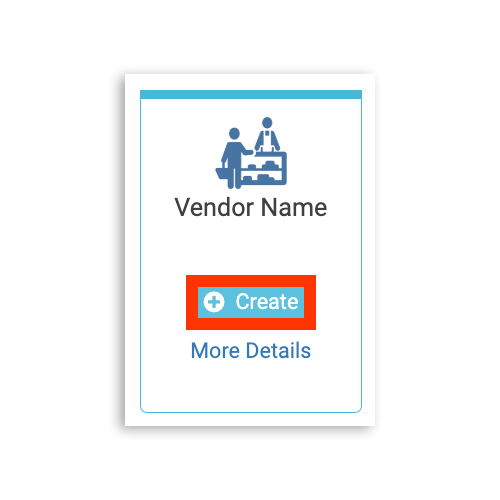
To create a rule, select the Create button on the approval rule type of your choice.
This will launch an approval rule workflow. While the details of each workflow will look a bit different depending on which scenario you choose, all approvals will follow the same basic steps:
- Establish criteria specifics.
- Select and confirm the location.
- Assign users as approvers for invoices meeting your criteria.
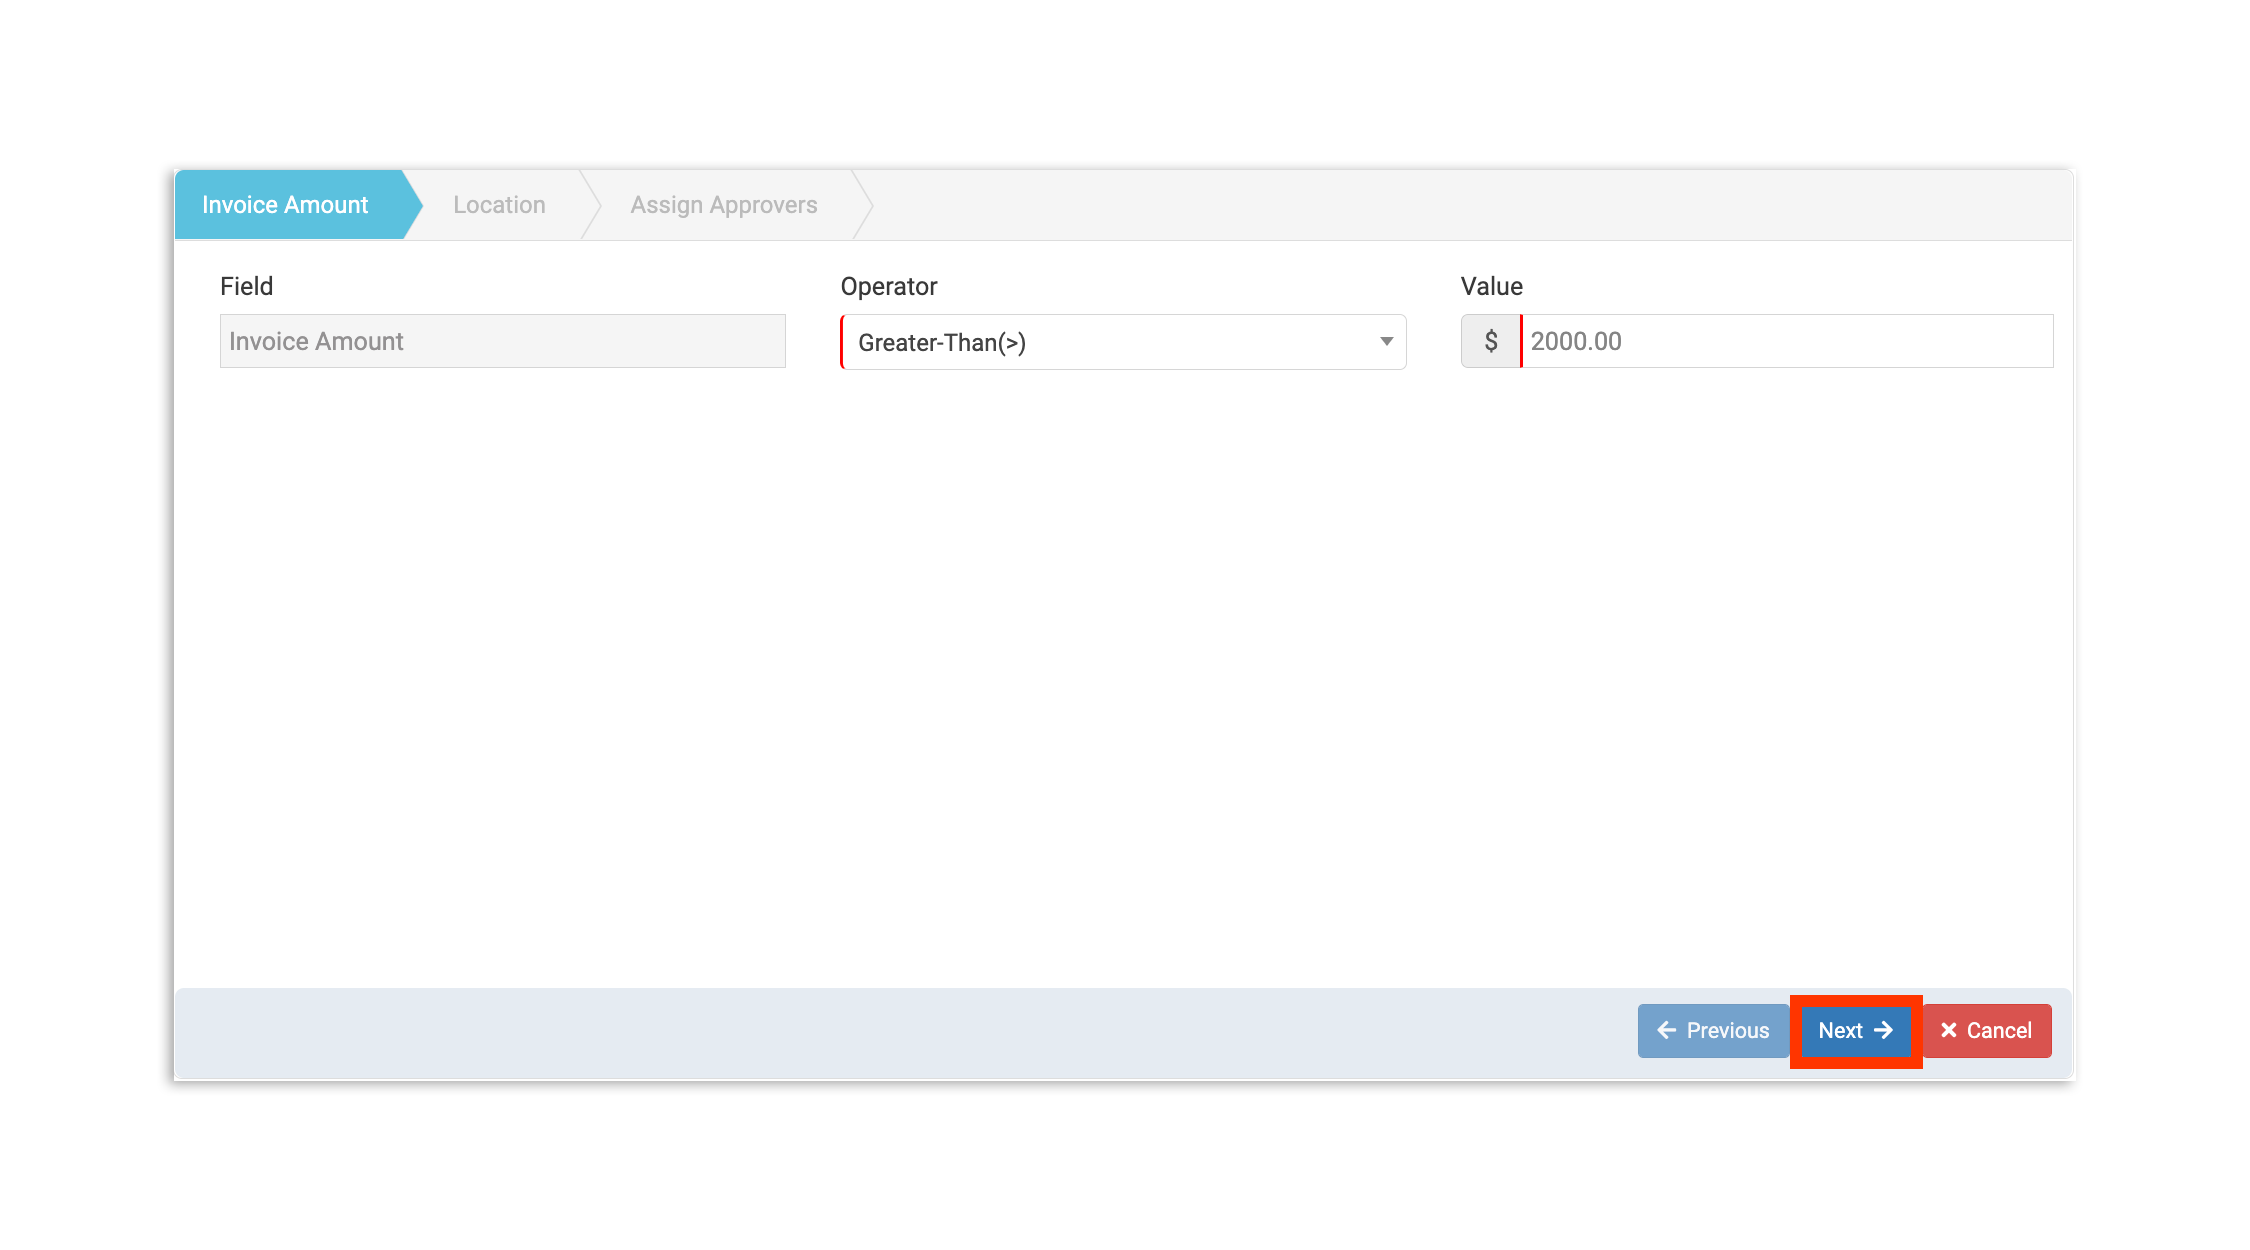
In this example, we are creating an Invoice Amount rule that will automatically flag invoices for manual review if the total is over $2000. First, specify your approval rule conditions and select Next.
In this case, we would set the Operator condition to Greater-Than(>), and the Value to $2000.00
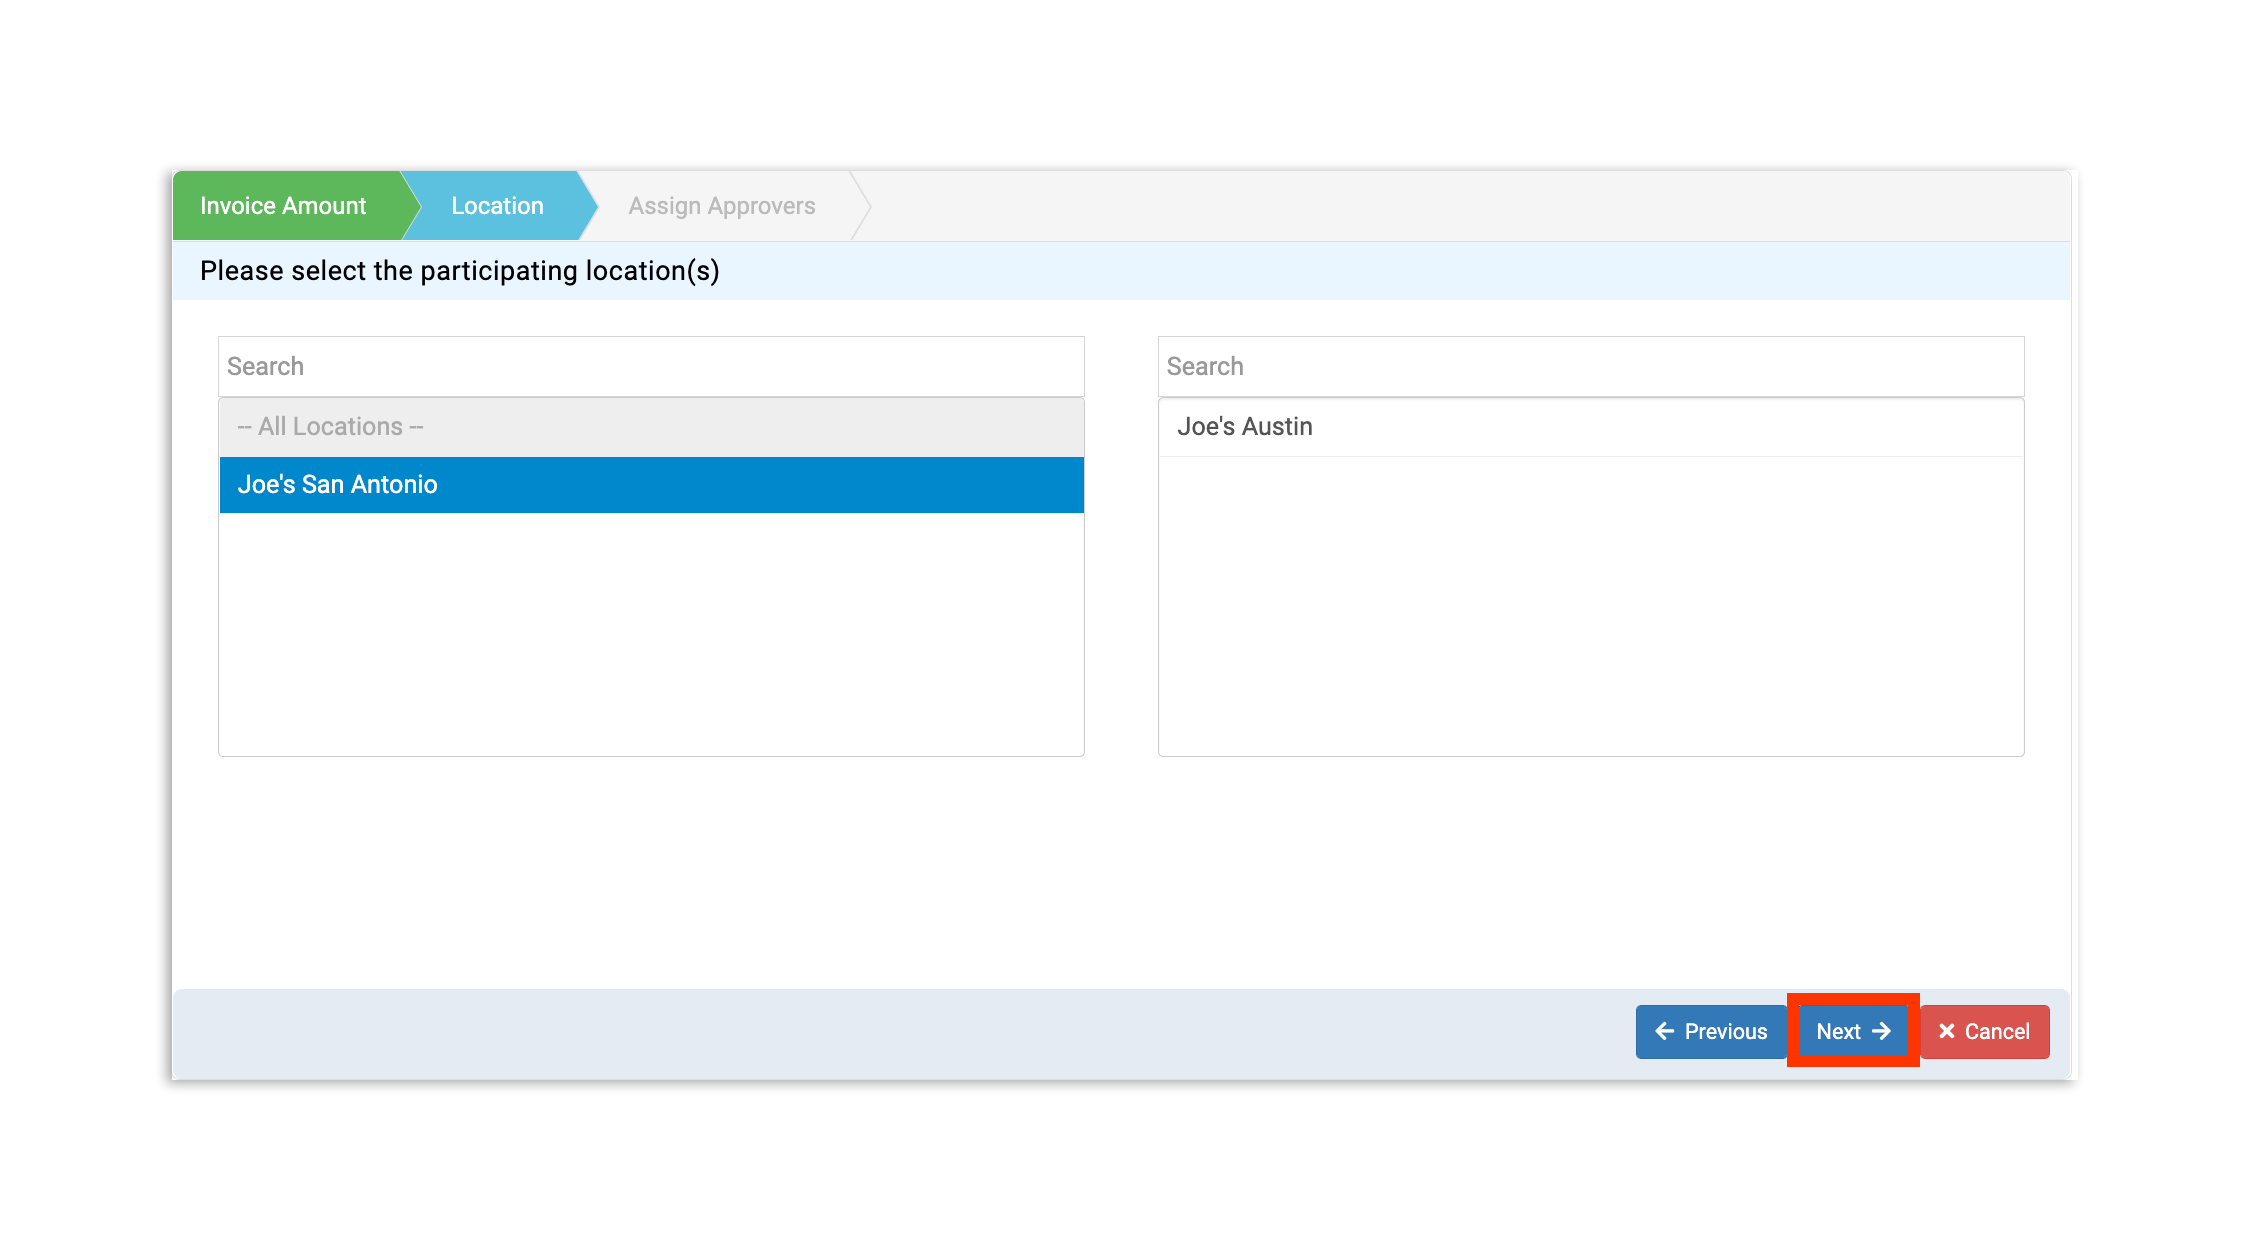
Next, add the location(s) that will be subject to this rule. Select a location from the section on the left to move it to the participating location's section on the right. You must choose at least one location. Once a location(s) has been chosen, select Next.
The last step before you can use your new approval rule is to determine whose approval is needed.
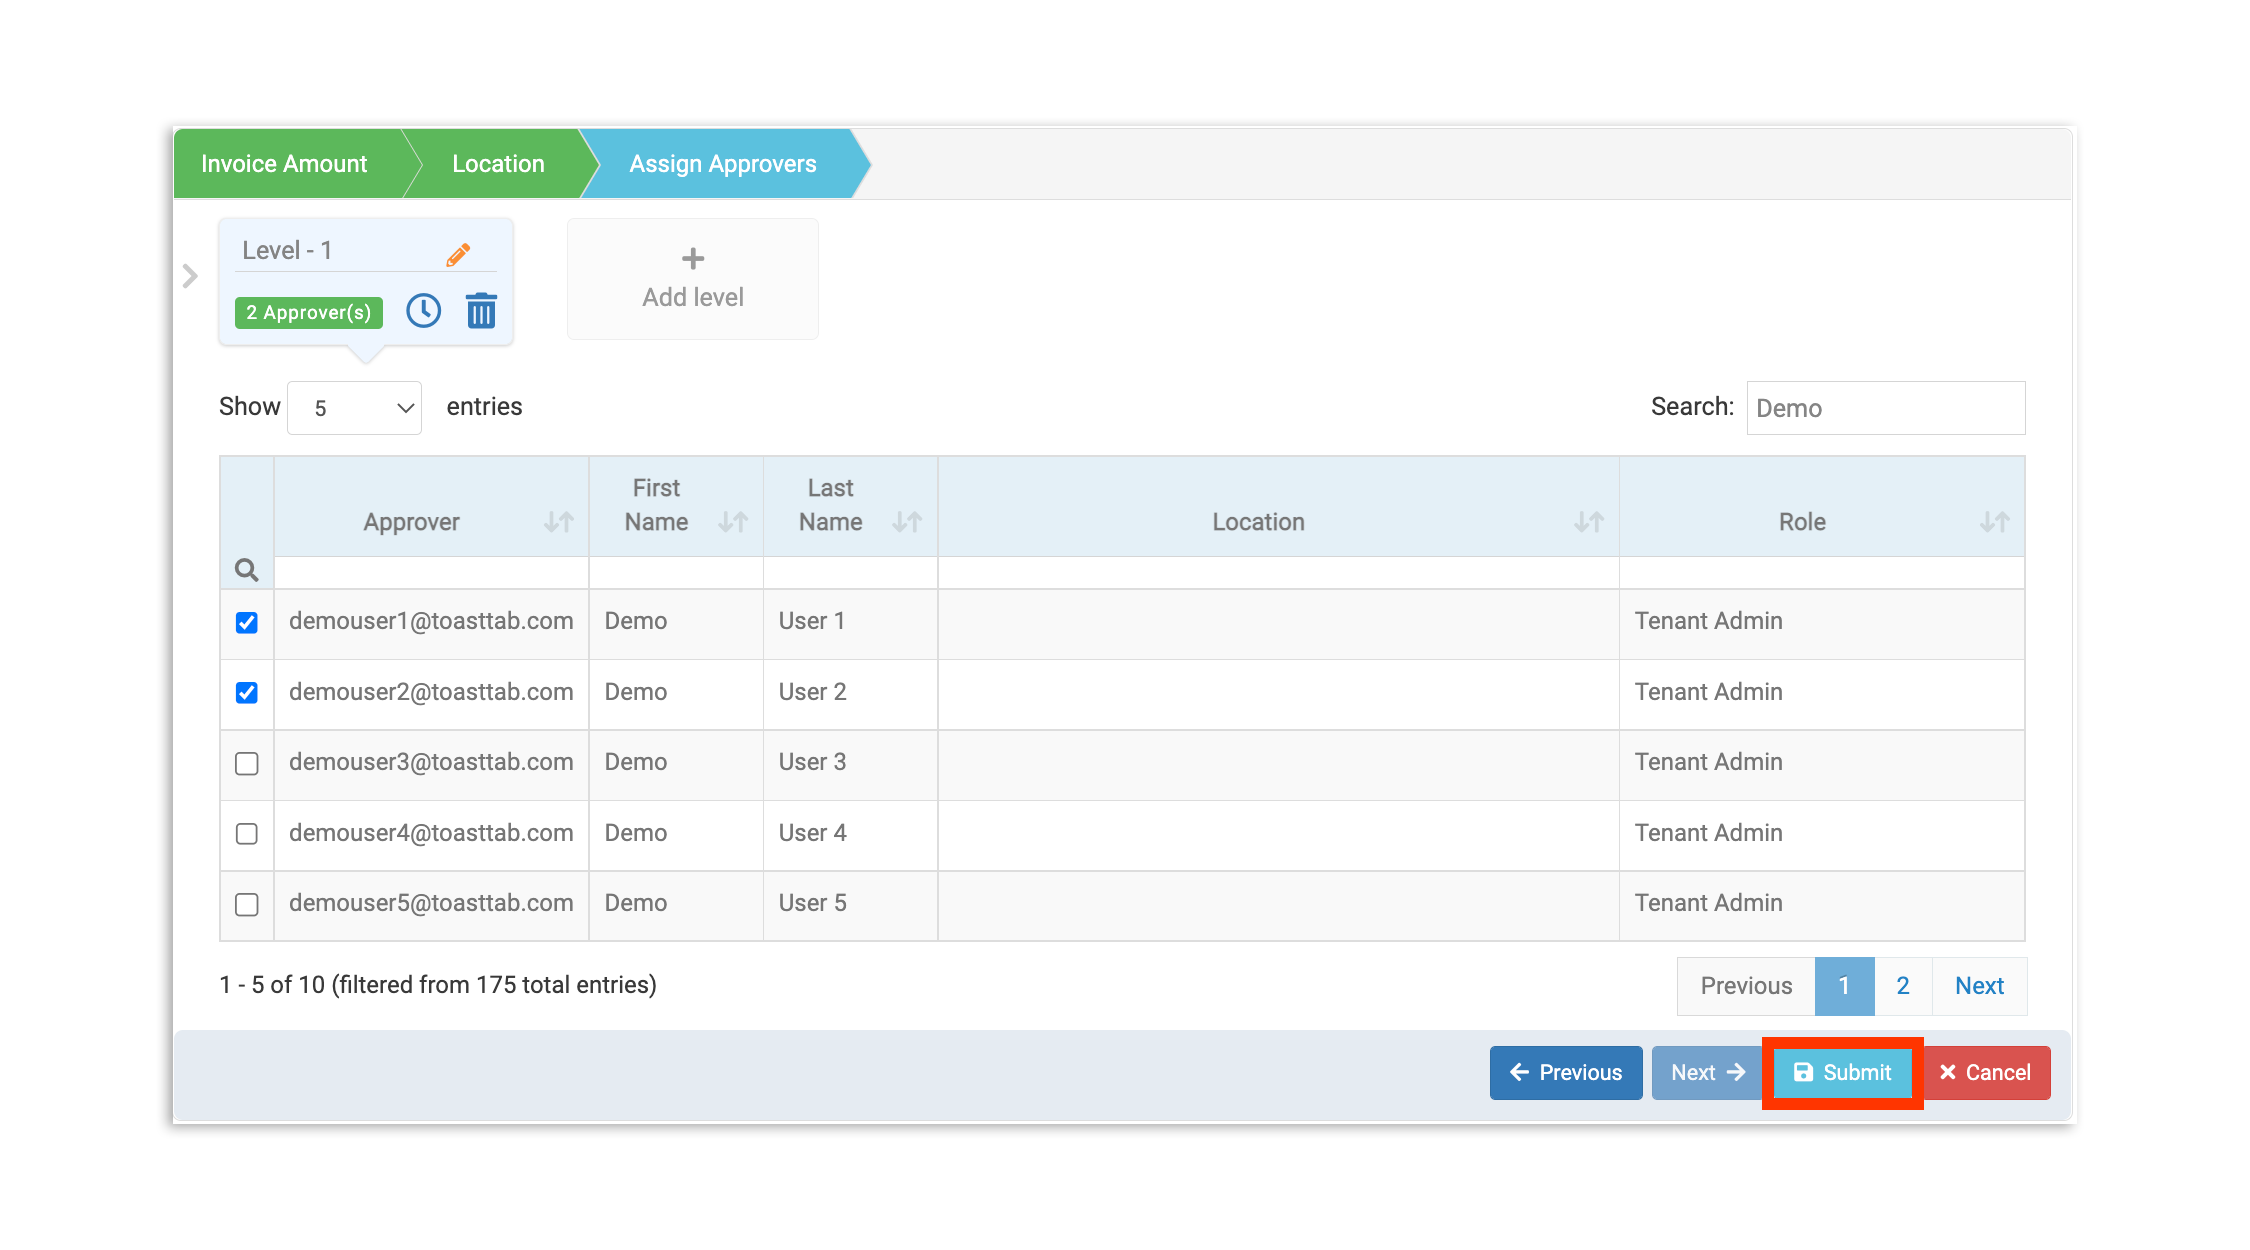
Note: Each rule needs at least one level of approval and at least one approver, so add in the initial approver first.
If you would like an additional layer of approval within the same approval rule, you can select + Add level. This will have invoices that meet your criteria go up "a chain of command". Level 1 approvers will receive the document before level 2 approvers and so forth.
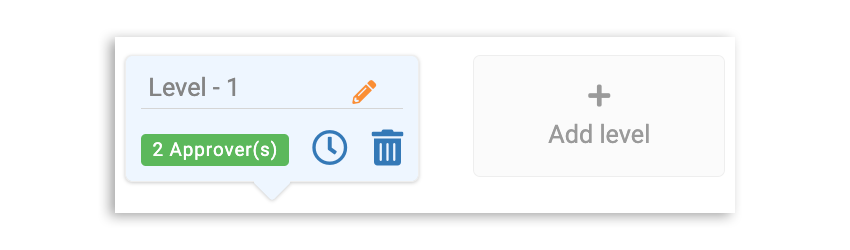
Selecting the clock icon for a level allows you to enable auto-approval, if necessary. Additionally, the pencil and trash icons let you edit and remove a level, respectively.
Finally, when you've designated at least one approver, select Submit. You'll then be prompted to name your rule. Once your rule is named and submitted, it will immediately appear on your list of approval rules.
Approve Invoices
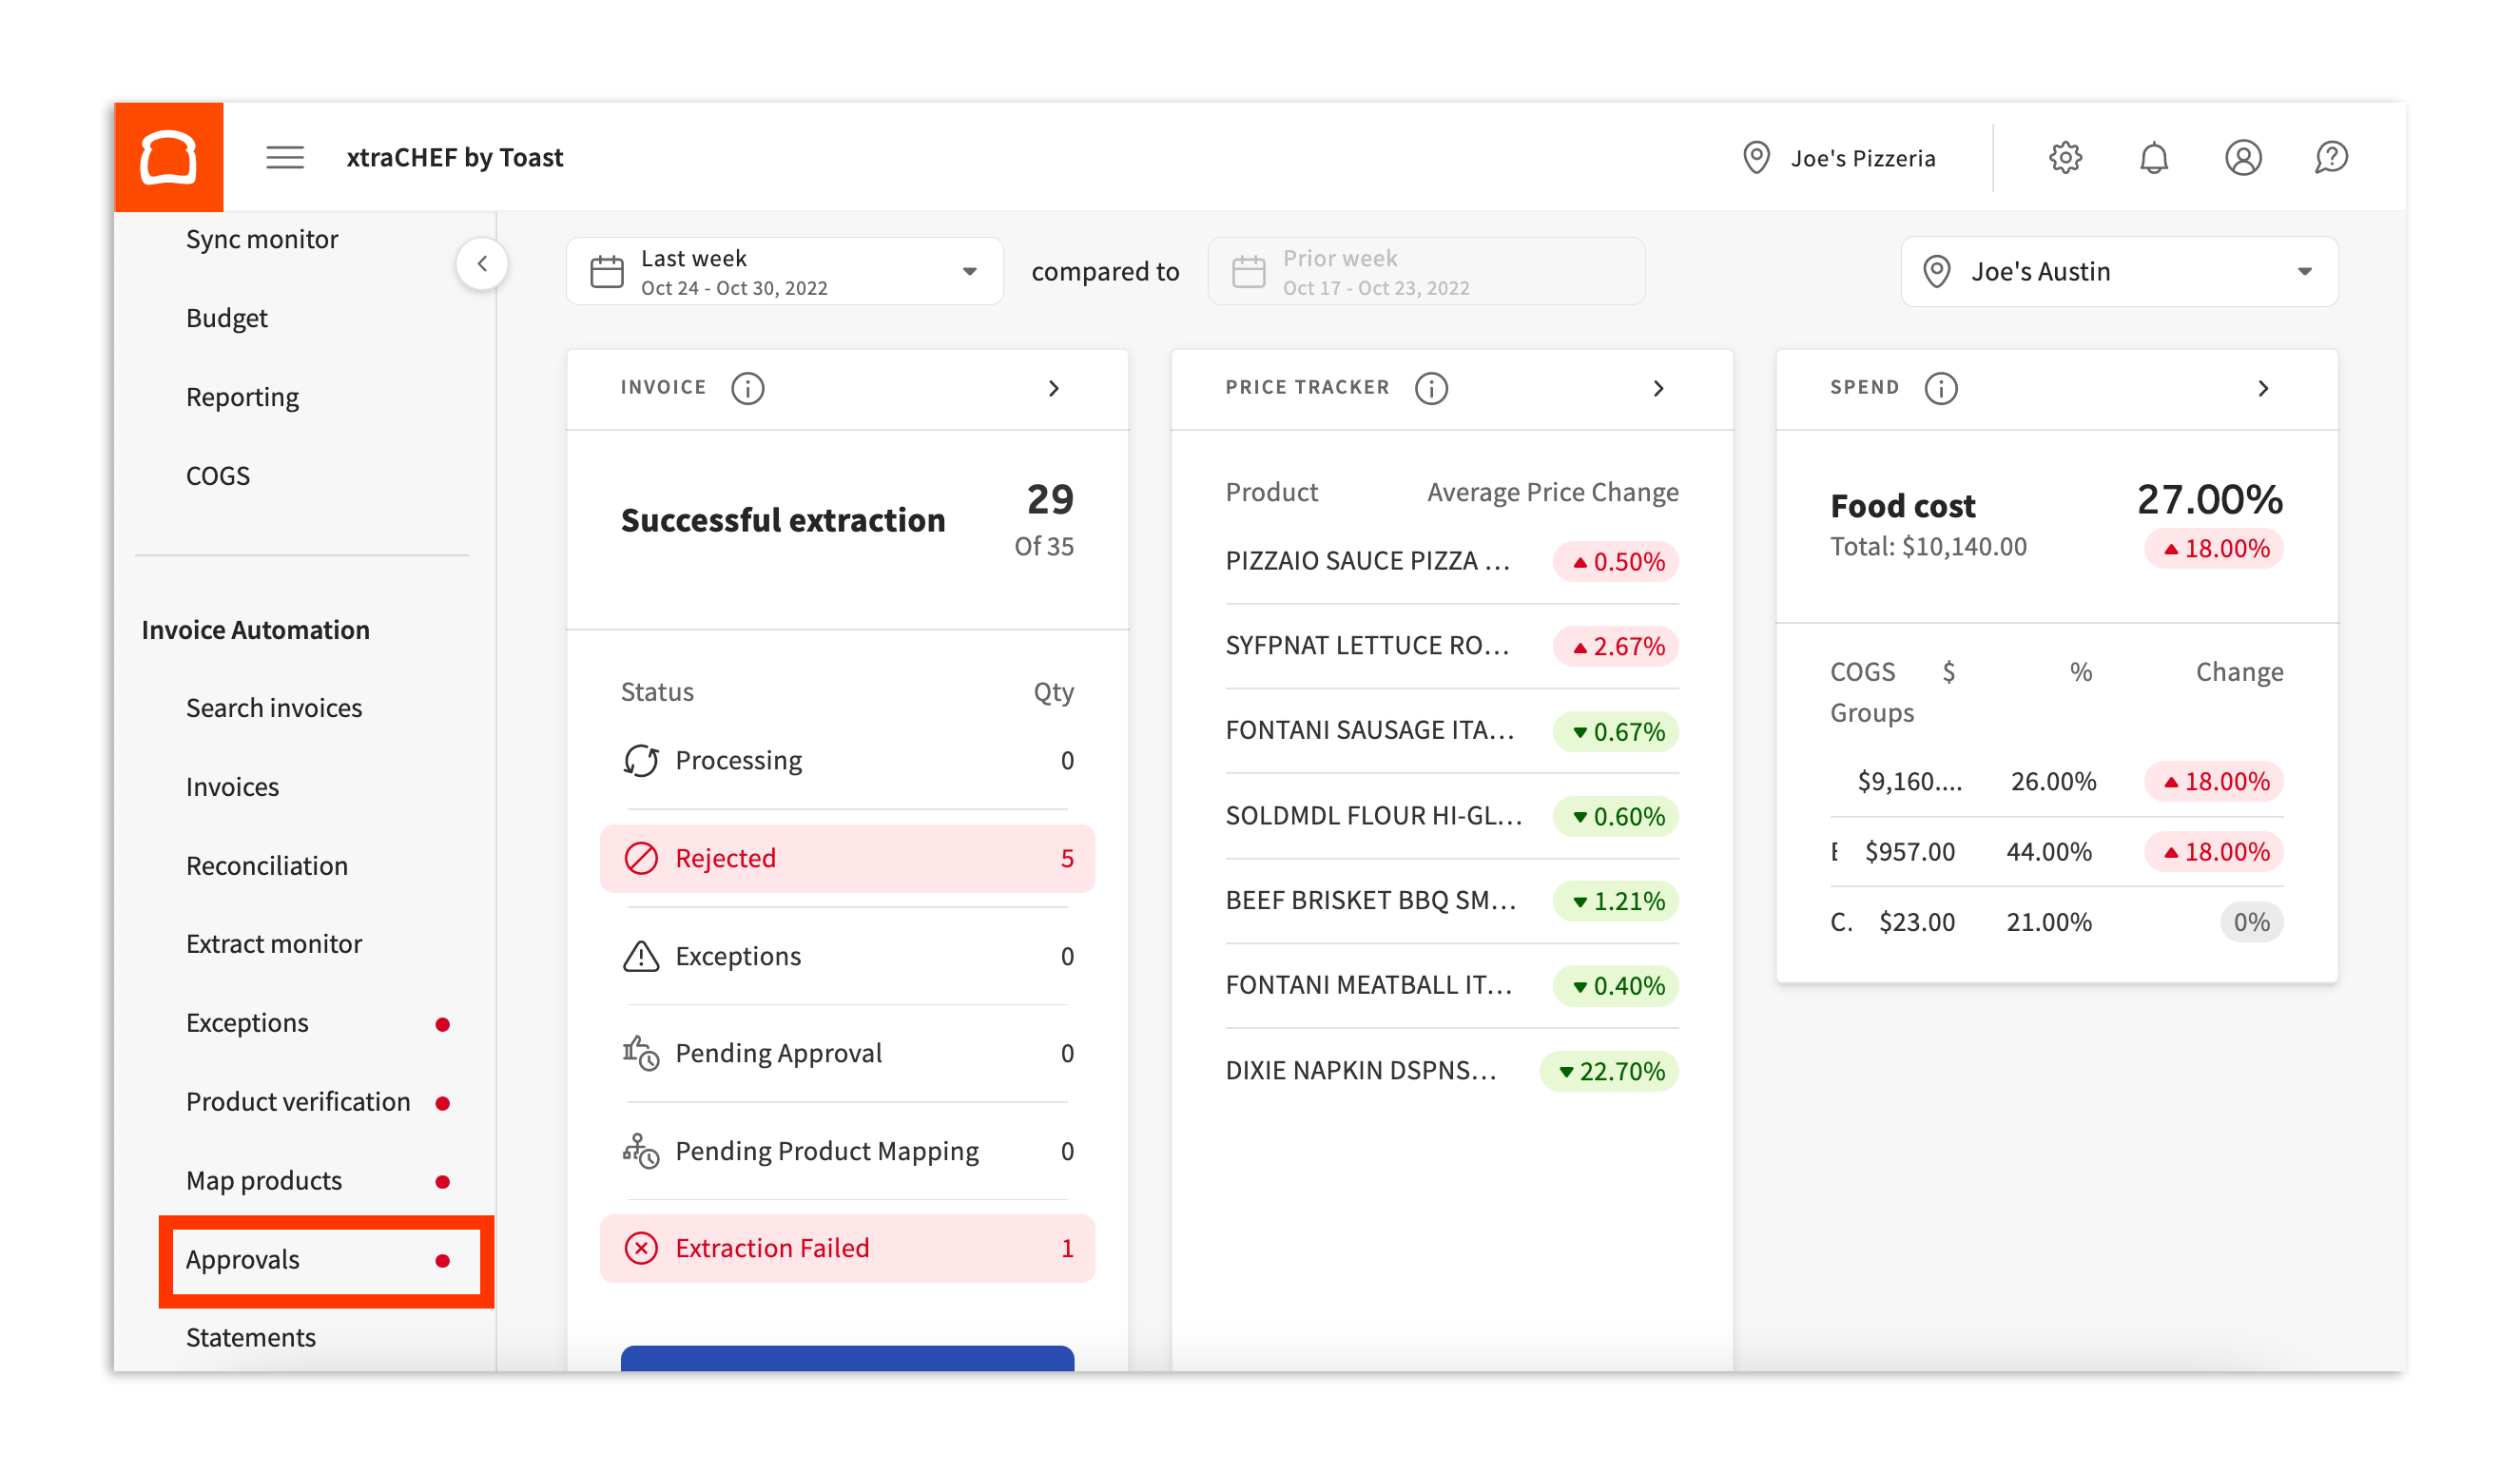
- If you are listed as an approver, you'll see a red notification icon on the Approvals tab on your left-hand xtraCHEF sidebar when you have new invoices to review. Select Approval to be taken to the queue of all waiting invoice approvals.
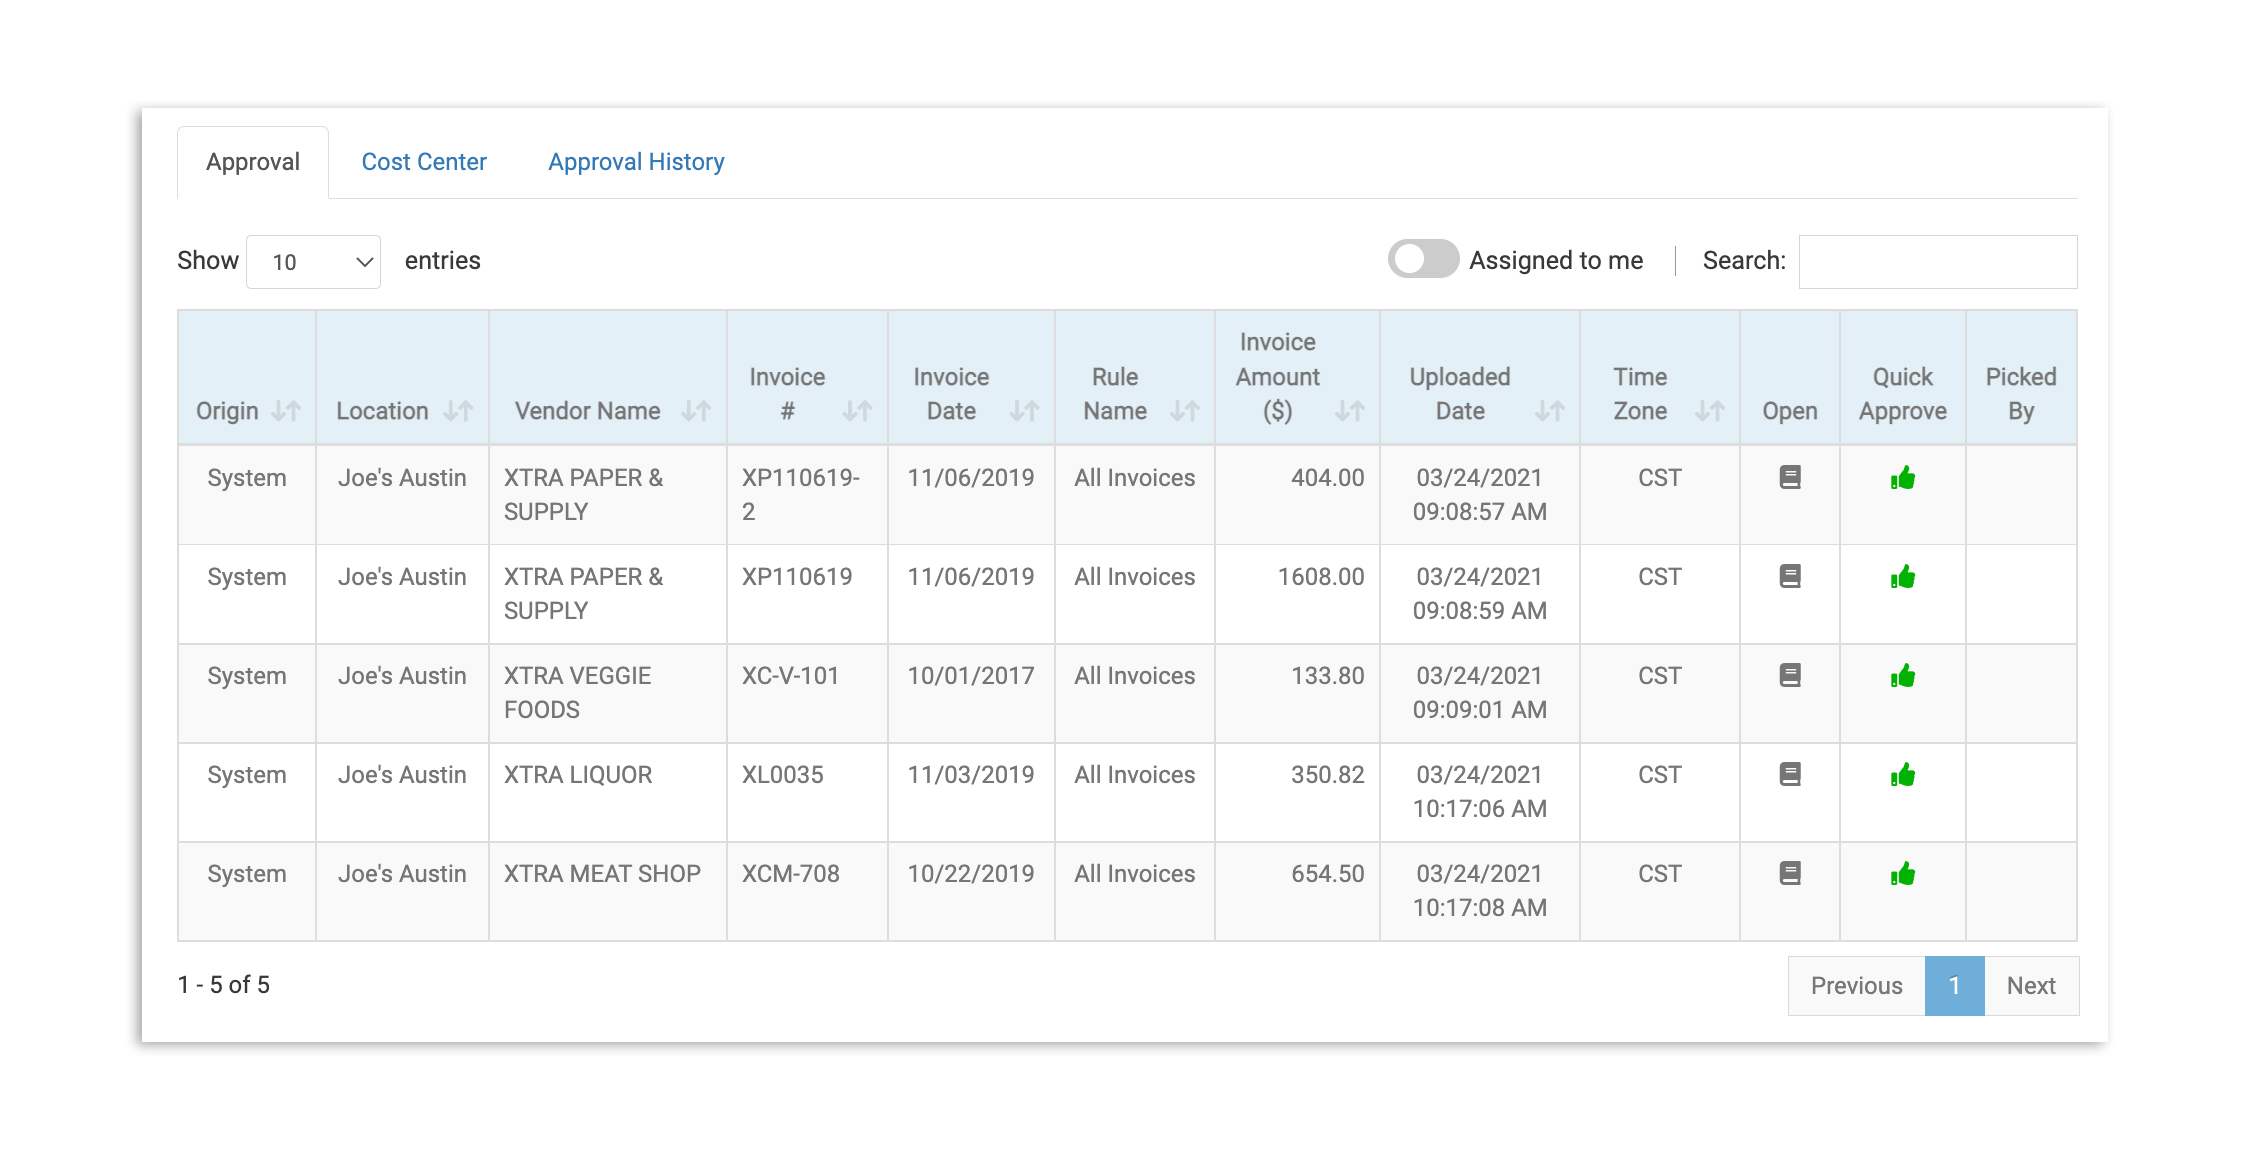
- If you see an invoice on the list that is expected, you may select the thumbs-up icon under Quick Approve to immediately send it to your approved invoice list. Otherwise, select the book icon under Open to dig deeper into the invoice.
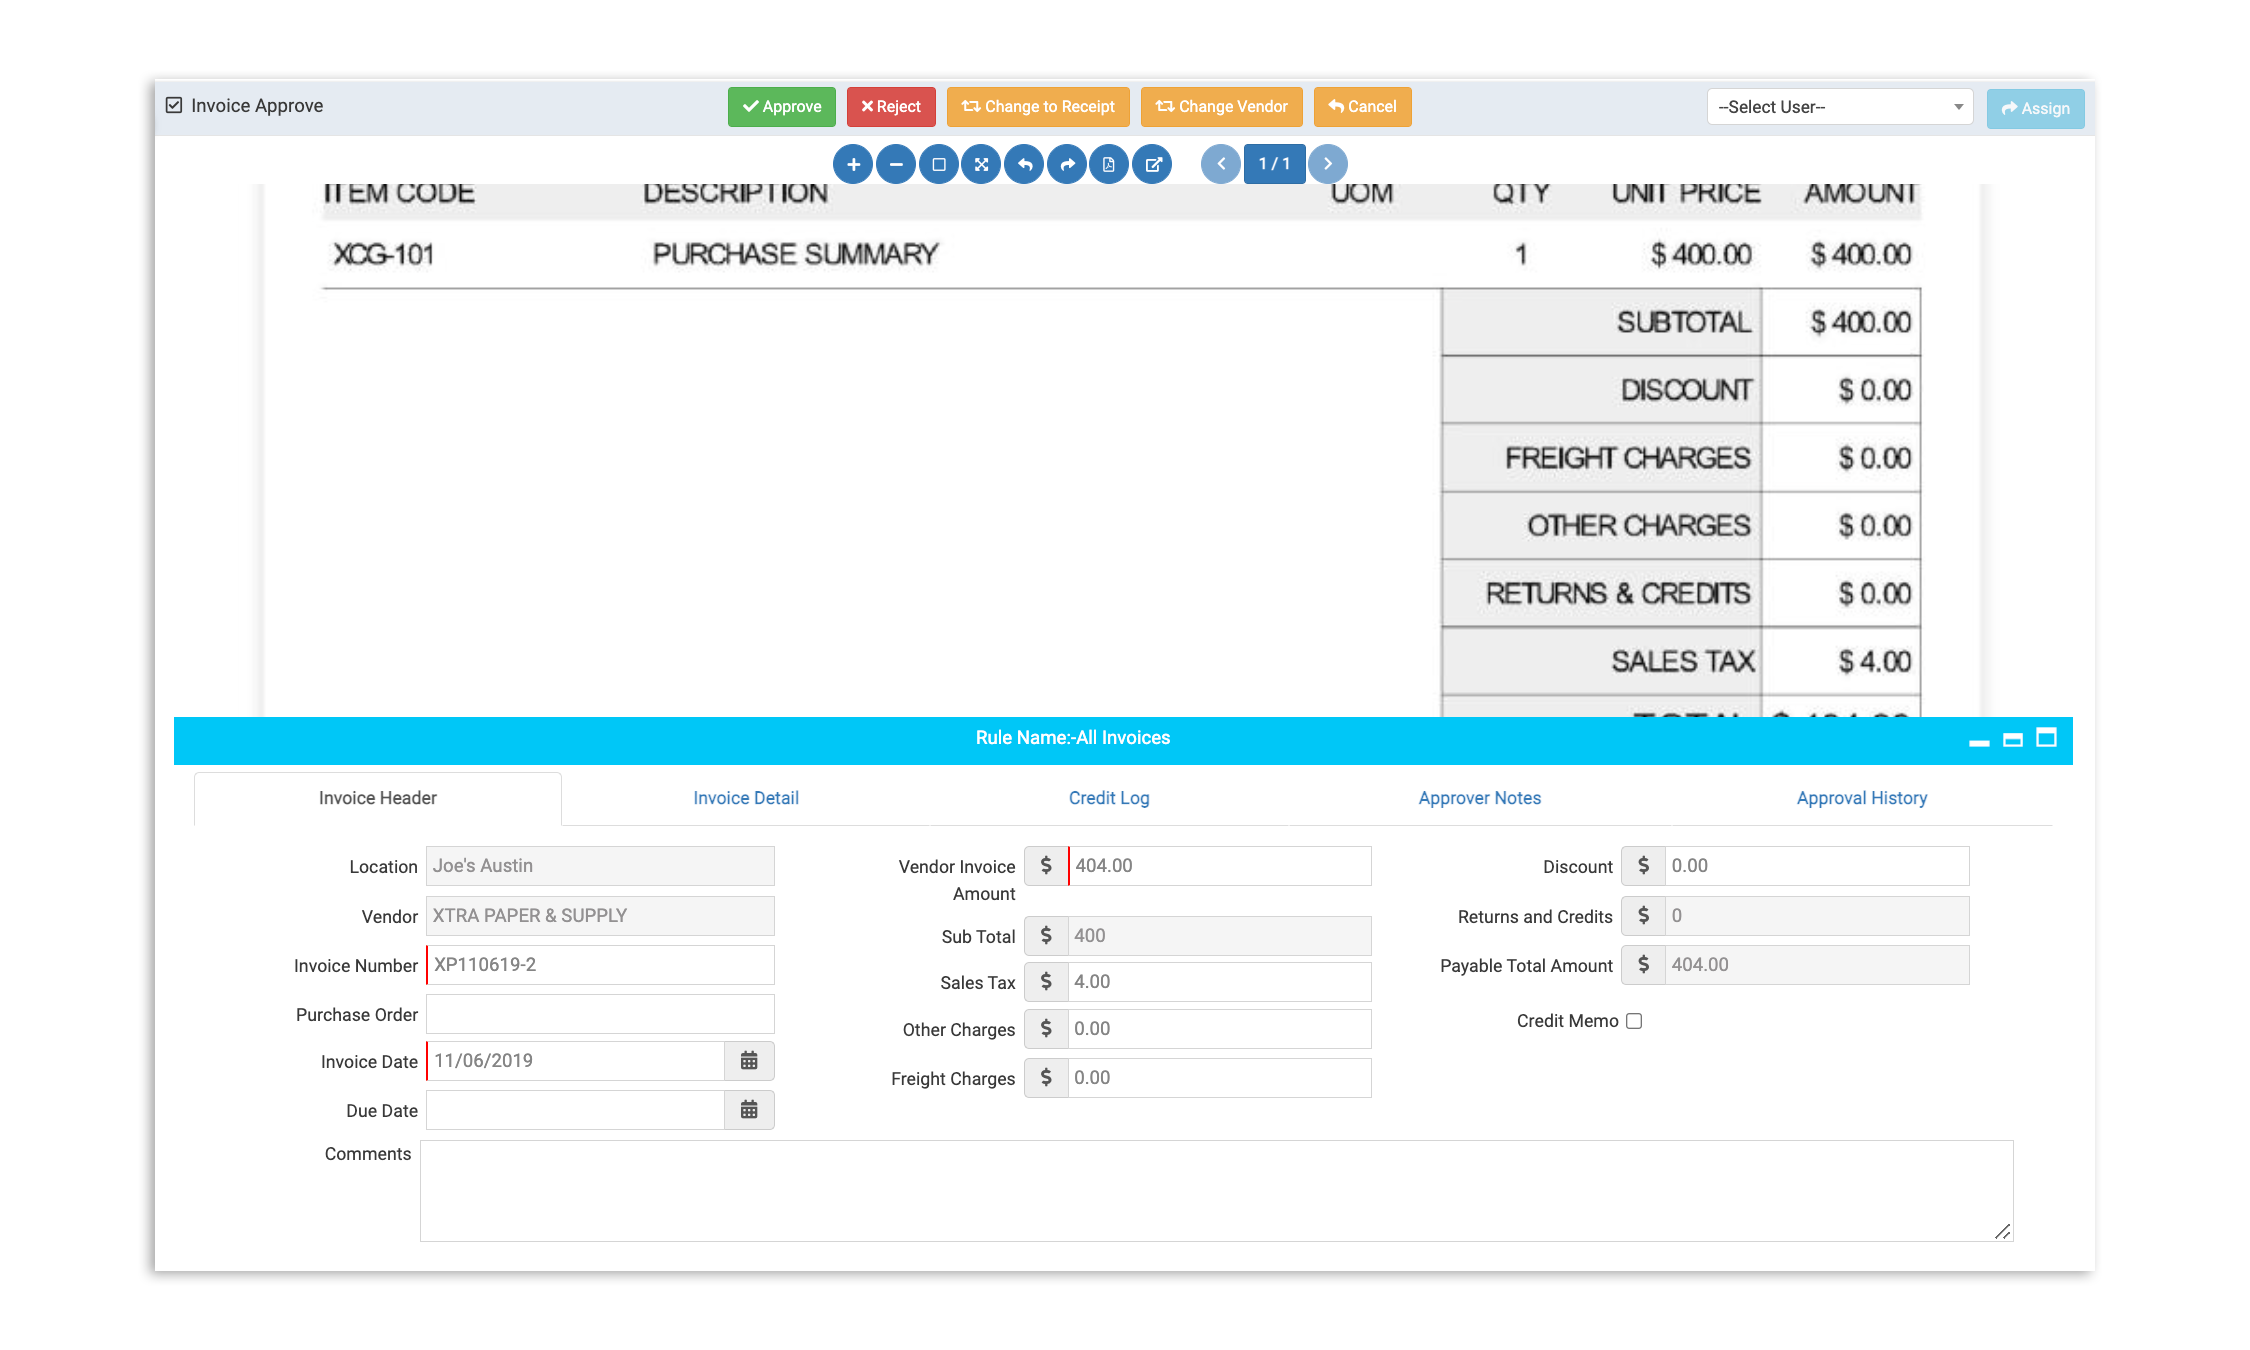
- Selecting Open will open a new page with the scanned invoice, as well as the data xtraCHEF has already parsed from the invoice.
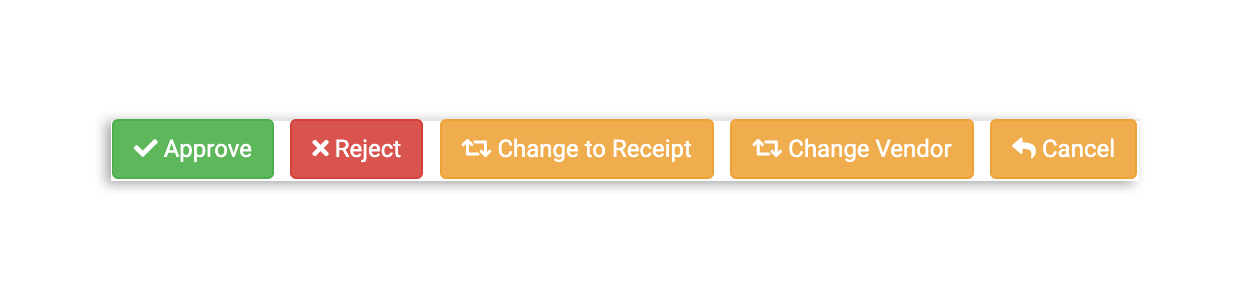
- If everything looks good upon further inspection, select the green Approve button at the top.
- If there are changes that need to be made (a receipt scanned as an invoice or incorrect vendor details), select the corresponding yellow button to bring the invoice up to standard.
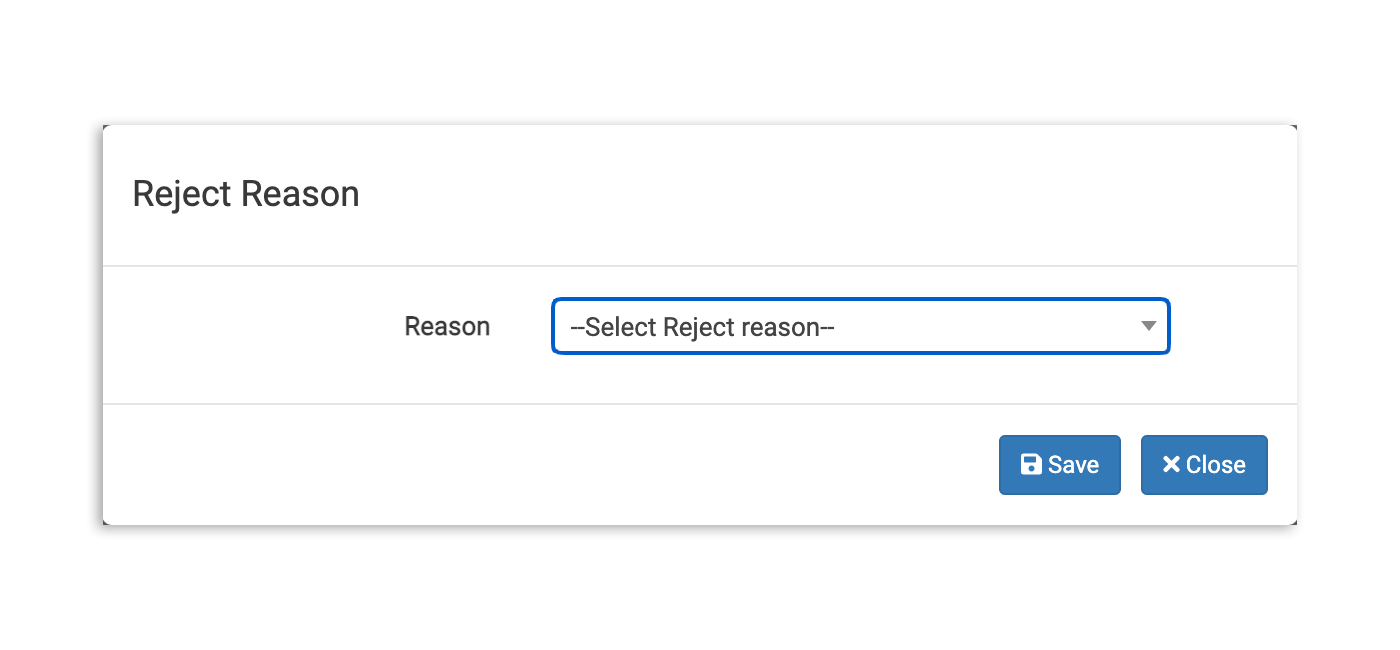
- Similarly, if the invoice cannot be accepted, select the red Reject button and choose a reason for the rejection. This will move the invoice to the Rejected column on your Invoice page and the data from the rejected invoice will not be used in xtraCHEF.
Back to top