Get Started With AI Invoice Scanning
Last updated: May 14, 2026, 12:28 PM
Scan, review, and process invoices using AI in Toast Retail by uploading via web or mobile, verifying extracted data, matching items, and updating inventory.
AI Invoice Scanning
Permissions Required:
- 4.5 Full Edit Menu
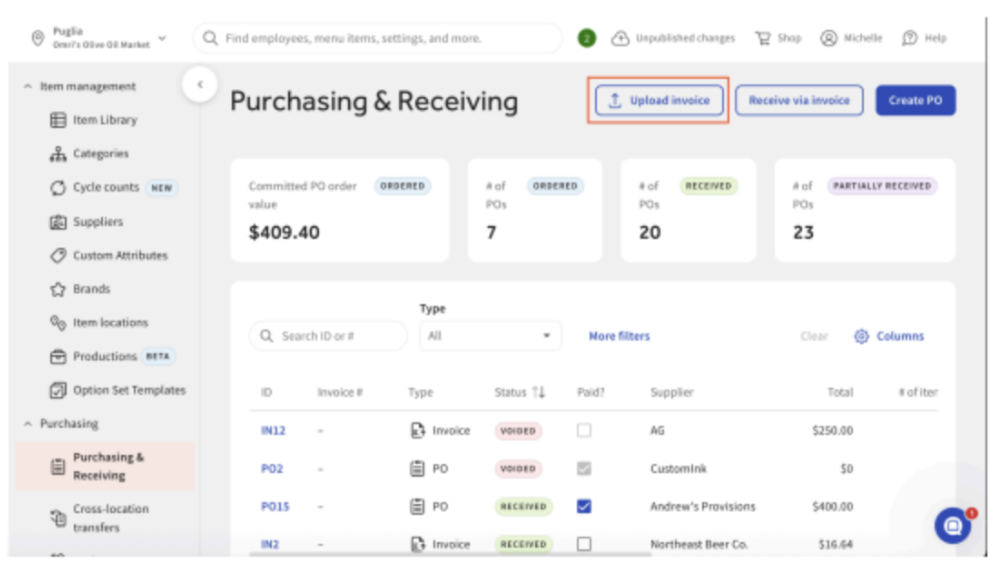
Step 1: Upload an Invoice
Follow the steps below to upload an invoice using AI scanning. You can choose from upload by the following:
- Upload or capture your invoice
- In Toast Web, navigate to Retail > Purchasing & Receiving.
- Select Next to start the scan. Note: Scanning can take up to 2 minutes.
- In Toast Web, navigate to Retail > Purchasing & Receiving.
Option 2: Upload from Your Mobile Device in the Toast Now app
- Open Toast Retail in the Toast Now app on your mobile device.
- Tap Add Invoice and allow camera access.
- Take a clear photo of your invoice (you can add multiple pages).
- Tap Submit — your invoice will be uploaded, and scanning will begin.
Wait for the scan to complete
- Once processing is finished, the invoice will display a “Scan complete” status.
Step 2: Review extracted details
Check the information pulled from your invoice to ensure accuracy.
- A digital copy of your original invoice on the left. The extracted line items on the right.
- Make any necessary edits
- Hover over each field to highlight where it appears on the invoice. Update any incorrect or missing details. This may be needed if parts of the invoice were unclear, cut off, or obstructed.
- After confirming your scanned details:
- Select Next to move into the familiar invoice creation screen.
- Toast will automatically fill in. Note: If something doesn’t populate automatically, you can manually adjust it here:
- Supplier details
- Invoice number
- Item names, quantities, and costs
Step 3: Create and Review the Invoice in Toast
After confirming your scanned details:
- Select Next to move into the familiar invoice creation screen.
- Toast will automatically fill in:
- Supplier details
- Invoice number
- Item names, quantities, and cost
Note: If something doesn’t populate automatically, you can manually adjust it here.
Step 4: Match or Add Your Items
The system will use AI to recognize and categorize items.
- If an item already exists in your inventory, Toast will suggest a match. Select the Confirm match check mark to confirm.
- If an item is new, select the + icon next to the item name to create it.
- Fill in missing details like cost, category, or sales price.
- Use Add All to bulk-create multiple new items.
Note: The first few scans may require adding several new items. Over time, Toast “learns” your catalog, and the matching becomes faster.
- Save and link items
- The finalized details are saved as a vendor item, which can be linked to a product in Toast. This helps streamline future receiving by improving speed and accuracy when updating inventory.


Step 5: Receive Your Invoice
Once you have verified all of the upload information and/or have made the necessary changes:
- Review your matched and newly added items. Select Save at the top of the page to save your draft invoice.
- (Optional) Mark any non-sellable items (like cleaning supplies) as Exclude — Toast will remember this next time for that supplier.
- Select Mark as received to move the invoice from Draft or Received state. This will update the inventory on-hand count for items in your item library.
AI Invoice Scanning Limitations
- Invoice-only scanning: You can scan invoices, but not apply them to purchase orders (POs) at this time.
- Mobile experience: You can capture invoices on mobile via Toast Web and Toast Now Retail and continue receiving them, but the review experience is best on desktop due to detailed tables and image viewing.
Related Articles