Set Up Your M30/M30II Wireless Printer on a Toast-Managed Network
Last updated: Jul 20, 2026, 10:47 AM
| These instructions are based on configuring the IP addresses for Toast-managed networks. If you're self-managed, you'll need to make adjustments to the IP address following the instructions in Set Up Your M30 Printer on a Self-Managed Network. |
- Hardware Requirements for Printer Setup
- Configure Your Printer Using Your Toast Go® 2
- Configure Your Printer Using Your Toast Go® 3
- Frequently Asked Questions
Hardware Requirements for Printer Setup
In order to set up your wireless printer, you'll need the following hardware:
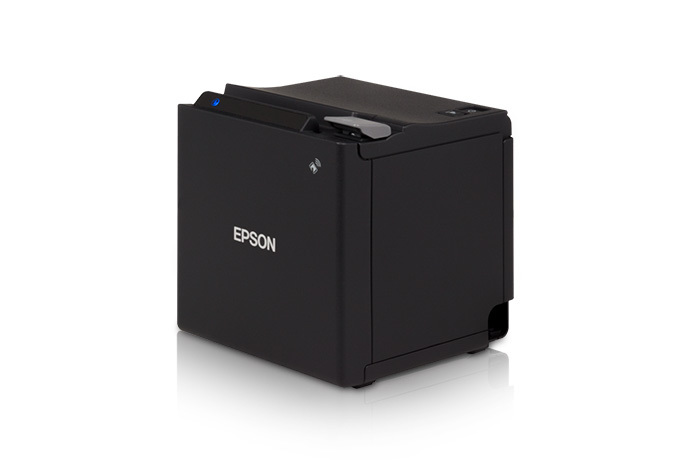
| An Epson M30/M30II printer |
Note: M30 printers must be purchased from Toast to function correctly on our networks. A device purchased outside of Toast will not work as intended. |
| An Epson wireless dongle (comes with the dongle extender and cover) | 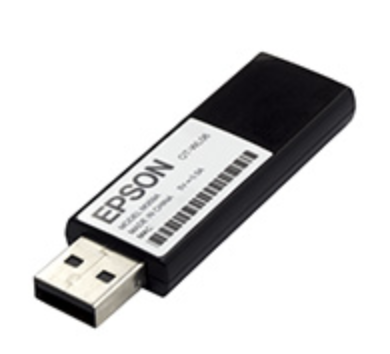 |
| Your handheld device, such as a Toast Go® 2 | 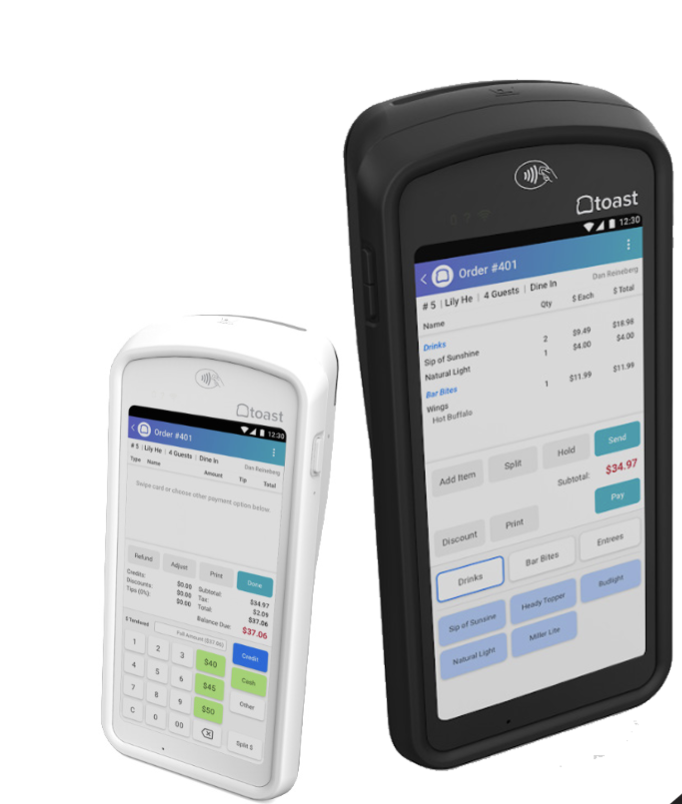 |
| Wireless access point | 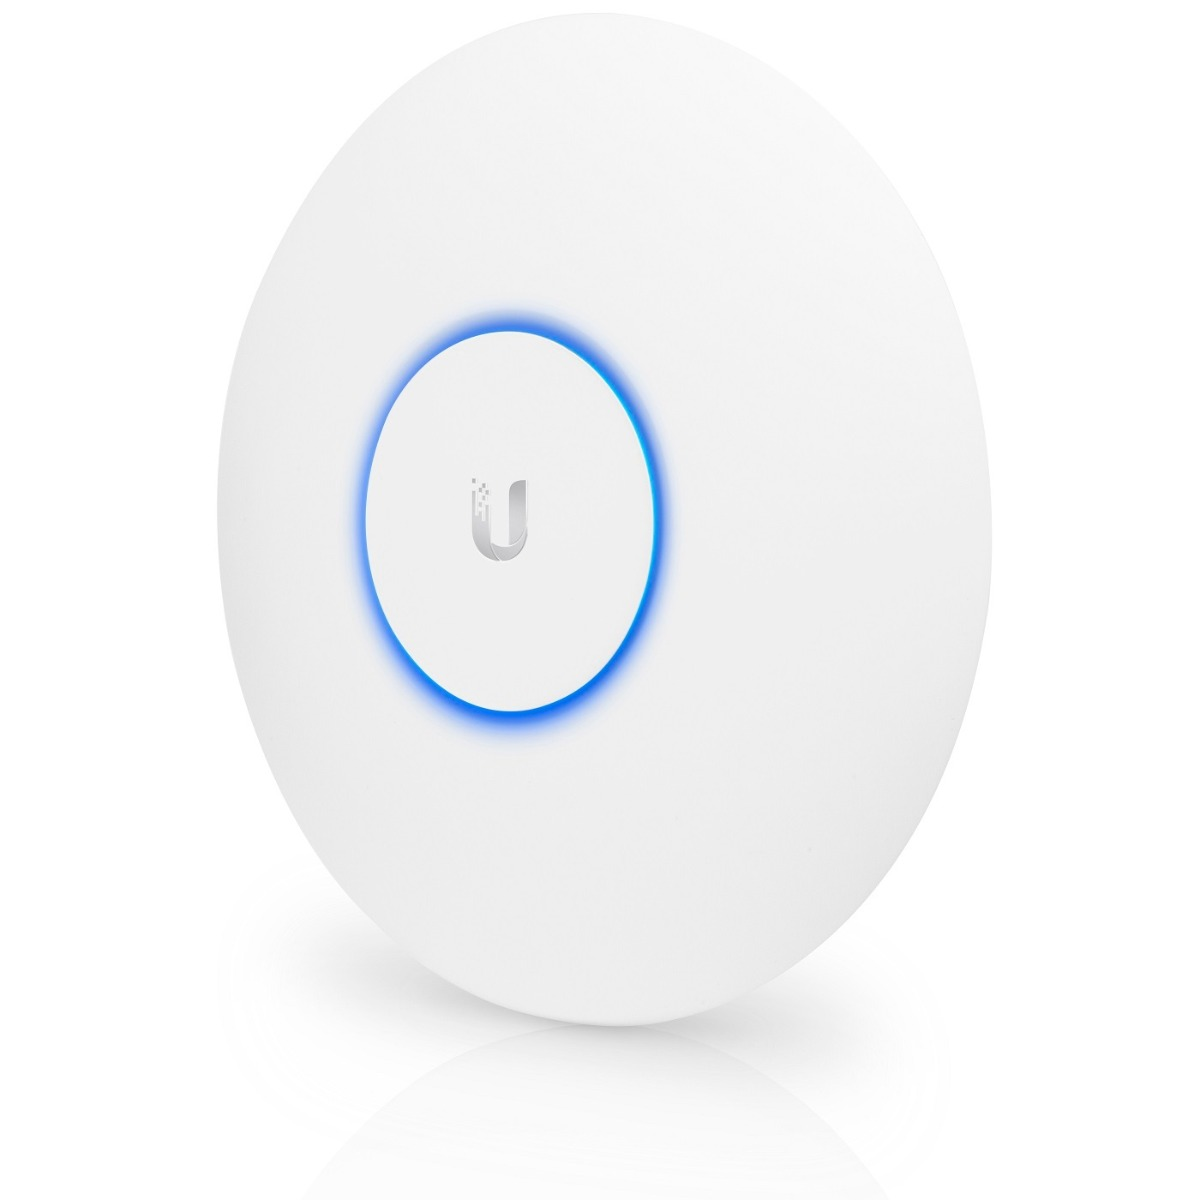 |
Configure Your Printer Using Your Toast Go® 2
Follow the steps below to set your printer up on Toast's enhanced security network using your Toast Go® 2:
Notes:
- To complete the changes listed below, you'll need to have the 6.2 Kitchen/Dining Room Setup and 7.1 Terminal Setup permissions enabled in your Toast account. For more information, see our Permissions Reference Guide.
- Don't have a Toast Go® 2? If you have a Toast Flex, you can use it for this setup as long as it is connected to Wi-Fi only (not Ethernet). If you have a Toast Go® 3, see Configure Your Printer Using Your Toast Go® 3.
- Go to the main menu of the Toast app, and navigate to Setup > Printer Setup.
- This will bring you to the My Printers screen. Select + Add or replace printer.
- Next, select Install a new printer. Then, select Continue.
- Select Wireless (Epson TM-M30/ Epson TM-M30II) and then, select Next.
- You'll be prompted to complete a brief 3-step process on your device. This should take approximately 3-5 minutes. Select Get started, and follow the instructions on your screen.
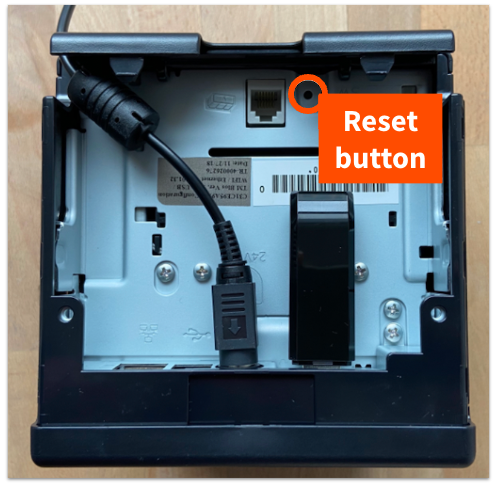
For this in-product 3-step process, in Step 1: reset your wireless printer, you'll see instructions to factory reset your printer. Turn the printer off, and then hold down the reset switch (pictured below) with a pen or similar object while turning the printer back on. Continue to hold the reset switch until a reset receipt prints.
Wait until a slip that says SimpleAP Start prints out. Sometimes it happens immediately after the first slip, sometimes it can take 30+ seconds to print. If you move on to the next steps before seeing "SimpleAP Start", the device you're using to configure the printer won't be able to connect.
- After you receive the Simple AP Start message, select Next on your Toast Go® screen to continue.
- You'll be prompted to change your Wi-Fi settings to allow your device to connect to the printer's Wi-Fi. Follow the instructions on your device to continue. You will want to make sure the Wi-Fi settings are set to BOTH 2.4GHz and 5GHz.
- Your device will disconnect from the Toast Wi-Fi and connect to the printer's Wi-Fi. Your device screen will display the status of connecting to that printer and printing a test receipt.
- When you see the question Did the test receipt print? and you select Yes, you'll see a screen that says Configuring new printer. By selecting Try again, the system will once again try to find the network and print a test receipt.
- Your printer will then restart. When the printer powers back on and the lights stop blinking, select Next.
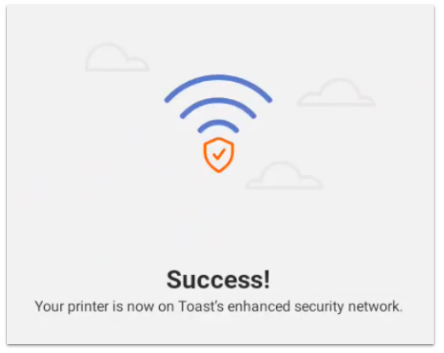
- The following message should appear as a result showing that the printer is now on Toast's secured network. Select Start printer setup at the bottom of the screen.
- Lastly, follow the steps and prompt to configure your printer.
Note: If you encounter an error while attempting to reconnect your wireless printer, select Retry to prompt the step once more, or Cancel to exit the printer setup process. If you still encounter an error after completing those steps, please chat with our Customer Support Hardware team — start a live chat here with our Customer Support team. Chat is available in Toast Web and Payroll Web (blue support button in bottom right of every page) and the Support tab in the Toast Now app.
For more information on how to contact support view How to Contact Customer Support or go to support.toasttab.com.
Configure Your Printer Using Your Toast Go® 3
The Toast Go® 3 cannot configure the M30 wireless printer's Wi-Fi settings directly. If a Toast Go® 3 is the only device you have available, you'll need to use a smartphone (iPhone or Android) to manually configure the printer's wireless settings first, then add the printer to your Toast Go® 3 as a wired printer.
Note: If you have access to a Toast Go® 2 or a Toast Flex on Wi-Fi, use Configure Your Printer Using Your Toast Go® 2 instead as this provides a simpler, single-device workflow.
Step 1: Prepare the printer hardware
- Open your Epson M30/M30II box. Inside you'll find the printer, a power cord, a wireless dongle, an Ethernet cord, and a dongle extender. Note: You will not need the Ethernet cord for wireless setup. The dongle extender is optional and should only be used to position the dongle higher than the printer.
- Remove the backplate on the printer to expose the connection hub.
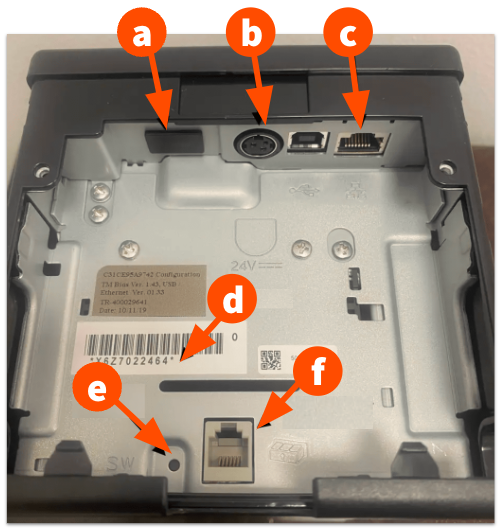
- Remove the small plastic cap covering the USB port (marked (a) in the diagram below).
- USB Port — to use Wi-Fi dongle (if applicable), remove plastic cover
- Power
- Ethernet
- Serial number
- Factory reset
- Cash drawer (RJ12)
- Insert the wireless dongle into the USB port on the back of the printer. Do not connect an Ethernet cable to the printer.
- Connect the power supply and turn the printer On.
Step 2: Factory reset the printer
- Turn the printer off.
- Hold down the reset switch (marked (e) in the diagram above) with a pen or similar object while turning the printer back on.
- Continue to hold the reset switch until a reset receipt prints.
- Wait until a slip that says SimpleAP Start prints out. Sometimes this happens immediately after the first slip, sometimes it can take 30+ seconds. Do not move on until you see the SimpleAP Start slip.
Step 3: Configure the printer's Wi-Fi using a smartphone
- On your smartphone (iPhone or Android), download the Epson TM Utility app from the App Store or Google Play.
- Make sure your phone is connected to the Toast Wi-Fi network.
- Open the app and select Wi-Fi Setup Wizard.
- Select your printer model (M30 or M30II). The setup will not work if you choose the wrong model — if you run into issues, start back at this step and select the other model.
- When prompted, confirm the printer is On and that a sheet has printed. Since you already factory-reset the printer in Step 2, a slip will have already printed. Select Printed.
- The app will ask you to connect to the EPSON_Printer network. Select Join.
- Your phone will connect to the EPSON_Printer network, and the printer will print a sheet confirming the connection.
- The app will ask for the wireless network name (SSID). On some smartphones this auto-populates with the Wi-Fi network the phone is currently using. If the Toast network is different, turn Auto off and manually enter the correct SSID for your Toast network.
- If prompted for a Security Selection, choose WPA2-PSK(TKIP/AES).
- Enter the Passphrase (Wi-Fi password) for the Toast network and select Next. Note: If you don't know your Toast network password, please chat with our Customer Support team — start a live chat here.
- For the IP Address Setting, most users should select Auto (DHCP). Other users' settings may vary.
- Select Set to Printer.
- The printer will reboot, connect to the Toast wireless network, and print a slip with its new IP address.
Step 4: Add the printer to your Toast Go® 3 as a wired printer
Once the printer's Wi-Fi is configured, the Toast Go® 3 will not detect the M30 as a wireless device. Instead, add it as a wired printer in Printer Setup:
- On your Toast Go® 3, go to the main menu and navigate to Setup > Printer Setup.
- Follow the standard printer setup flow, selecting the Wired option for the M30/M30II. For full instructions, see Printer Setup Overview.
Frequently Asked Questions
How do I connect my wireless printer using a terminal?
In order to connect your wireless M30/M30II printer on your terminal, you need to switch the internet source for your terminal. Ethernet connection must be turned off and Wi-Fi connection must be turned on.
| You must undo any changes made to your terminal's internet connection at the end of this process. It is imperative to disable the Wi-Fi on your terminal to protect your devices from vulnerabilities. In addition, doing this will also ensure proper printing and network syncing. |
For instructions, see Disable Wi-Fi on Hard-Wired Devices.
How do I change the currency displayed on my receipts?
To change the currency type that is displayed on receipts, you need to configure the language pack settings in the printer setup section of Toast Web. Learn more in Configure Your Printers to Display Euro.