Toast Flex 3 Hardware Compatibility
Last updated: Jul 17, 2026, 3:43 PM
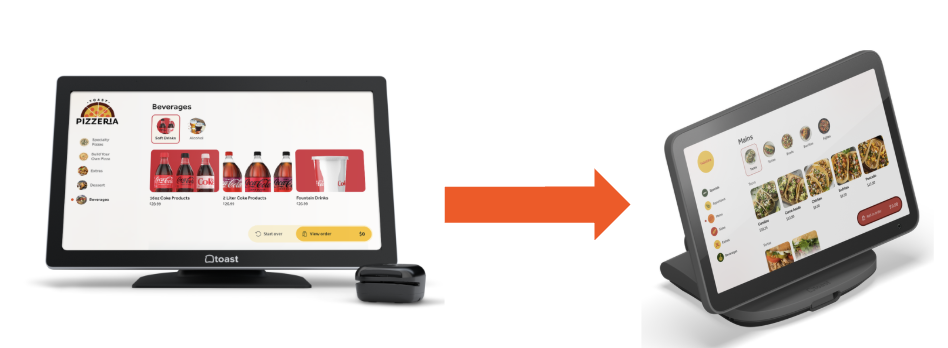
Overview of Flex 3 hardware compatibility with previous generation hardware.
- Overview
- Upgraded Device Compatibility
- What to Know Before You Upgrade Your Devices
- Toast Flex 3 Upgrade Scenarios
- Connect the Toast Flex 3 Terminal With the Flex 3 Hardware
- Connect Flex 3 Terminal With Previous Flex Hardware
- Connect Flex 14” With Flex 3 Hardware
- Additional Resources
| For additional guidance on hardware replacement, see Upgrade Old Generation Hardware to Flex 3 Terminal and Printing Hub. |
Flex 3 Compatibility Overview
Flex 3 features an upgraded system architecture designed in accordance with USB standards, which adds flexibility to configurations, future-proof devices, and enables more powerful and reliable system performance. Notes on device compatibility:
- Power adapters will not be interchangeable. The TP300 Printing Hub uses a 100W power adapter, and the Flex 3 terminal uses a 65W adapter.
- Guest Displays are not cross-compatible between Flex 14 and Flex 3.
- Printers are not fully cross-compatible and have different features when used across terminal generations:
- TP300 Printing Hub supports network printing and Ethernet over an RJ45 connection. When connected to a Flex 14 terminal, a Printing Hub Adapter is required to enable power and Ethernet over USB, USB printing, and USB peripheral networking.
- TP200 Printer connected to a Flex 3 terminal supports power over USB, printing over the network and Ethernet over the RJ45 cable.
- Card readers will be cross-compatible, including multiple USB-A, micro USB, and USB-C connectors across the Flex 3 Terminal, Guest Display, and Printing Hub.
- Toast Handhelds that operate on the same network as the Terminals and Printers below will maintain the same compatibility.
Upgraded Device Compatibility
If you are upgrading from a Flex 14” device to a Flex 3 device, the information below helps you understand which hardware works best with your current setup.
What to Know Before You Upgrade Your Devices
- Toast card readers work across devices and do not need to be replaced when upgrading.
- These examples focus on standard upgrade paths and do not include repair or replacement situations.
- Retail setups follow the same compatibility guidance outlined below. Mounting options may vary depending on your Kitchen Display System (KDS) or Kiosk configuration.
Toast Flex 3 Upgrade Scenarios
POS Terminals
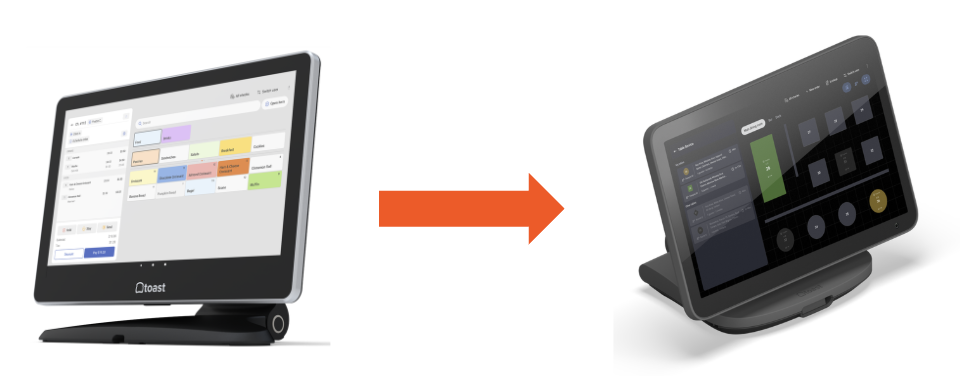
- If you are replacing a Flex 14” terminal without a guest display or receipt printer,
- Then the Flex 3 Countertop Terminal is the recommended replacement.
- If your Flex 14” setup includes a guest-facing display,
- Then, replacing with a Flex 3 Guest Display Terminal is recommended.
- If your Flex 14” setup includes a Toast receipt printer,
- Then the Flex 3 Terminal is the recommended replacement, and adding the TP300 Printing Hub will enable all features (see note on Printers above).
- If your Flex 14” setup includes both a guest display and a Toast receipt printer,
- Then, a Flex 3 Terminal and Guest Display paired with a TP300 Printing Hub is recommended.
Note: These upgrade paths also apply to Elo terminals. Epson printers print over the network and do not need to be replaced. Existing mounts and stands can typically be reused or updated as needed.
Guest Displays
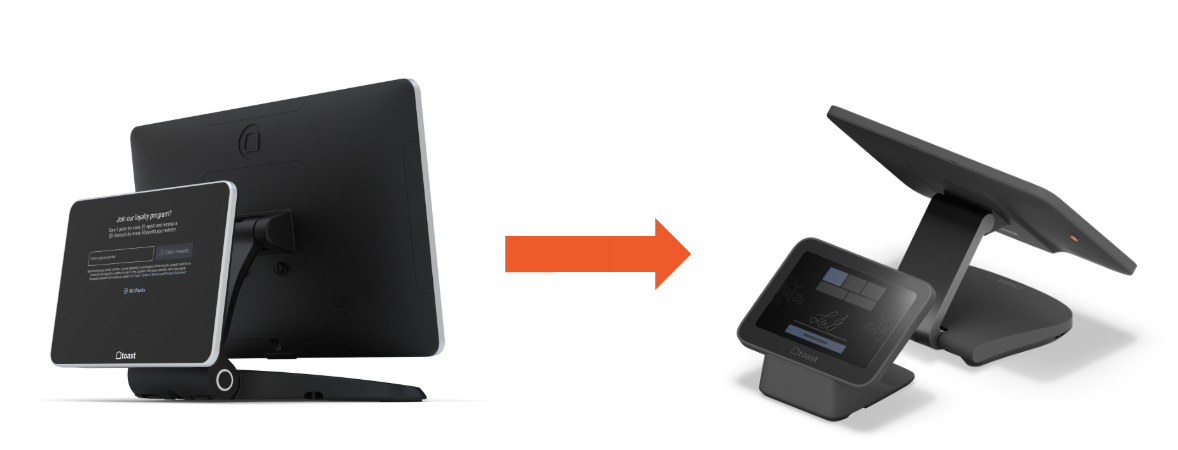
- If you are replacing an 8” Flex for Guest Terminal (attached or wedge),
- Then the Flex 3 Guest Display Terminal is recommended.
- Then the Flex 3 Guest Display Terminal is recommended.
Note: The Flex 3 Guest Display is designed to work with Flex 3 terminals only. It cannot be used with Flex 14” devices and cannot be used on its own unless you already have a Flex 3 terminal or display.
Tip: A longer guest display cable may be helpful for unique counter layouts or extended reach.
Receipt Printing
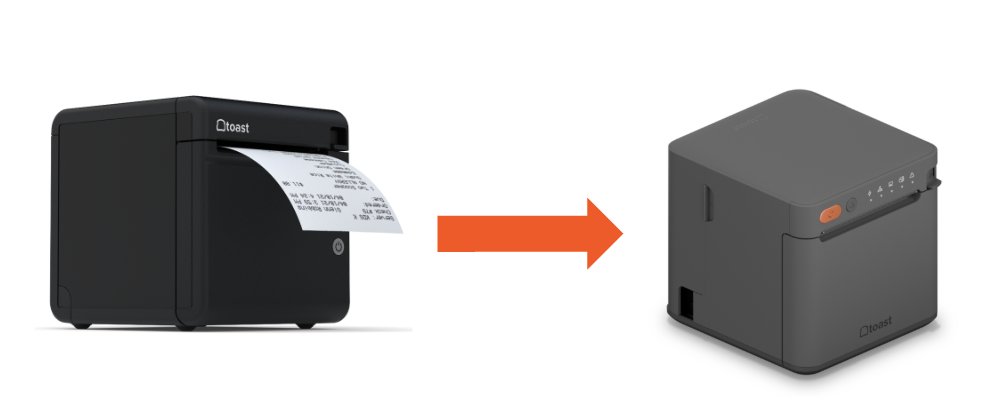
- If you are replacing a TP200 Receipt Printer,
- then TP300 Printing Hub with a Printing Hub Adapter is the best solution if connected to a Flex 14 terminal.
- If you are adding a TP300 Printing Hub to a POS or Kiosk setup,
- then Printing Hub supports receipt printing with Flex 3 terminals, or other compatible Toast devices on the same network (e.g., Toast Go® 3).
- then Printing Hub supports receipt printing with Flex 3 terminals, or other compatible Toast devices on the same network (e.g., Toast Go® 3).
Note: While printing receipts over the network will work the same with the Printing Hub, the USB cable will not provide the same functionality when connected to Flex 14”. To maintain power and networking functionality, the best approach is to connect another TP200 receipt Printer with Flex 14” or purchase the Printing Hub Adapter for Flex 14 for full compatibility.
Kitchen Display Systems (KDS)
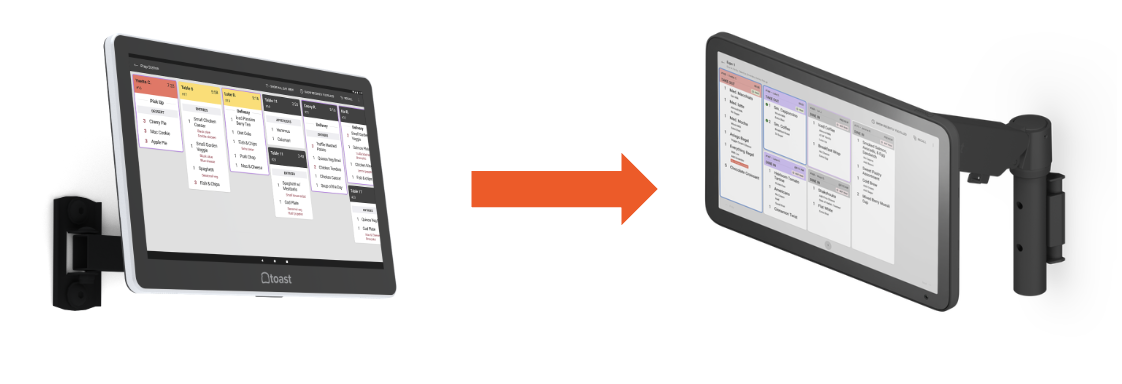
- If you are upgrading a Flex 14” Kitchen Display, there are two options:
- Reuse your existing mount or stand, or
- Install a new Toast Mount or Toast Stand
- If you are replacing a Flex 14” Kitchen Display AND REUSING the wall mount,
- Then the Flex 3 Display is a compatible replacement.
- Tip: Flex 3 Displays are compatible with standard 75x75 VESA mounts.
- Then the Flex 3 Display is a compatible replacement.
- If you are replacing a Flex 14” Kitchen Display AND replacing the wall mount or mounting to another surface (e.g. pole or shelf),
- Then, a Flex 3 KDS with Toast Mount is recommended.
- If you are replacing a Flex 14” Kitchen Display AND a stand,
- Then, a Flex 3 KDS Countertop option is recommended.
Kiosks
Note: The Kiosk image above to the right is the Toast Flex 3 Countertop Terminal Kiosk.
- If you are upgrading a Flex 14” Kiosk that includes a receipt printer and an existing mount or stand,
- then a Flex 3 Display paired with a Printing Hub is recommended.
- Or you can also use the Flex 14 display with the TP300 Printing Hub with a Printing Hub Adapter for the Flex 14.
- If your kiosk is wall-mounted and does not include a printer,
- then a Flex 3 Display with a compatible wall mount provides a seamless upgrade.
- If your kiosk uses a counter stand and does not include a printer,
- then a Flex 3 Countertop Terminal is recommended.
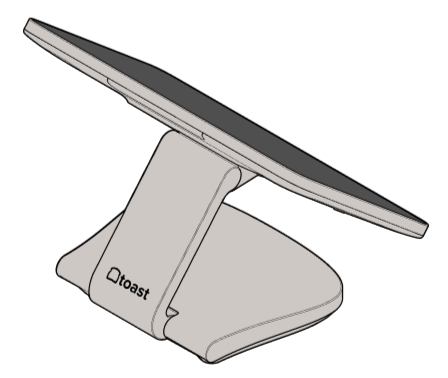
Connect the Toast Flex 3 Terminal With the Flex 3 Hardware
| Flex 3 Terminal | Hardware Name | Hardware Image | Compatibility |
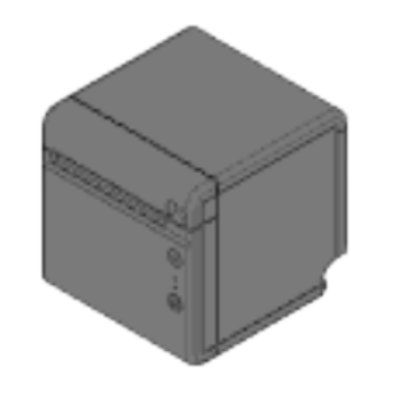
 | Toast Printing Hub | 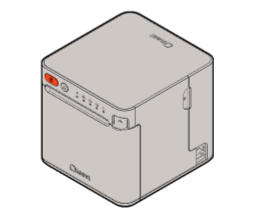 |  |
| 65W Power Supply | 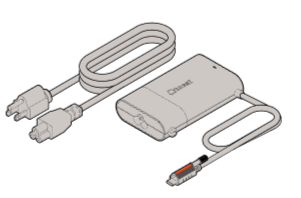 | | |
| Flex 3 Guest Display | 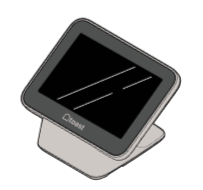 | |
Connect Flex 3 Terminal With Previous Flex Hardware
| Flex 3 Terminal | Hardware Name | Hardware Image | Compatibility |
|
Toast Receipt Printer TP200
Note: The following steps must be followed to ensure compatibility with the Flex 3 Terminal and Toast Receipt Printer (TP200). For USB Hub Compatibility, see Toast-Approved USB Hubs for Toast Flex 3 Hardware.
|  |
|
| Toast Flex for Guest | 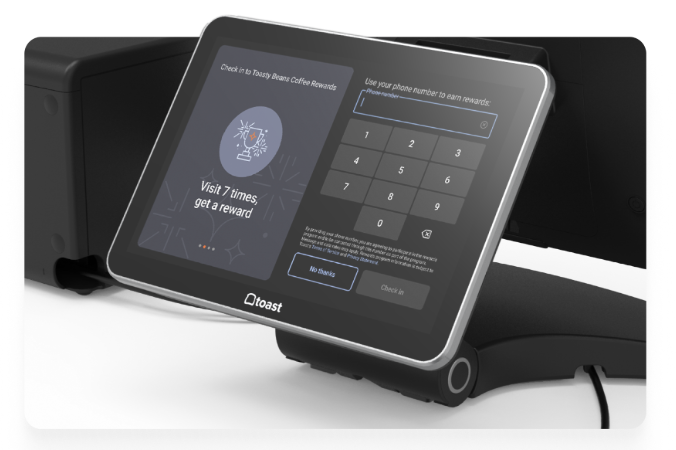 |  | |
| Flex 14” 100W Power Supply | | |
Connect Flex 14” With Flex 3 Hardware
| Flex 14" | Hardware Name | Hardware Image | Compatibility |
 | Toast Printing Hub (used with Adapter for Flex 14”) | | |
| Flex 3 Guest Display | | | |
| 65W Power Supply | | |
Additional Resources
- Toast Flex 3 Installation Guide
- Toast Flex 3 Terminal FAQ
- Get Help With the Toast Flex 3 Terminal
- Toast Flex 3 Guest Display FAQ
- Toast Printing Hub Installation Guide
- Toast Printing Hub FAQ
- Get Help With the Toast Printing Hub
- Get Help Setting up your Toast Wi-Fi Password