xtraCHEF: Primeros pasos con la lista de verificación de configuración
Última actualización: 7 jul 2026, 2:40 p.m.
| Este artículo hace referencia a la lista de verificación de configuración inicial que se muestra en xtraCHEF para las cuentas nuevas. Para obtener información sobre tu experiencia de incorporación y esos pasos de configuración, visita xtraCHEF: Primeros pasos con la incorporación o xtraCHEF: Primeros pasos con la incorporación multiunidad. Este producto está disponible exclusivamente en EE. UU. y no para clientes en Australia, Canadá, Irlanda o el Reino Unido. |
- Lista de verificación resumen
- Pasos de lista de verificación
- Próximos pasos
Lista de verificación
¡Te damos la bienvenida a xtraCHEF! Al iniciar sesión por primera vez, es posible que veas una lista de verificación en tu pantalla. Aquí puedes empezar a usar esta nueva plataforma y describir las acciones que puedes realizar para optimizar el éxito de xtraCHEF.
Esta lista de verificación de configuración inicial permanecerá en tu panel o cuenta de xtraCHEF hasta que se completen los elementos de acción enumerados.
Lista de verificación
Hay cinco pasos principales para configurarte en xtraCHEF, que se describen en tu lista de verificación de configuración. Esos pasos son:
- Completar configuración inicial
- Automatiza tu contabilidad
- Cargar más de 10 facturas
- Crear más de 1 categoría de compra
- Categorizar más de 1 artículo

Las instrucciones detalladas y los recursos relacionados se enumeran para cada paso en las secciones a continuación.
Configuración inicial
Desde los miembros de tu personal hasta la contabilidad y mucho más, tu negocio es único. La configuración inicial, también conocida como activación de tu cuenta de xtraCHEF, permite a tu equipo de incorporación recopilar información vital sobre tu operación y establecer tus integraciones (es decir, QuickBooks u otra plataforma relacionada con la contabilidad). Este es el punto de partida sobre el que se basan todos los demás pasos de configuración.
Automatiza tu contabilidad
Se te pedirá que completes el proceso de activación de cuenta al iniciar sesión por primera vez. Sin embargo, si omitiste inicialmente este paso, siempre puedes volver seleccionando Configuración inicial en tu lista de verificación.
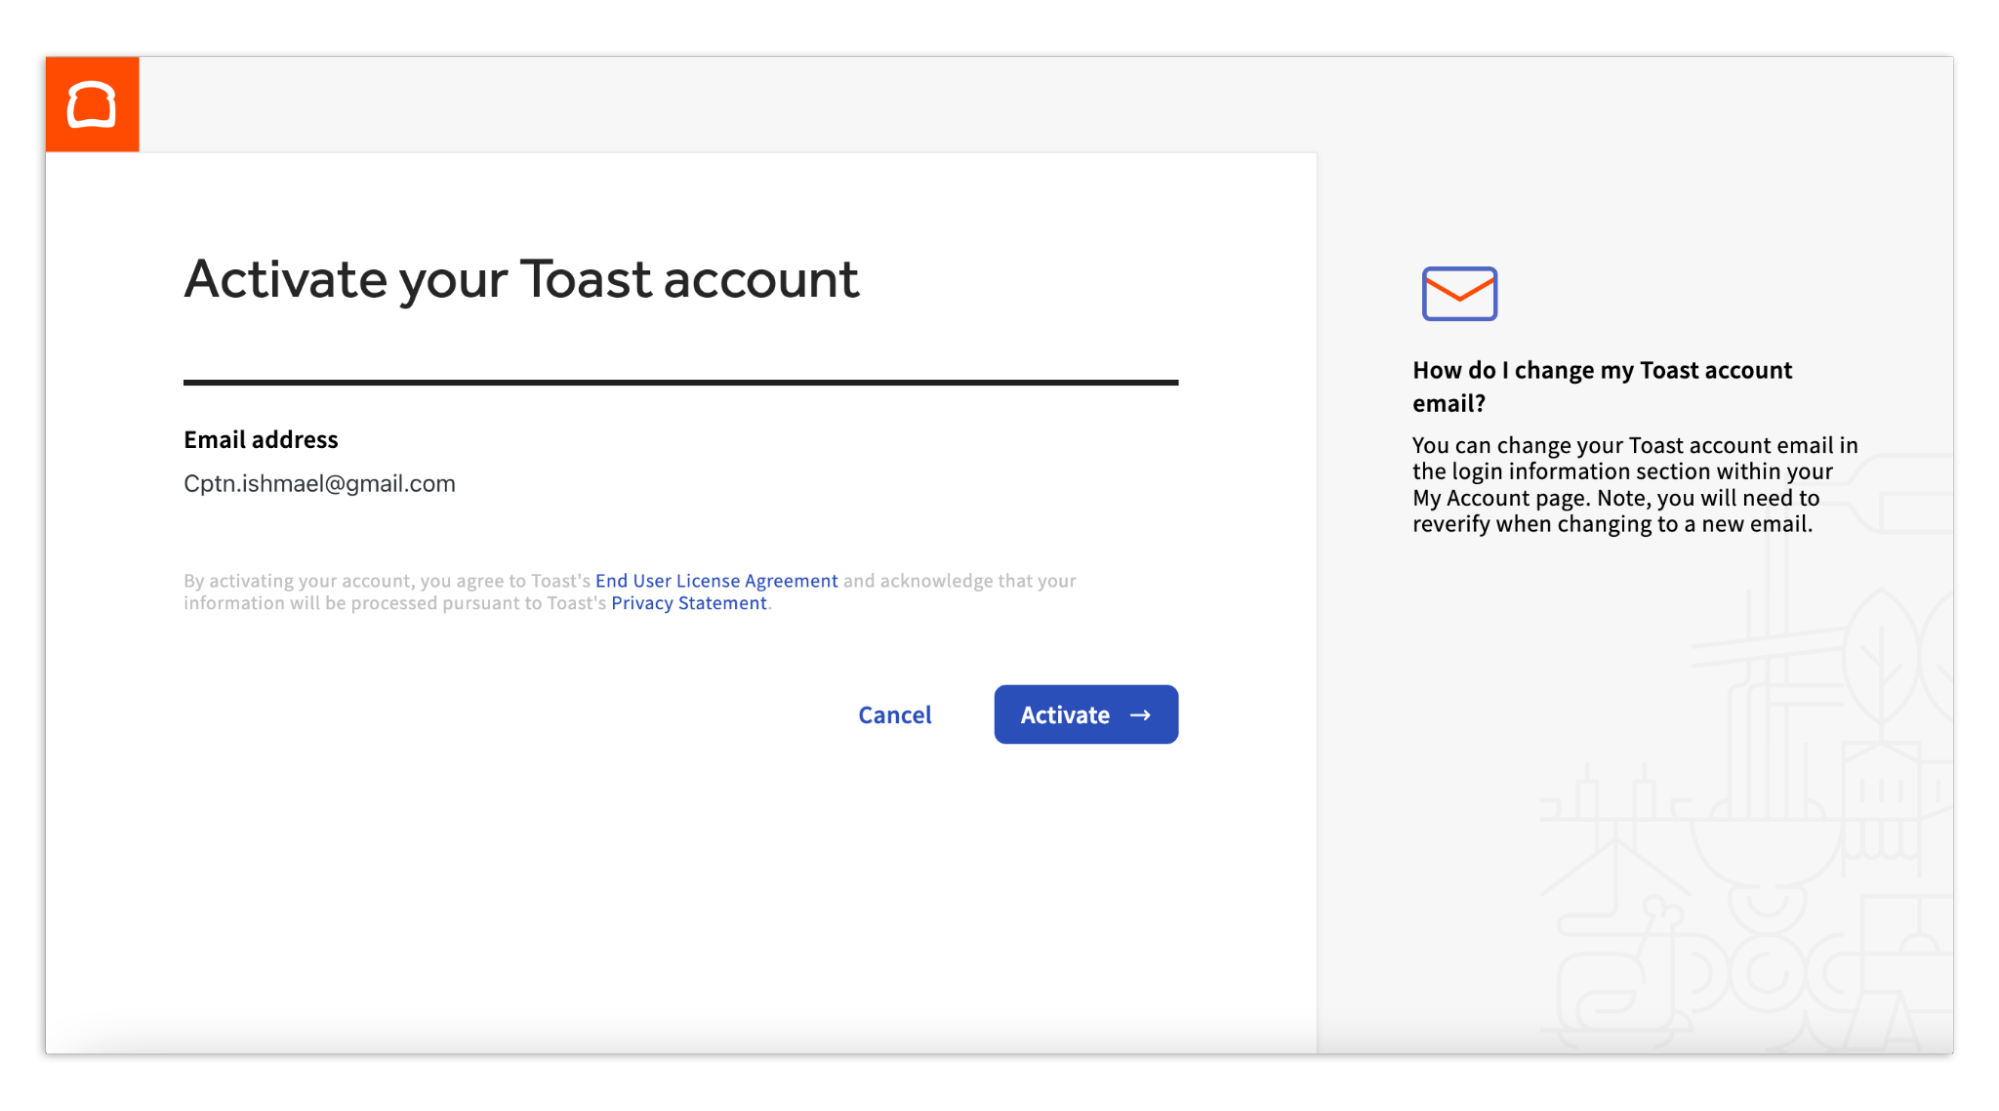
¿Buscas una guía paso a paso sobre el proceso de activación de la cuenta? Visita nuestro artículo titulado xtraCHEF: Cómo activar tu cuenta de xtraCHEF.
Cargar más de 10 facturas
La carga de facturas (o recibos) es un paso esencial para obtener estadísticas de seguimiento de costos y el componente de automatización de cuentas por pagar (AP) de xtraCHEF. AP Automation es un servicio básico de xtraCHEF que automatiza tu proceso de conciliación y codificación de contabilidad mediante aprendizaje automático.
De hecho, sin cargar documentos, xtraCHEF no puede comenzar a proporcionar valor para ti y tu negocio. Puedes empezar a cargar documentos en xtraCHEF de cualquiera de estas cinco maneras:
- Cargando archivos de documentos desde tu computadora de escritorio
- Tomar fotos de documentos a través de la aplicación móvil xtraCHEF
- Crear facturas o recibos manualmente desde tu computadora de escritorio
- Enviar archivos PDF por correo electrónico a la dirección única de correo electrónico de xcinvoice de tu ubicación
- Integración con tus proveedores aprobados mediante un EDI
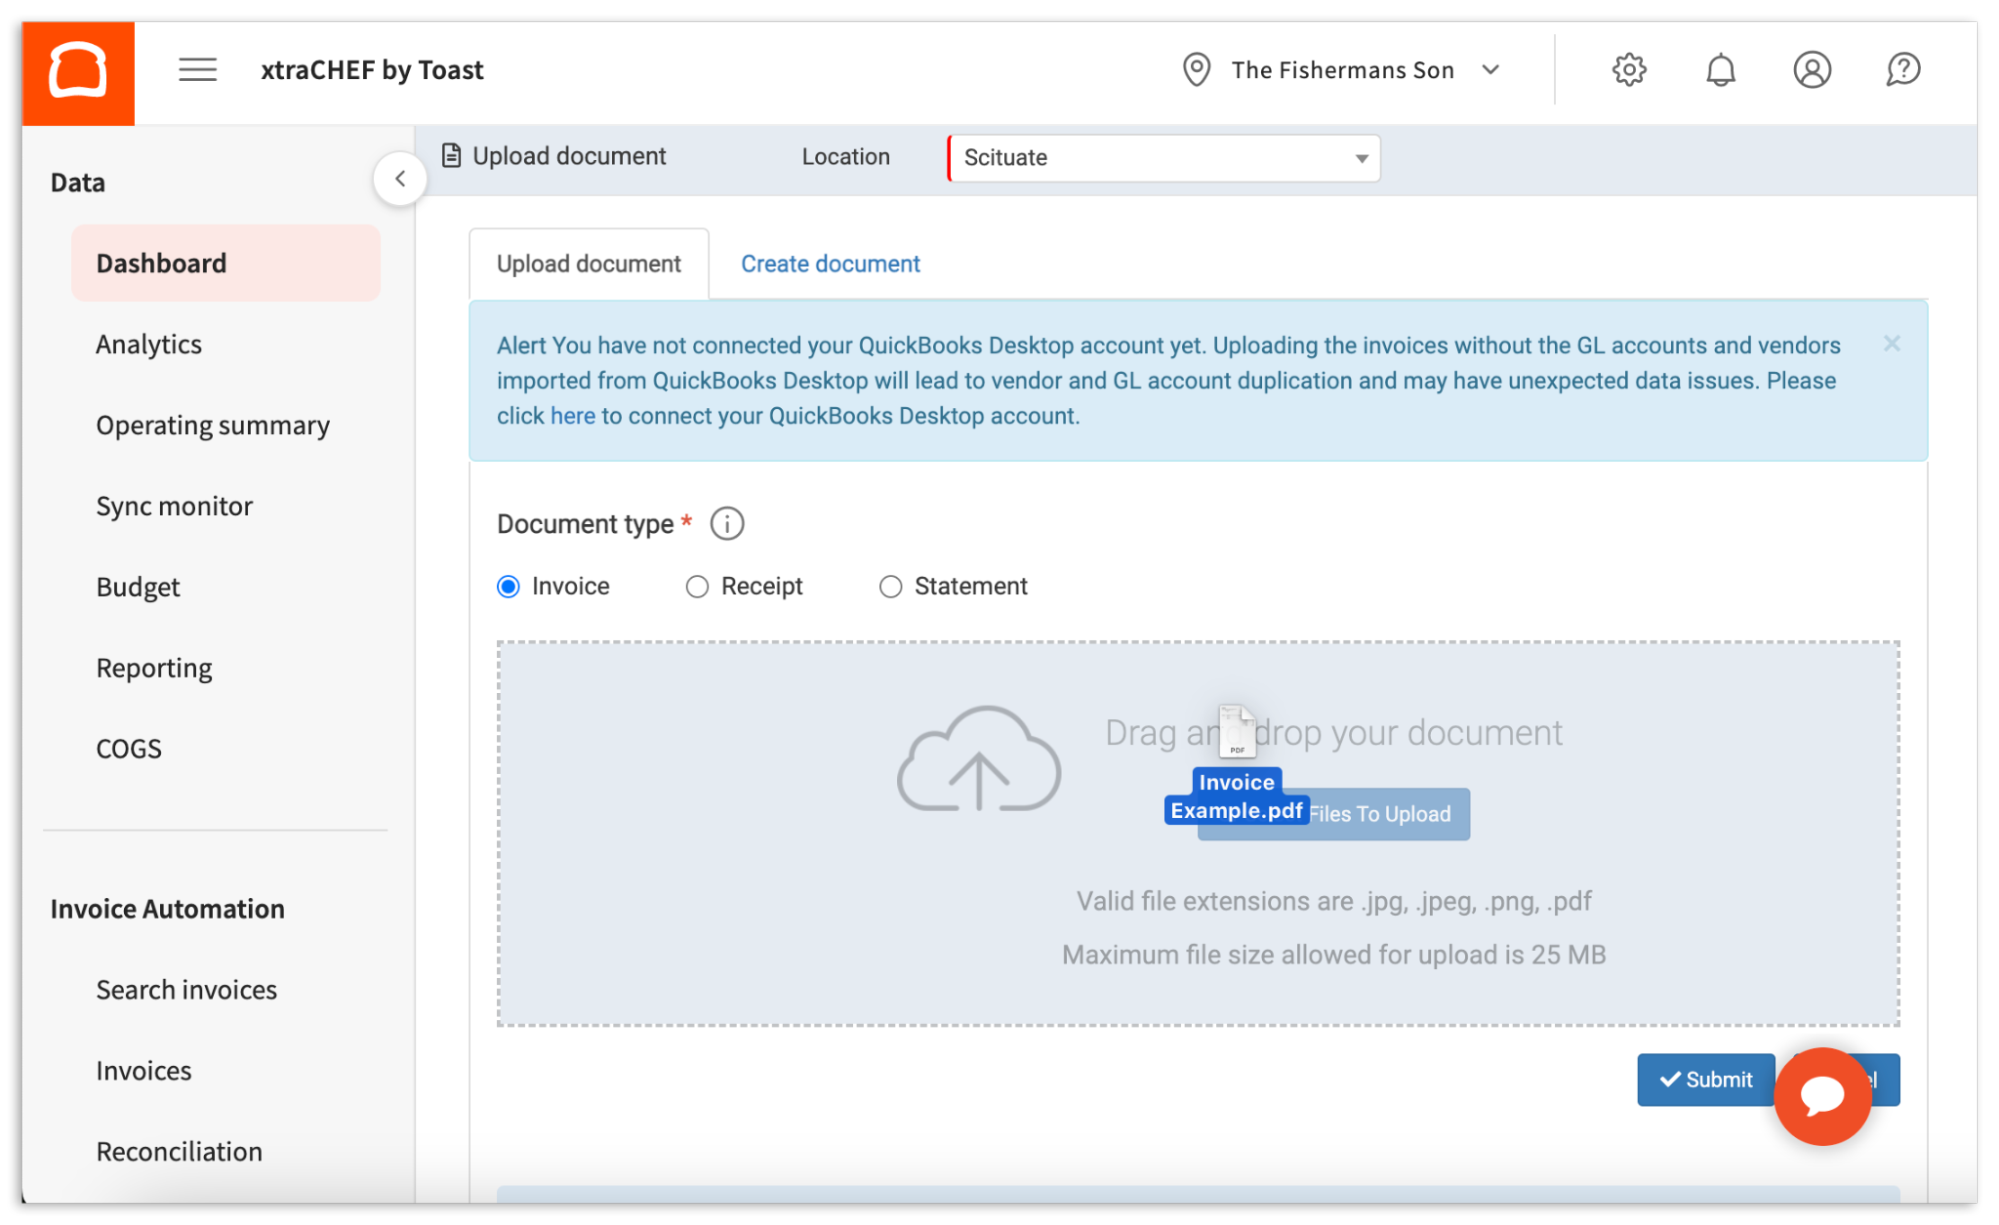
¿Quieres obtener más información sobre cómo cargar documentos o ver un tutorial paso a paso de cada opción? Obtén más información sobre nuestras opciones de escritorio y móviles.
Crear 1 o más categorías de compra
Con las facturas cargadas, comienzan el proceso de conciliación. La conciliación se automatiza con el tiempo a medida que enseñas a xtraCHEF a reconocer y desglosar tus facturas. Sin embargo, antes de poder desglosar estas facturas, primero tendrás que establecer el marco para hacerlo.
Al presentarte a tu director de proyectos, debes recibir pasos para integrar tu sistema contable directamente con xtraCHEF o cargar el plan de cuentas (COA) de tu negocio que contiene los códigos de libro mayor (GL). Si lo haces, se crearán categorías de compra para que selecciones y codifiques tus artículos durante Mapear artículos factura. También Completará este elemento de la lista de verificación.
Algunas cosas a tener en cuenta para los usuarios con varias cuentas de QuickBooks Online con varias ubicaciones de xtraCHEF dentro de un solo inquilino:
- Si bien permitimos que se conecten varias cuentas de QuickBooks Online a un solo inquilino, xtraCHEF solo puede almacenar y usar una sola lista de COA y lista de proveedores para que todas las ubicaciones compartan y usen el producto.
- Por este motivo, debemos asegurarnos de que cada cuenta tenga listas idénticas de COA y proveedores antes de continuar. Si las listas no coinciden, deberás colaborar con tu director de proyectos para analizar las siguientes opciones:
- Antes de continuar, puedes actualizar la lista para que coincida con todas las cuentas. De esta manera, obtendrás el máximo beneficio del producto.
- Puedes solicitar a otros inquilinos que usen listas de COA o proveedores individuales para ubicaciones individuales.
Consejo profesional: Puedes ir un paso más allá si creas tus propias categorías de compra personalizadas y creas una capa adicional de información sobre el gasto más categórico dentro de tus códigos de LM, en caso de que decidas hacerlo.
Para revisar, editar o crear nuevas Categorías de compra, selecciona el ícono de engranaje en la esquina superior derecha de tu cuenta. Luego, selecciona Categorías
Esto te llevará a la página Categorías. Aquí, se mostrarán todas las categorías predeterminadas y las categorías personalizadas que hayas creado. Para crear una nueva categoría, selecciona + Agregar categoría personalizada. Luego, completa la información obligatoria, como el código de LM al que se informará en esta categoría, la Descripción (nombre) y campos adicionales si es necesario. Cuando termines, selecciona + Agregar.
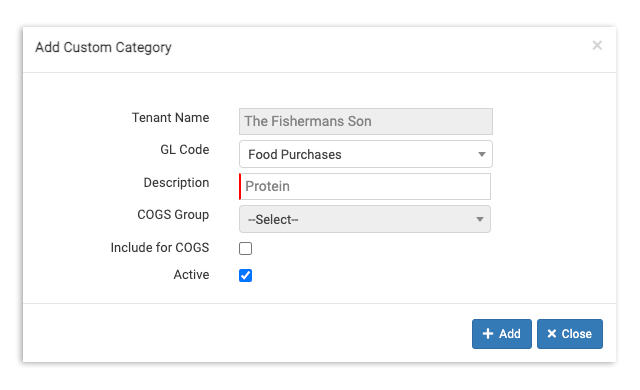
¿Quieres profundizar aún más en tus categorías y personalizarlas? Visita xtraCHEF: Categorías personalizadas.
Categorizar más de 1 artículo
Con las categorías de compra en tu cuenta de xtraCHEF, ahora puedes continuar con el proceso de conciliación mencionado anteriormente y asignar los artículos de tus facturas. Es posible que muchos o todos los artículos de tus facturas se hayan mapeado automáticamente a categorías predeterminadas dentro de xtraCHEF, por lo que es posible que no encuentres ningún artículo en esta página.
En Asignar artículos factura, puedes comenzar a “codificar” los artículos factura individuales de tus documentos cargados a tus códigos de LM y categorías de compra personalizadas. Una vez que se mapee un artículo de la factura y se haya enviado la factura, xtraCHEF aprenderá y repetirá esta acción por ti en el futuro.
De hecho, cada vez que se reconozcan un número de artículo de factura codificado previamente, una descripción del artículo de factura y un proveedor, la automatización completará este paso en tu nombre.
Para comenzar, selecciona Asignar artículos factura en el menú de navegación. Luego, selecciona la categoría de compra correspondiente a los artículos de tu factura en el menú desplegable que se muestra a continuación.
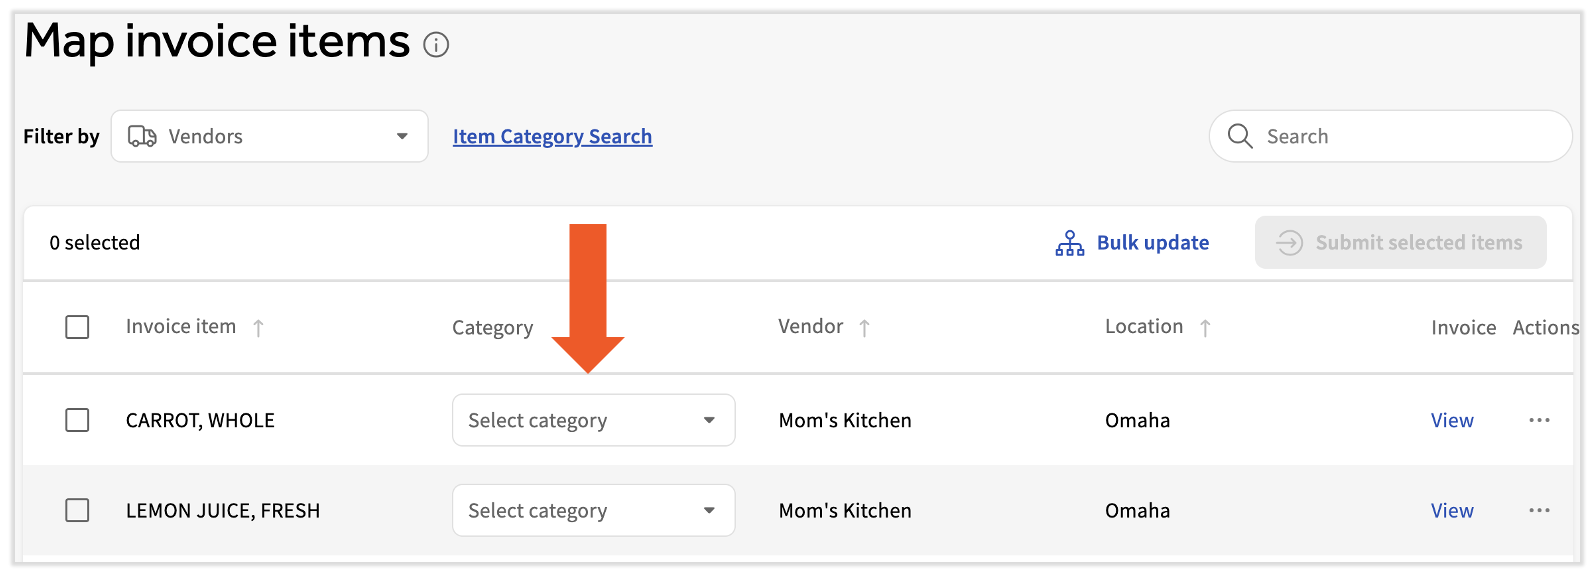
Una vez que una factura esté asignada por completo, selecciona Enviar artículos seleccionados. Esto te ahorrará trabajo y hará que la factura supere el último paso de su proceso de conciliación. Read xtraCHEF: Mapea artículos de facturas para obtener más información.
Próximos pasos
Ahora que ya cubriste los aspectos básicos, estás en el lugar correcto para continuar con la experiencia de incorporación de xtraCHEF (y aún más cerca de utilizar la información ahora al alcance de tu mano).
Para seguir aprendiendo y aprovechando tu suscripción a xtraCHEF, considera unirte a nuestra serie de webinars dirigidos por expertos para ver lo que sigue.
A medida que continúas tu viaje con xtraCHEF, regresa al Centro de asistencia. El Centro de asistencia es tu tienda única para artículos útiles de instrucciones, tutoriales en video, guías y más. Simplemente escribe la función de xtraCHEF con la que buscas ayuda en la barra de búsqueda y visita nuestros recursos relacionados.